Molded Chocolate Truffles by CHRISTINEats
Chocolate Truffles
Total Time: 4 hours
Active Time: 1 hour
Mastering: A Lifetime
Ever wonder why a little chocolate truffle can cost $5 or more per piece? Making chocolate truffles, or really any molded and filled chocolate, is an art form. It is more than the exquisite ingredients, and more than the valuable time taken to make it. Making chocolates well can take a lifetime to master. I became obsessed with learning as soon as a Chef told me…
“Hand-tempering chocolate is the hardest culinary task a Chef will ever learn. It is right up there with sushi rice!”
“Tempered chocolate has a shiny, flawless appearance. It feels firm and breaks off with a snap when you bite into it and it melts smoothly in your mouth, allowing you to fully enjoy the flavor. ”
In 2006, my friend Carrie, who was in marketing, told me about the job she had had in college, working in a chocolate shop. She described all the fillings they would make, what “tempered” chocolate was and offered to teach me. I could hardly wait! The very next day we were in her kitchen, up to our elbows in ingredients and playing like little girls making mud pies. That was the beginning of CHRISTINEats, a company specializing in liquor-infused candy. Carrie not only taught me about chocolate, she guided me in marketing; 1000 recipe- and design-testing hours later, CHRISTINEats was born. I am a singer, so naturally, we launched the company with a show.
7 Songs 7 Sweets
CHRISTINEats had a great run. From 2009 - 2015 we sold our confections to Whole Foods, Bloomingdales, Dean & Deluca, and online. We had events with Nanette Lepore, Ann Taylor, and so many more. My son was born in 2011, I opened my restaurant, White Street in 2014, and, unable to keep up with my three “children” (CHRISTINEats, Frith and White Street), we decided to close CHRISTINEats. The recipes, however, will never die because they are in me; they ARE me. I am so excited to share my “secret sauce” for chocolate truffles with you now. I have adjusted the approach so that you can do this at home, but it will be an investment of your time and money (in the form of a few key pieces of equipment). I hope you have as much fun learning as I did! You can watch one of my chocolatiers from CHRISTINEats doing the whole process beautifully in the video below.
Equipment You’ll Need
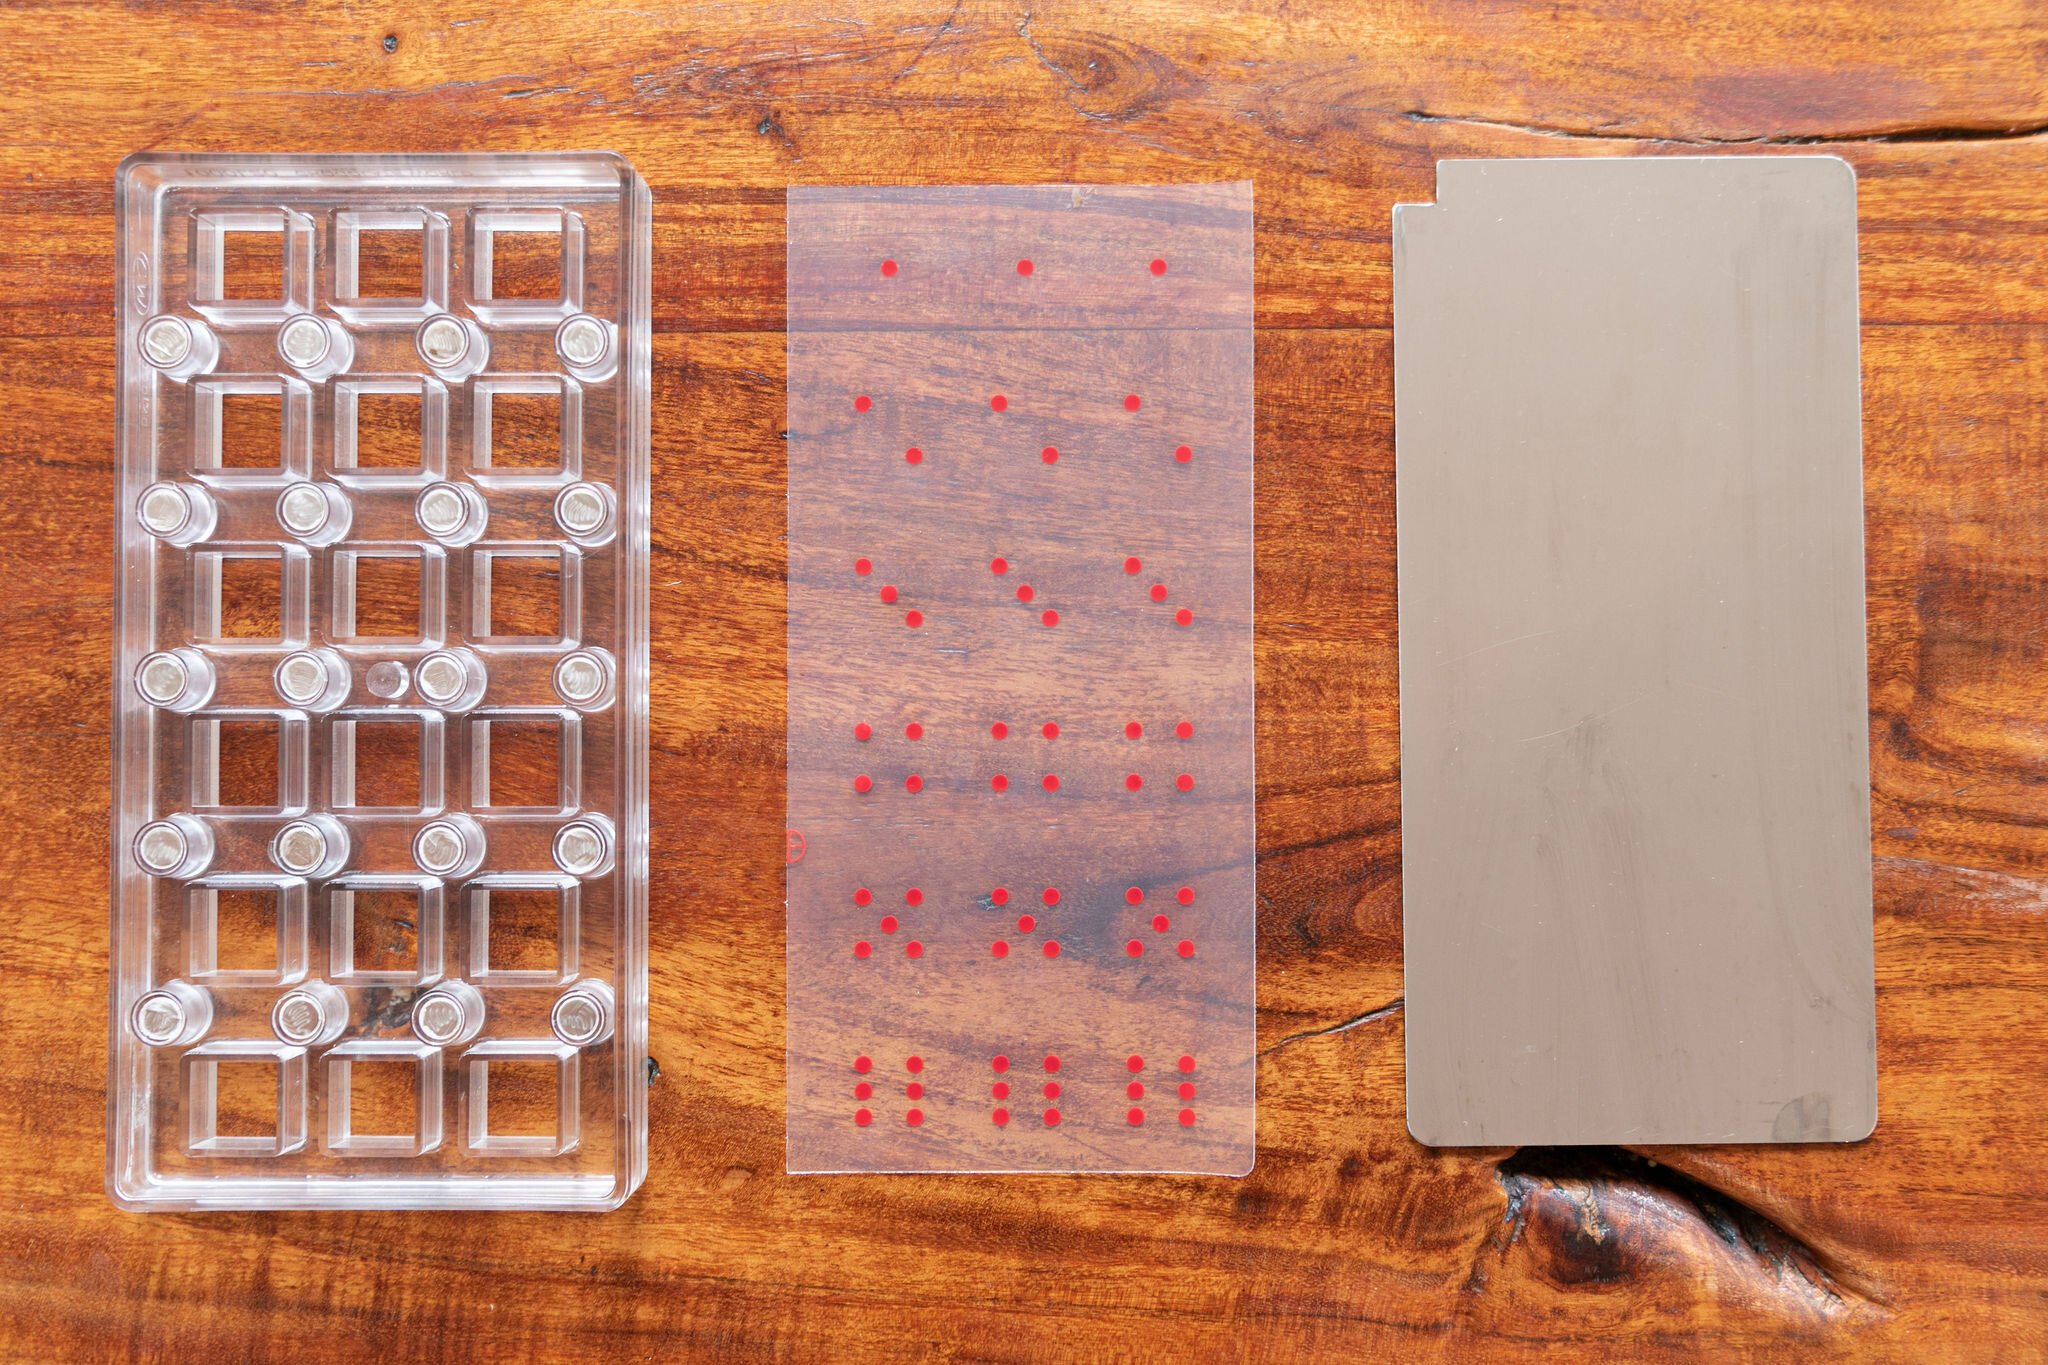
Two Magnetic Chocolate Truffle Molds and Cocoa Butter Transfer Sheets
I like Chef Rubber Brand and chose the “cube” mold. You can pick anything you like that is magnetic and with about the same size cavity. Your truffles don’t require cocoa butter transfer sheets but they are SO COOL!! The link below is also Chef Rubber so you can “one-stop shop” with the molds, if you choose.
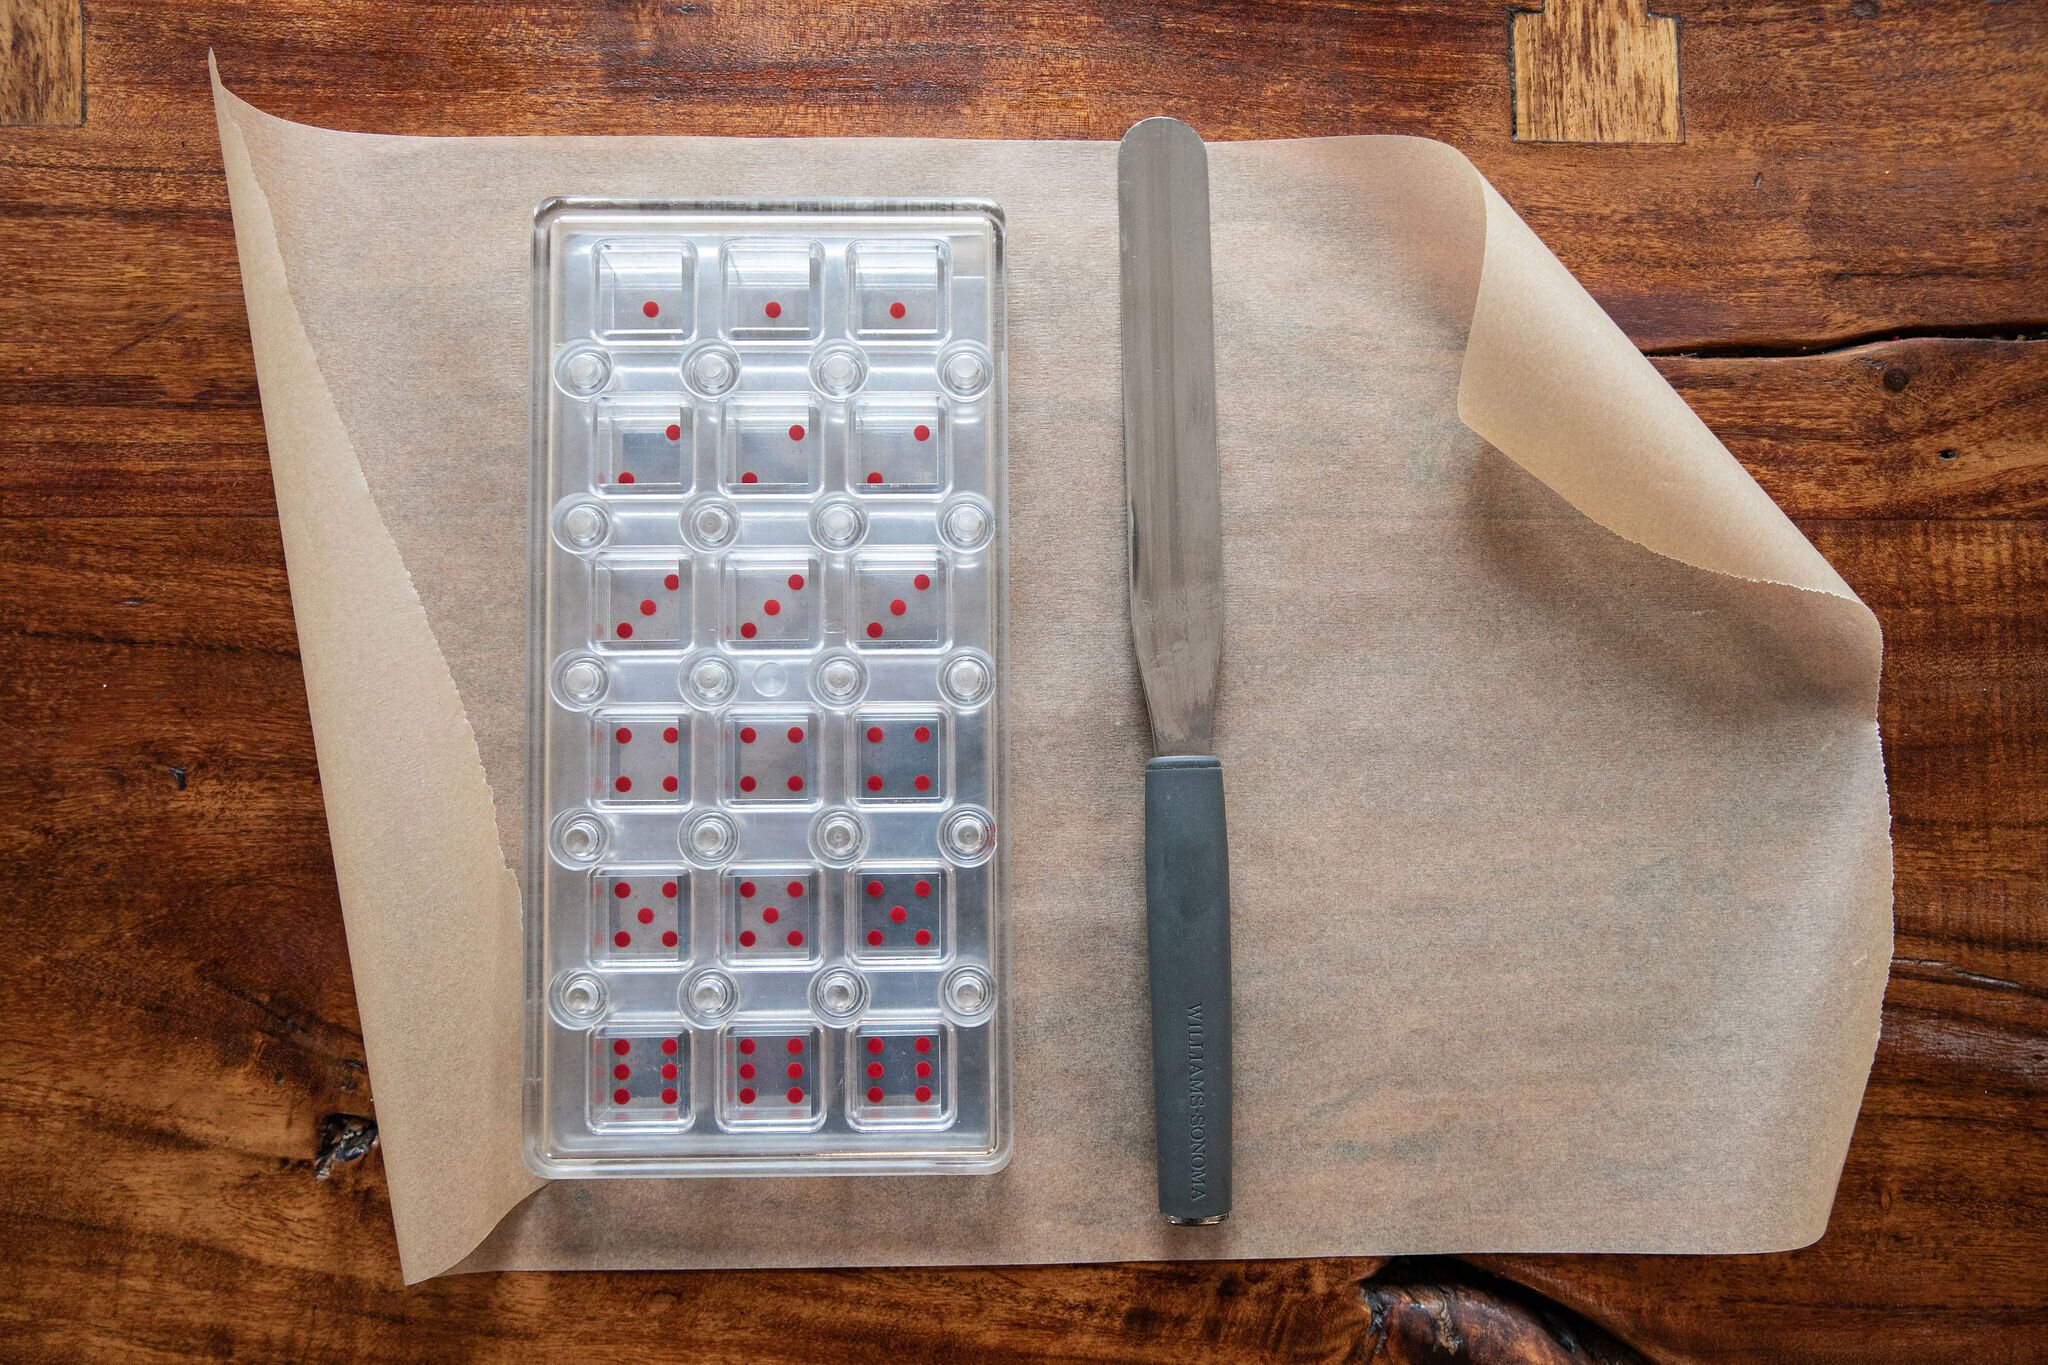
A Long, Flat Metal Spatula
Needs to be a totally flat (no angles). Sometimes called “icing spatula”.
Okay! Now that you have the tools, let’s get started.
There are endless variations to what you can create. By using almost identical portions, you can change the spirit and chocolate type and invent your own version! Some of my favorites from CHRISTINEats are:
Bourbon Caramel & Sea Salt in Dark Chocolate
Coconut Rum Ganache in Dark Chocolate
Cherry Kirsch Ganache & Drunken Cherries in Dark Chocolate
Peppermint Schnapps Ganache in Dark Chocolate
Ginger Ganache & Candied Ginger in Dark Chocolate
Coffee Ganache in Milk Chocolate OR White Chocolate
Laphroaig Scotch & Chardonnay Ganache in White Chocolate
Orange Grand Marnier Ganache in White Chocolate
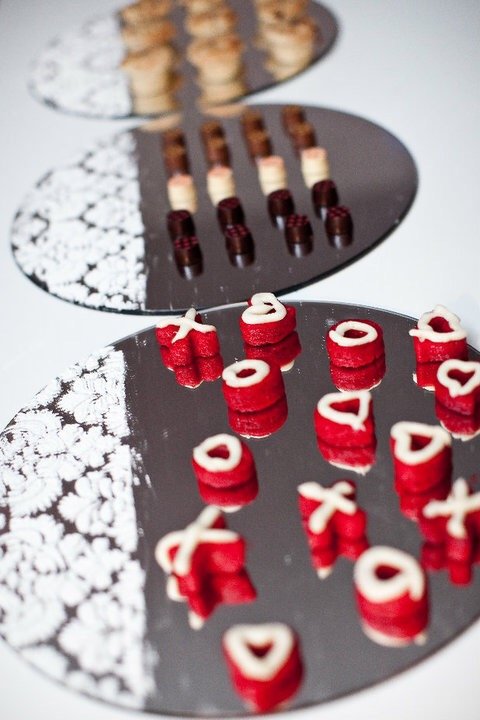
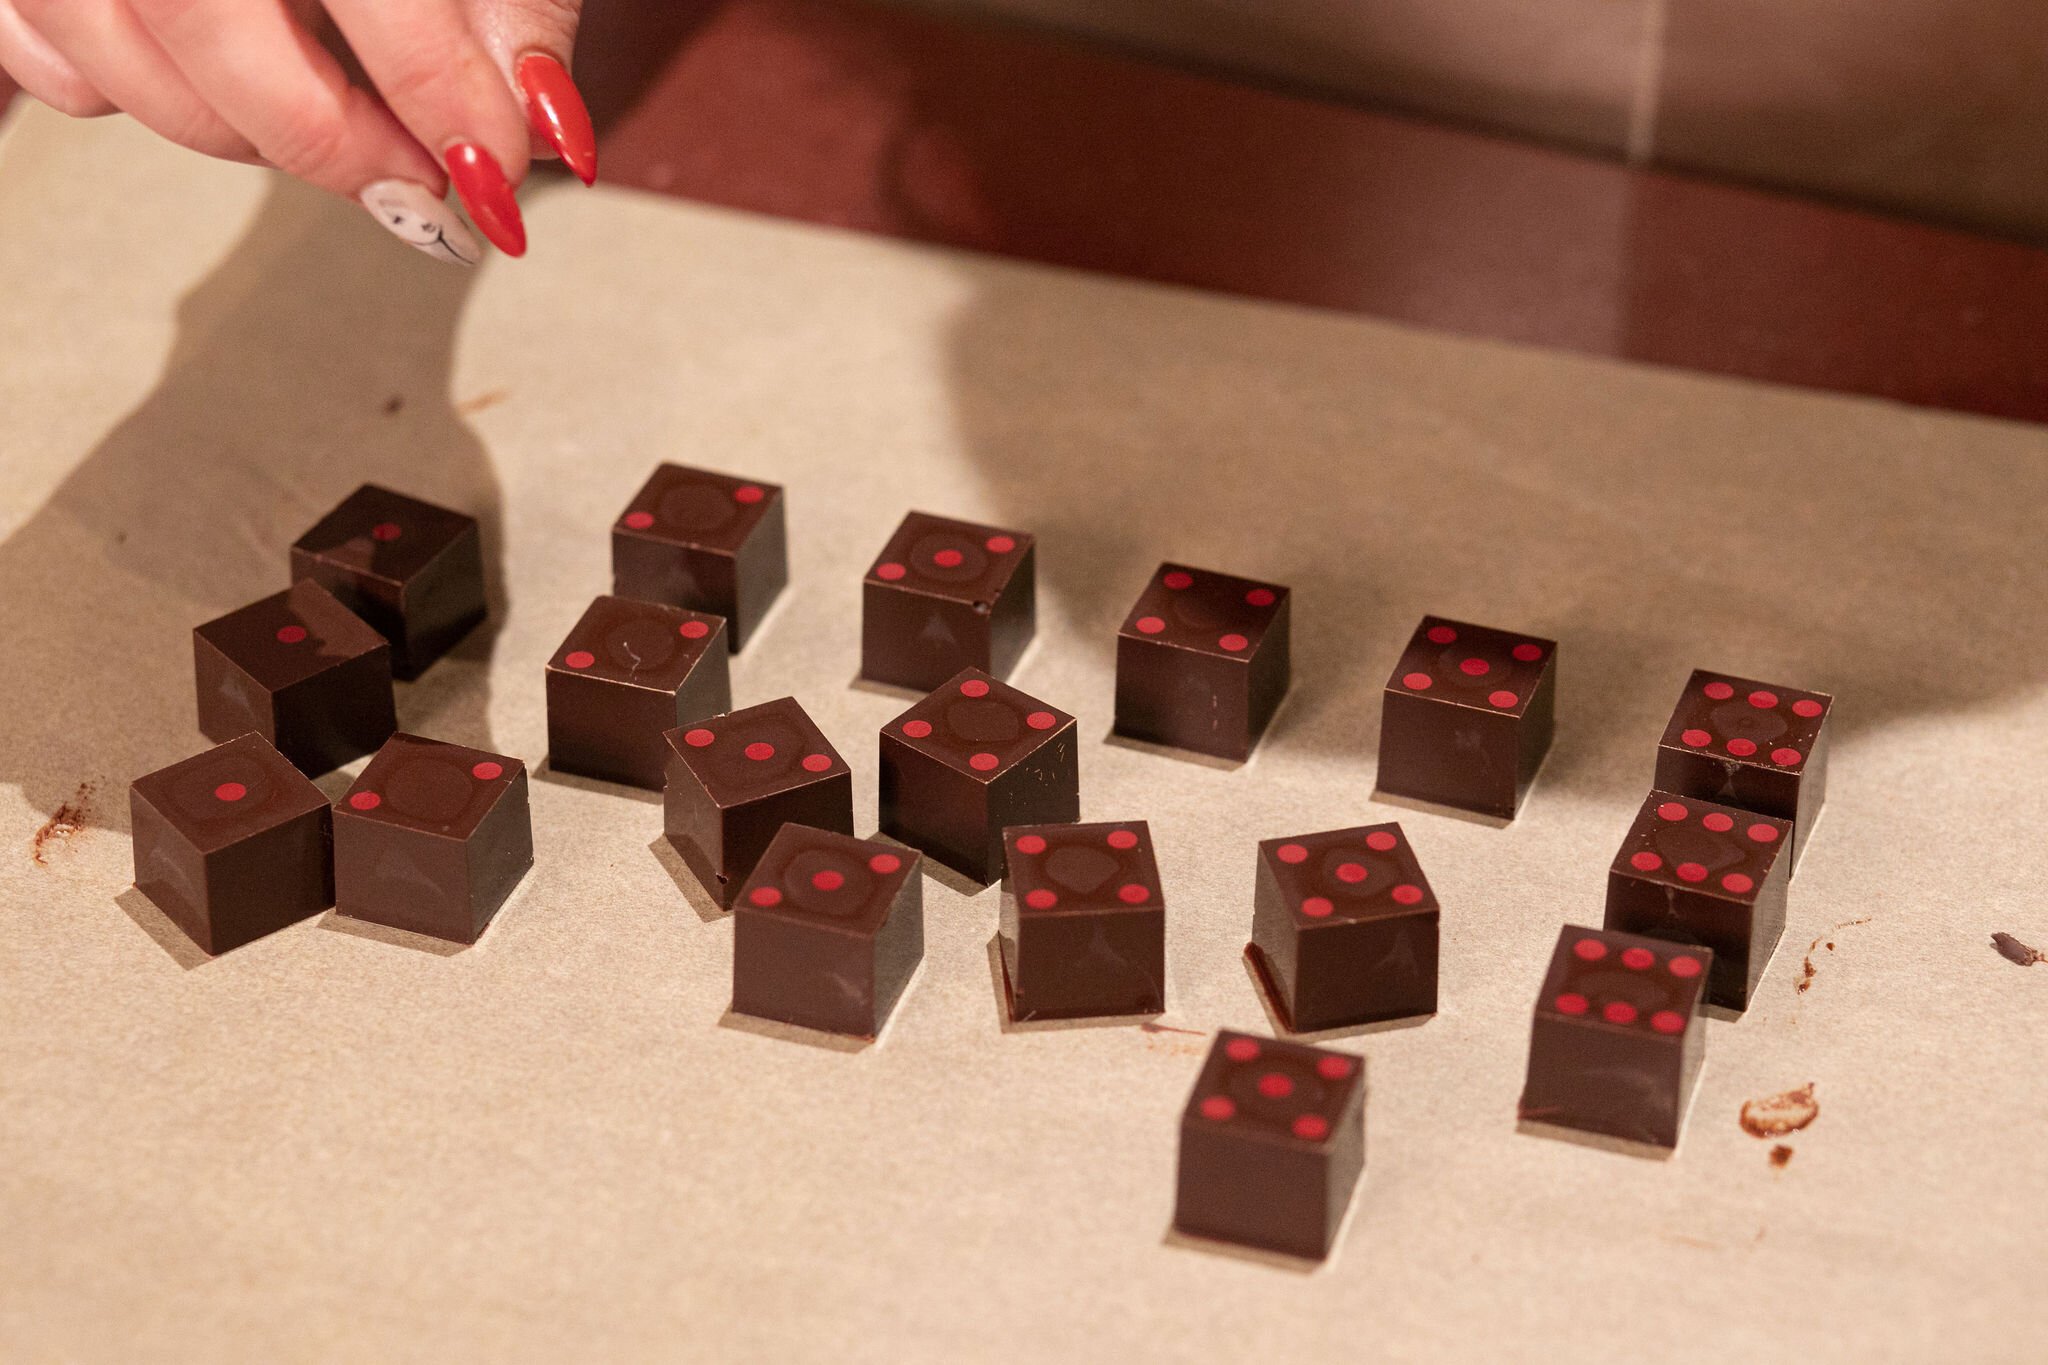
Red Pepper Tequila Ganache in Dark Chocolate ***this is the one in the pictures above***
Apricot Brandy & Dried Apricots in White Chocolate
Chamomile Tea & Honey Jack Daniels Ganache in Milk Chocolate
English Breakfast Tea & Whiskey Ganache in Dark Chocolate
Port Ganache & Drunken Raisins in Milk Chocolate
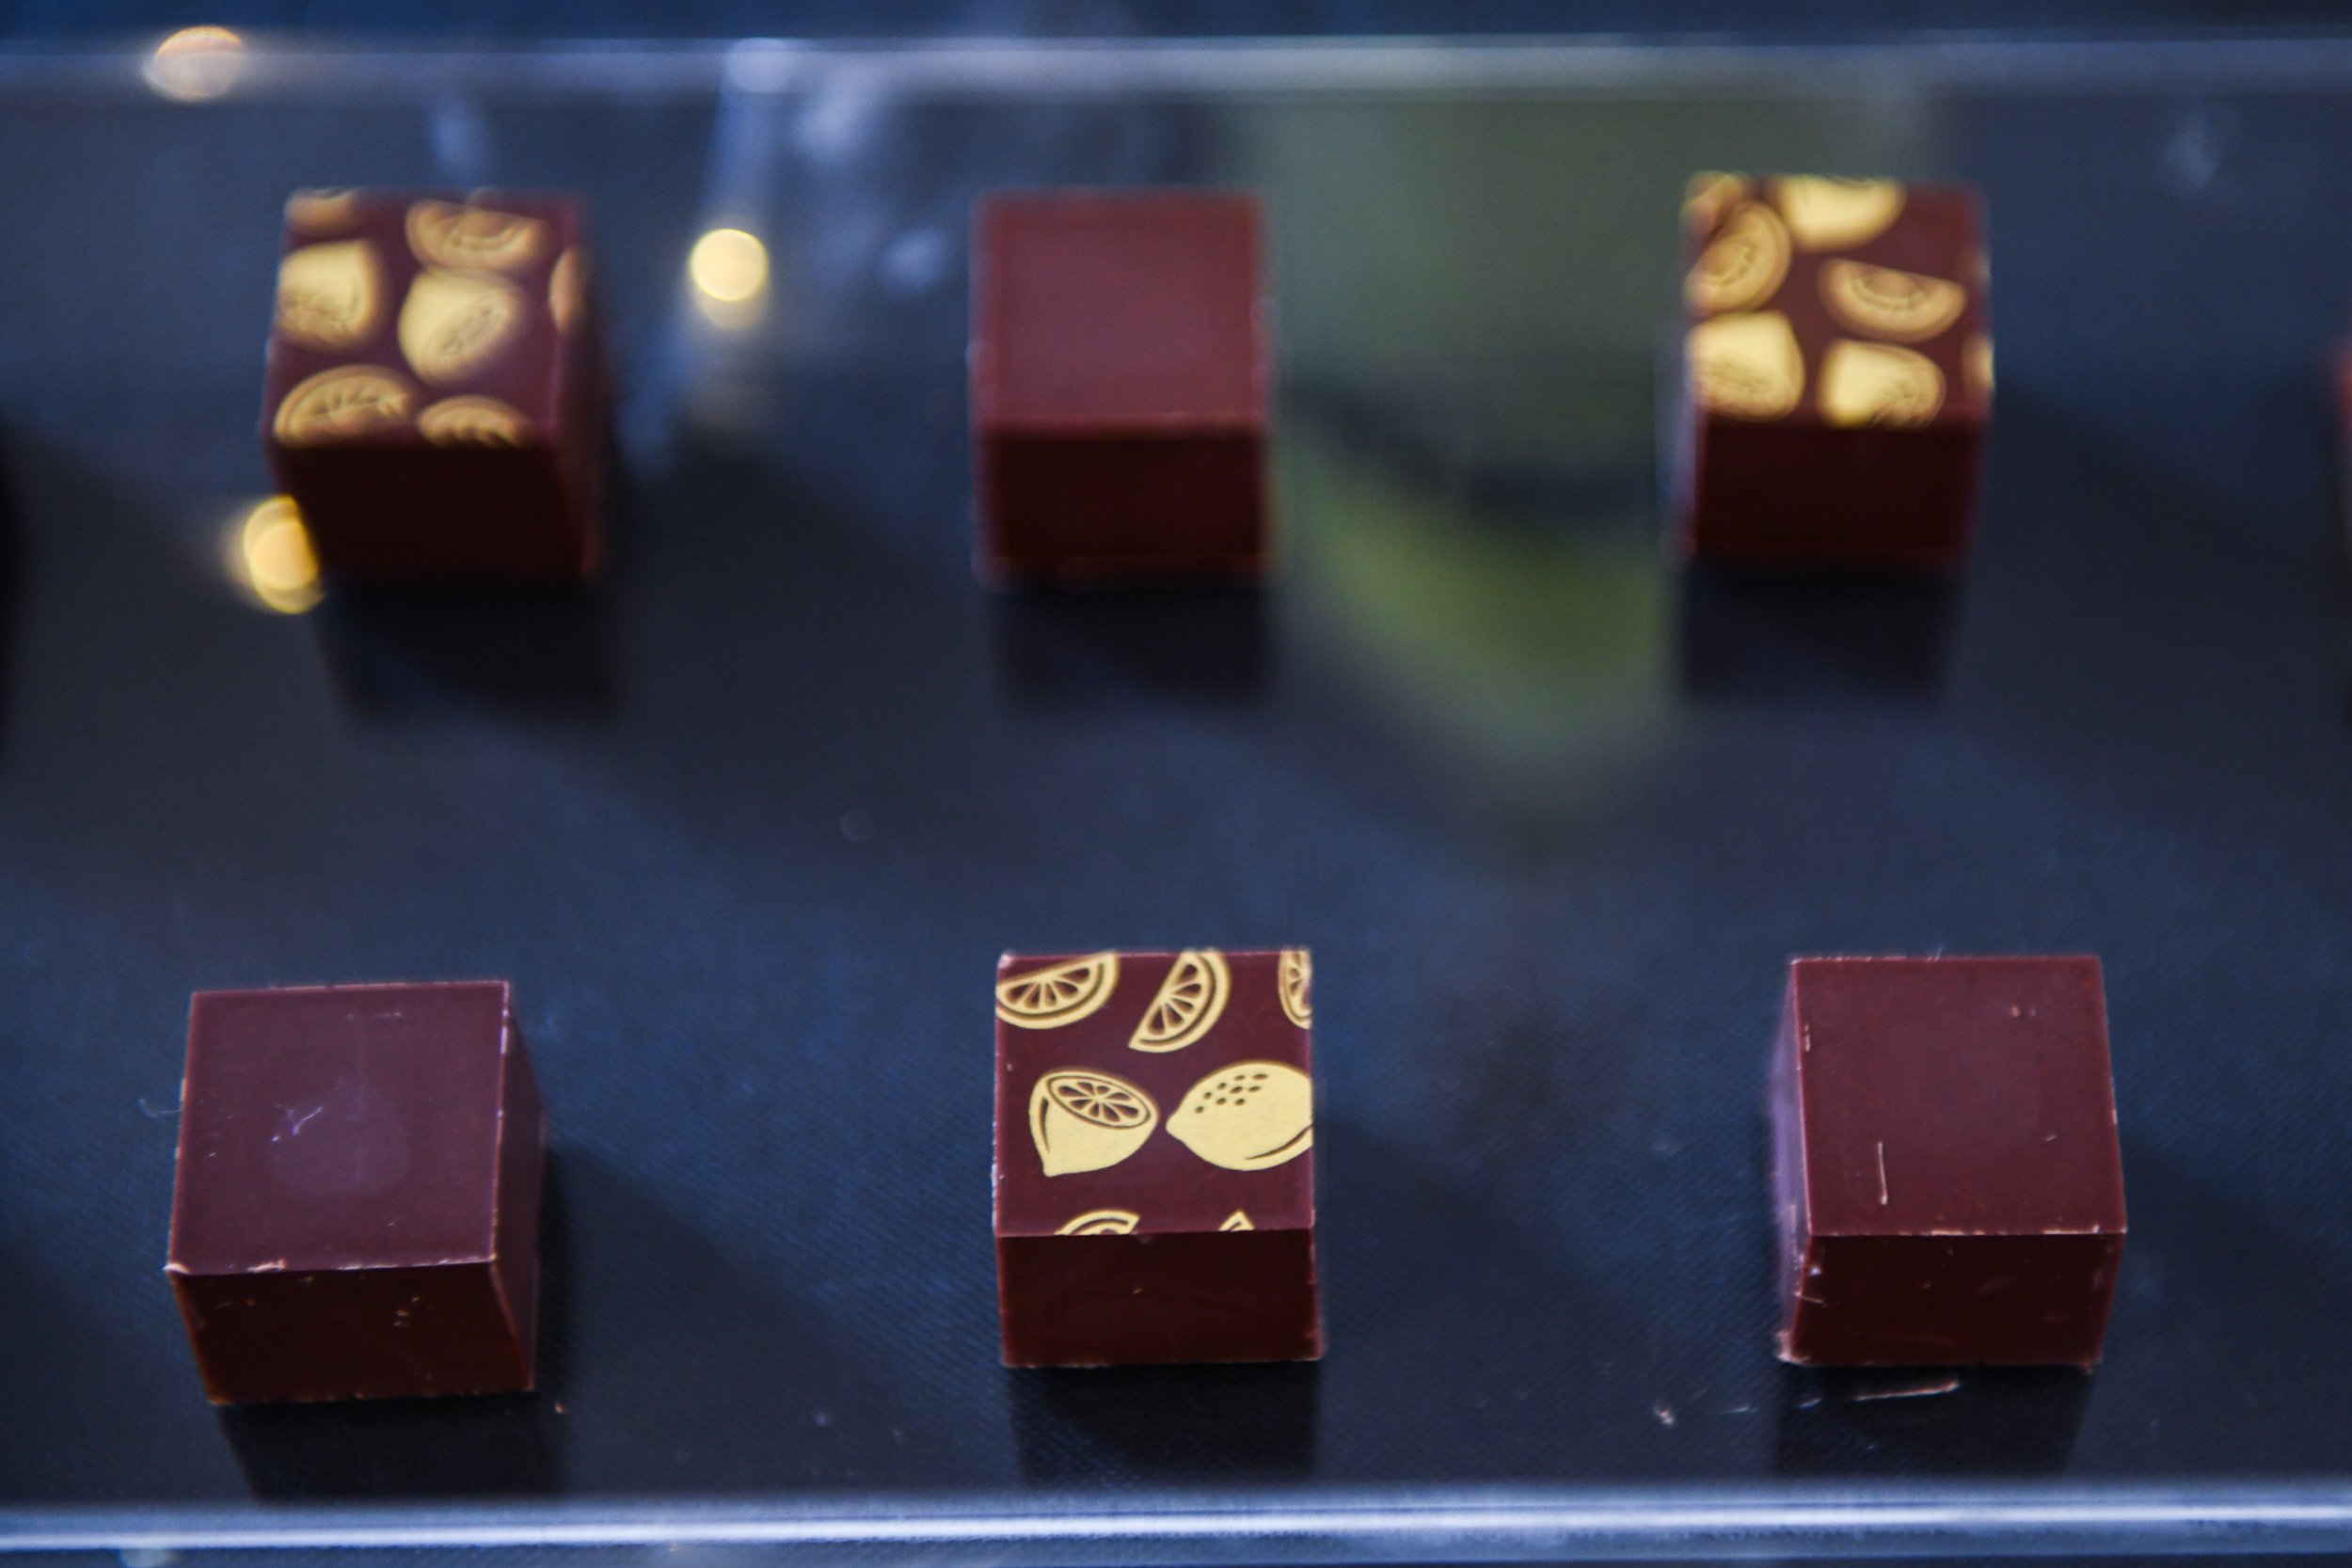
Dark Chocolate Truffles with Limoncello Ganache
Tempering Chocolate In Your Kitchen Aid Heated Bowl
METHOD
Attach your heated bowl to your Kitchen Aid Mixer and plug it in.
Add chopped dark chocolate* to just below the “fill” line and attach the “flex edge beater”
Press the “Manual/Chocolate” mode button once, rotate the dial to 119 degrees
Press the “Start/Cancel” button.
The chocolate will begin to melt after about 7 minutes. Turn the beater on once you begin to see melted chocolate, every few minutes.
Once the chocolate is melted keep the beater on and “seed” chocolate. Seed chocolate is a handful of chopped chocolate that works magic in this process.
Once the seed chocolate is also nearly melted lower the temperature dial to 88 degrees and press the “Start/Cancel” button again.
Make your ganache (recipe below) while your chocolate is working hard to cool its jets and get in temper!
Your chocolate will be “in temper” when the temperature gauge reads 89 degrees. It should look smooth like molasses. This can take up to an hour and will vary depending on time of year, temperature, humidity and elevation. Have faith; I promise it is worth the wait!
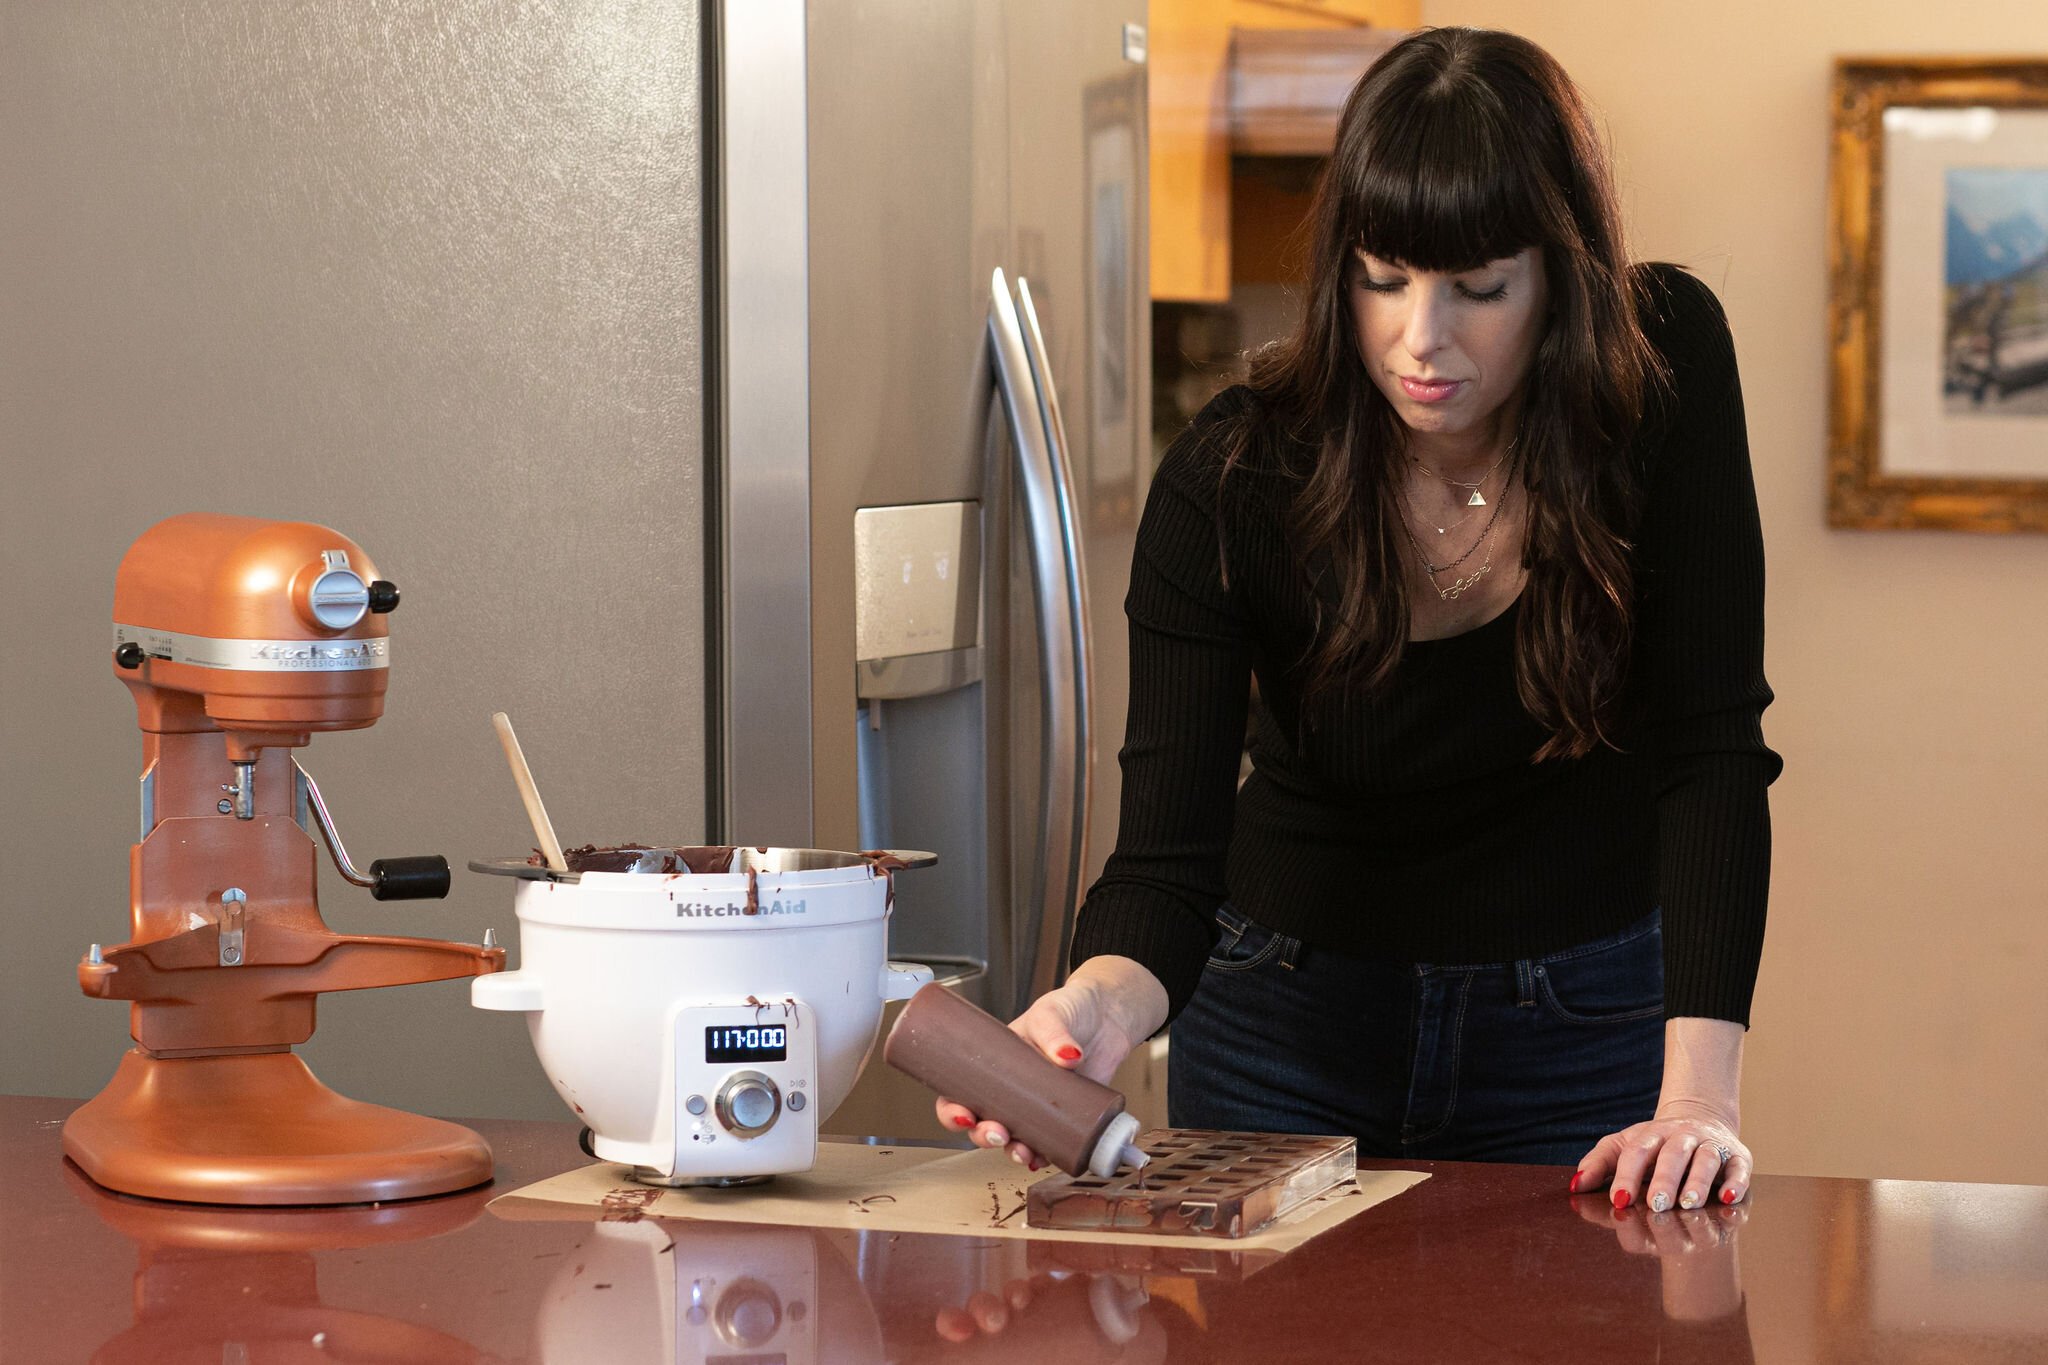
*Better to use a bar of good dark chocolate rather than chocolate chips as the chips have stabilizers in the that can mess with tempering. In my image below, you will see I use chocolate disks. This is different than chocolate chips and works well too.
White Chocolate Limoncello Ganache
INGREDIENTS - Ganache
1/2 cup heavy cream
10 oz white chocolate, chopped
1 teaspoon lemon juice
1/6 cup Limoncello
1 tsp lemon extract
2 tsp fine lemon zest
METHOD - Ganache
In a small saucepan bring the cream to a boil over medium heat. When the cream doubles in size, remove from heat and stir in white chocolate until all of the chocolate melts and the ganache is smooth. If you still have bumps you can place the sauce pan over extremely low heat and constantly whisk until everything is melted.
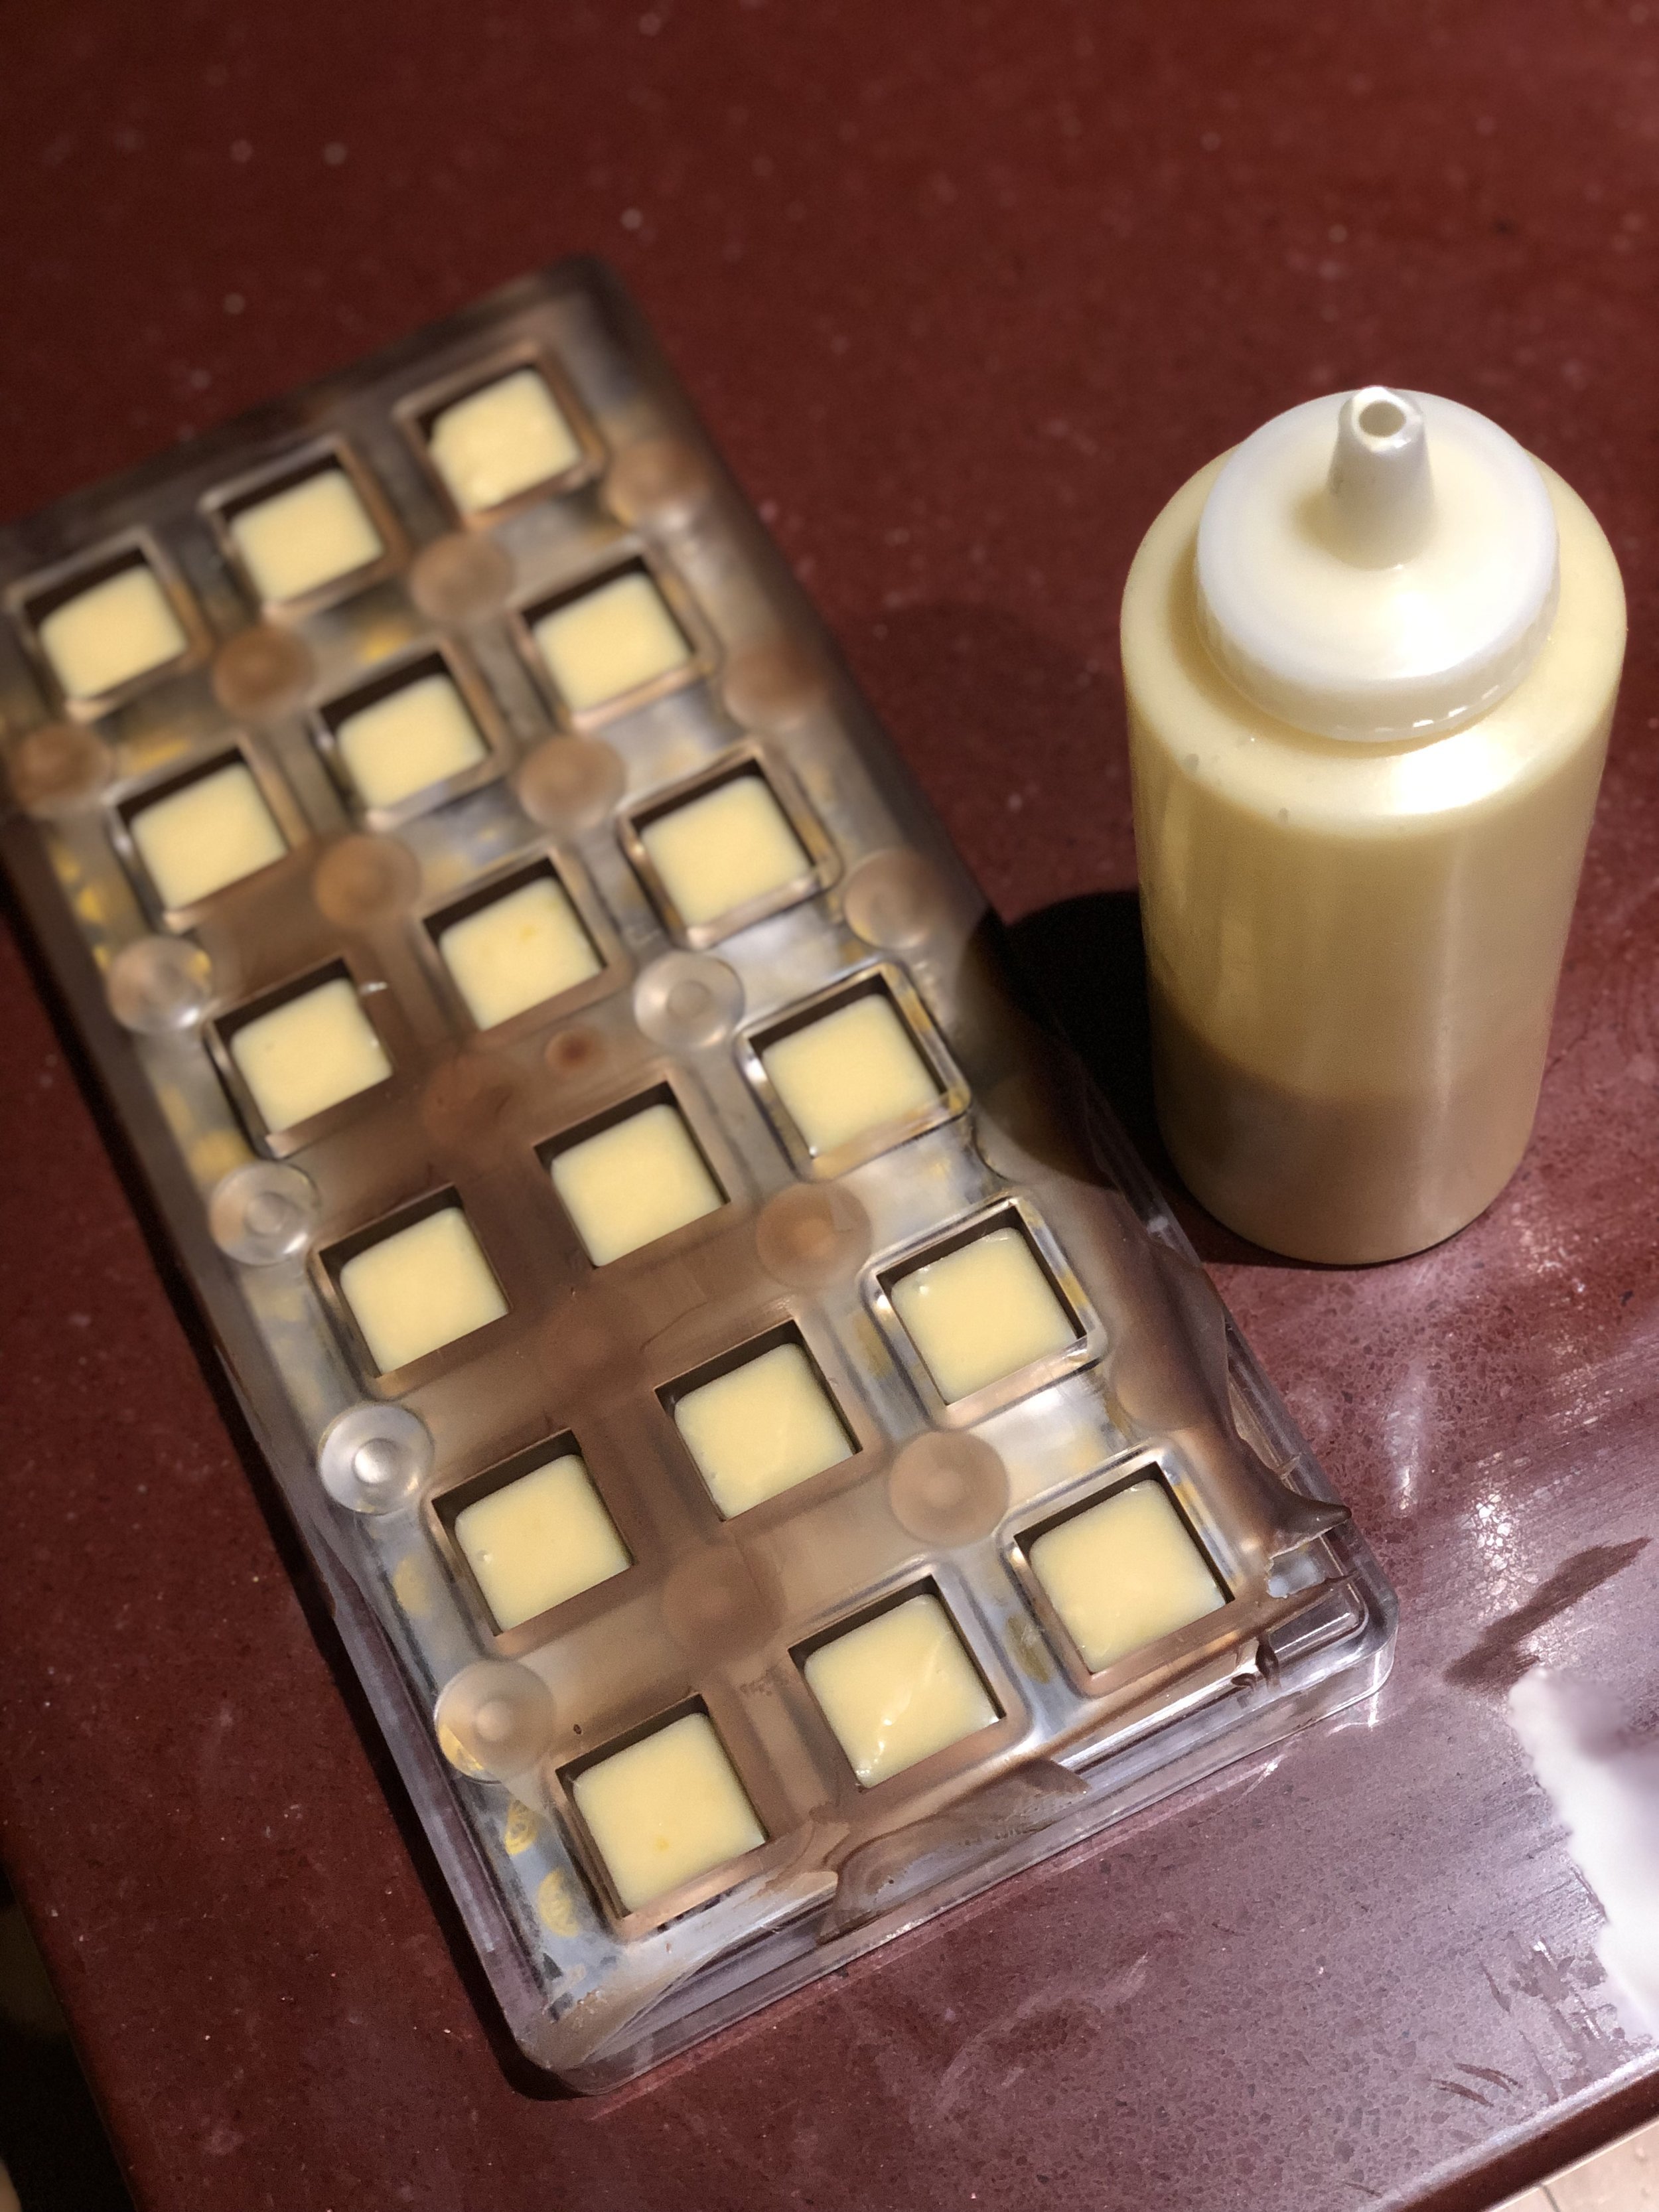
Whisk in lemon juice, Limoncello, lemon extract and lemon zest. Allow to cool to room temperature before pouring ganache into a squeeze bottle.
Make Your Truffles!
METHOD - repeat for both molds
If your using cocoa butter transfer sheets, trim them to fit in your magnetic mounds. BE SURE to face the cocoa butter side to face the chocolate and clip them into place with the back part of your mould.
Clear a shelf of your refrigerator and line it with parchment paper.
Turn off the beater and bring your beautiful bowl of melted chocolate to your work area lined with parchment paper. You will need a scoop (I like to use a 1-cup dry measuring cup), your molds and your flat metal scraper.
Scoop your tempered chocolate onto the full surface of the mold.
Shimmy your mold so that the chocolate fills the cavities fully.
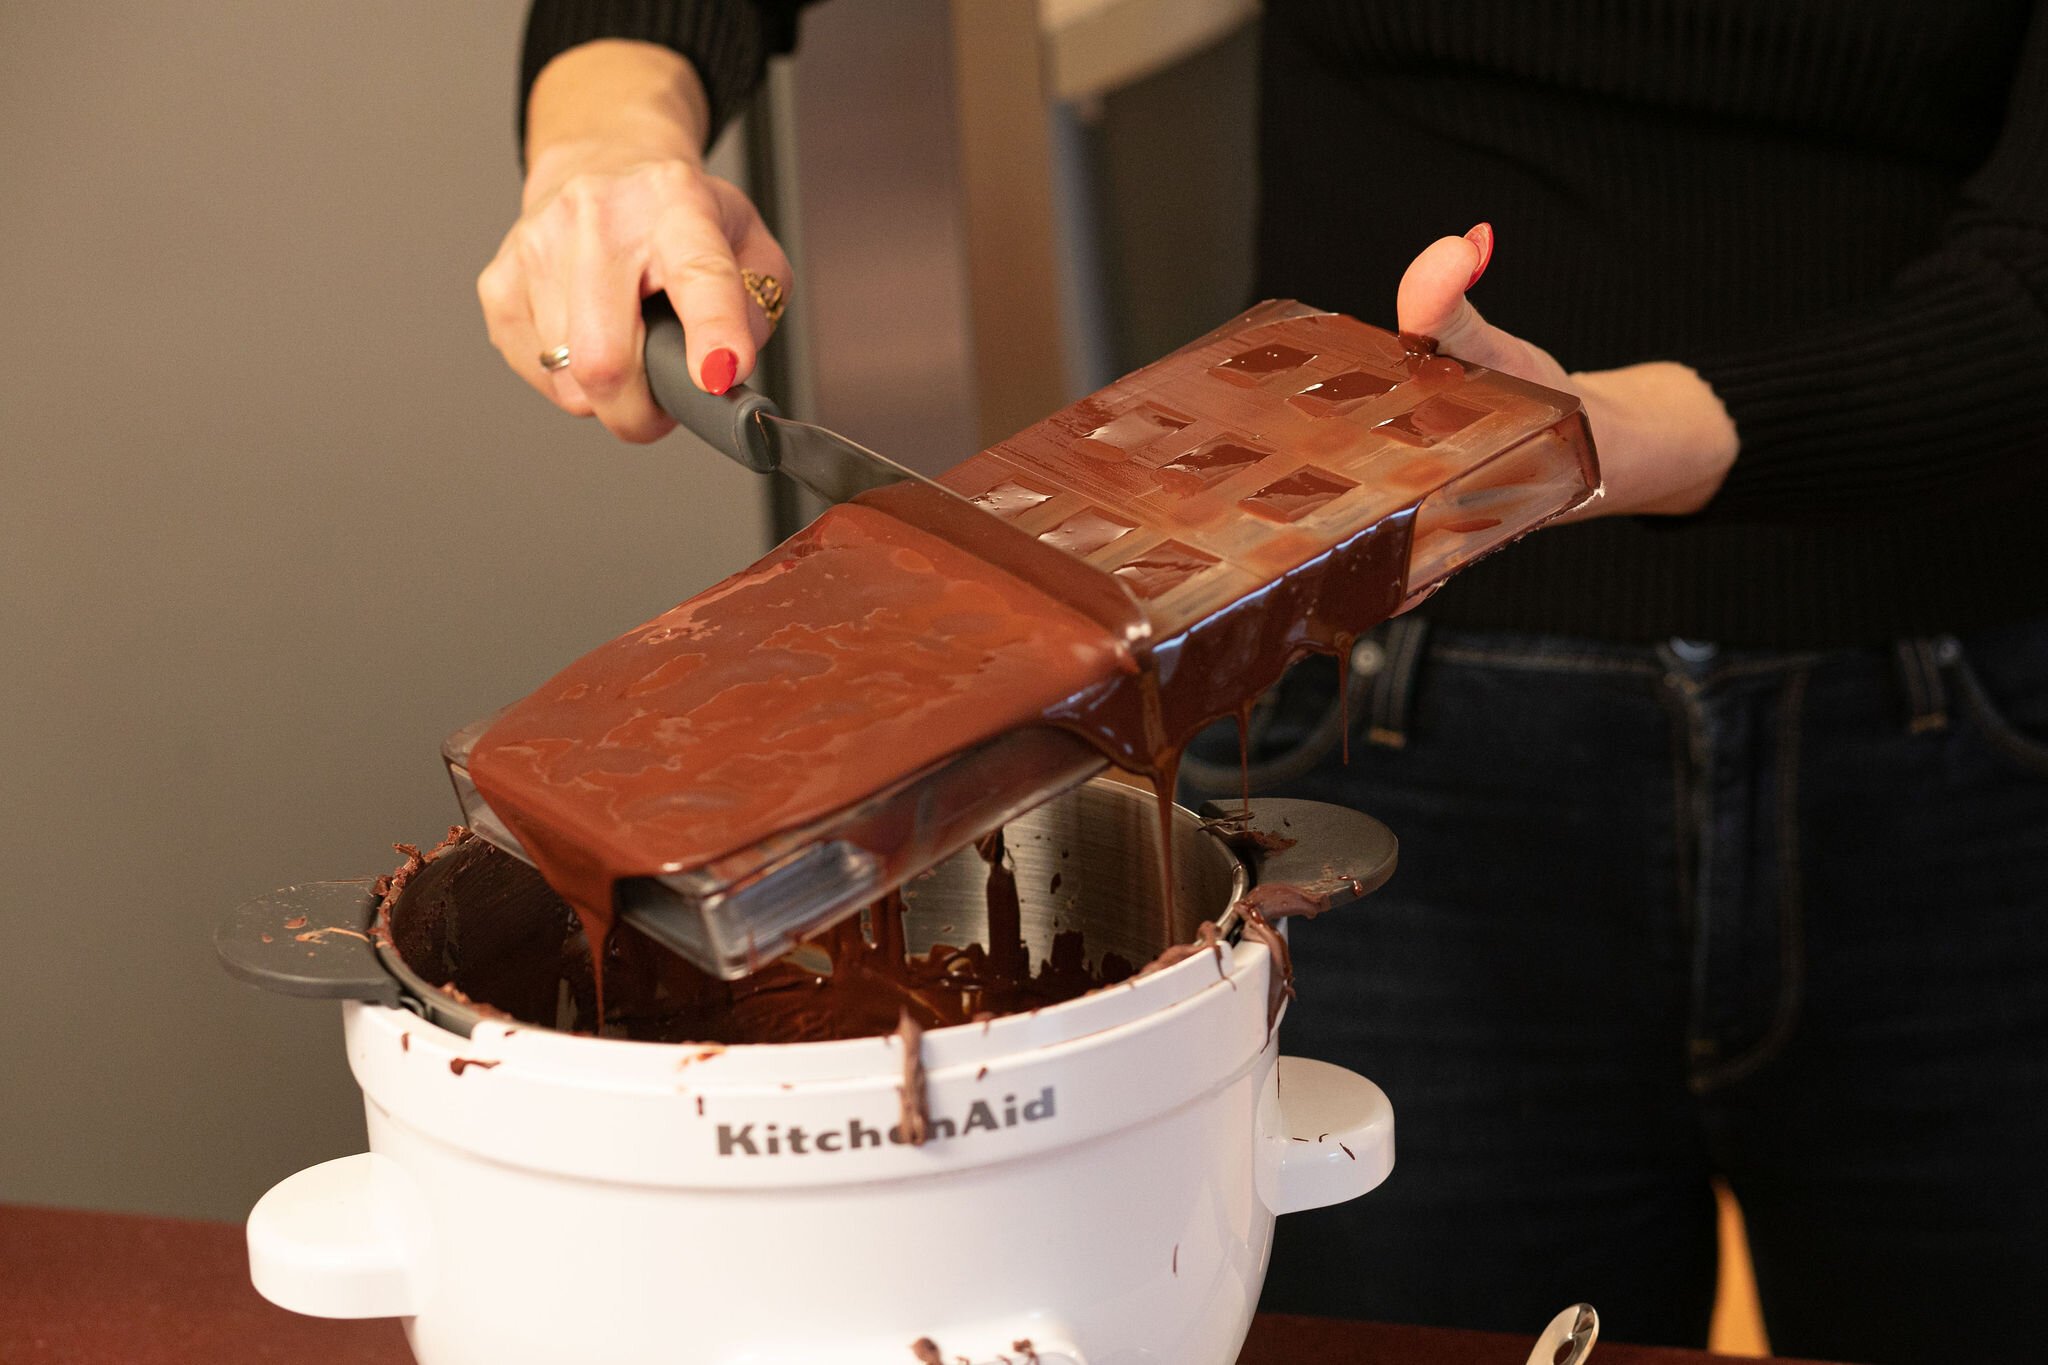
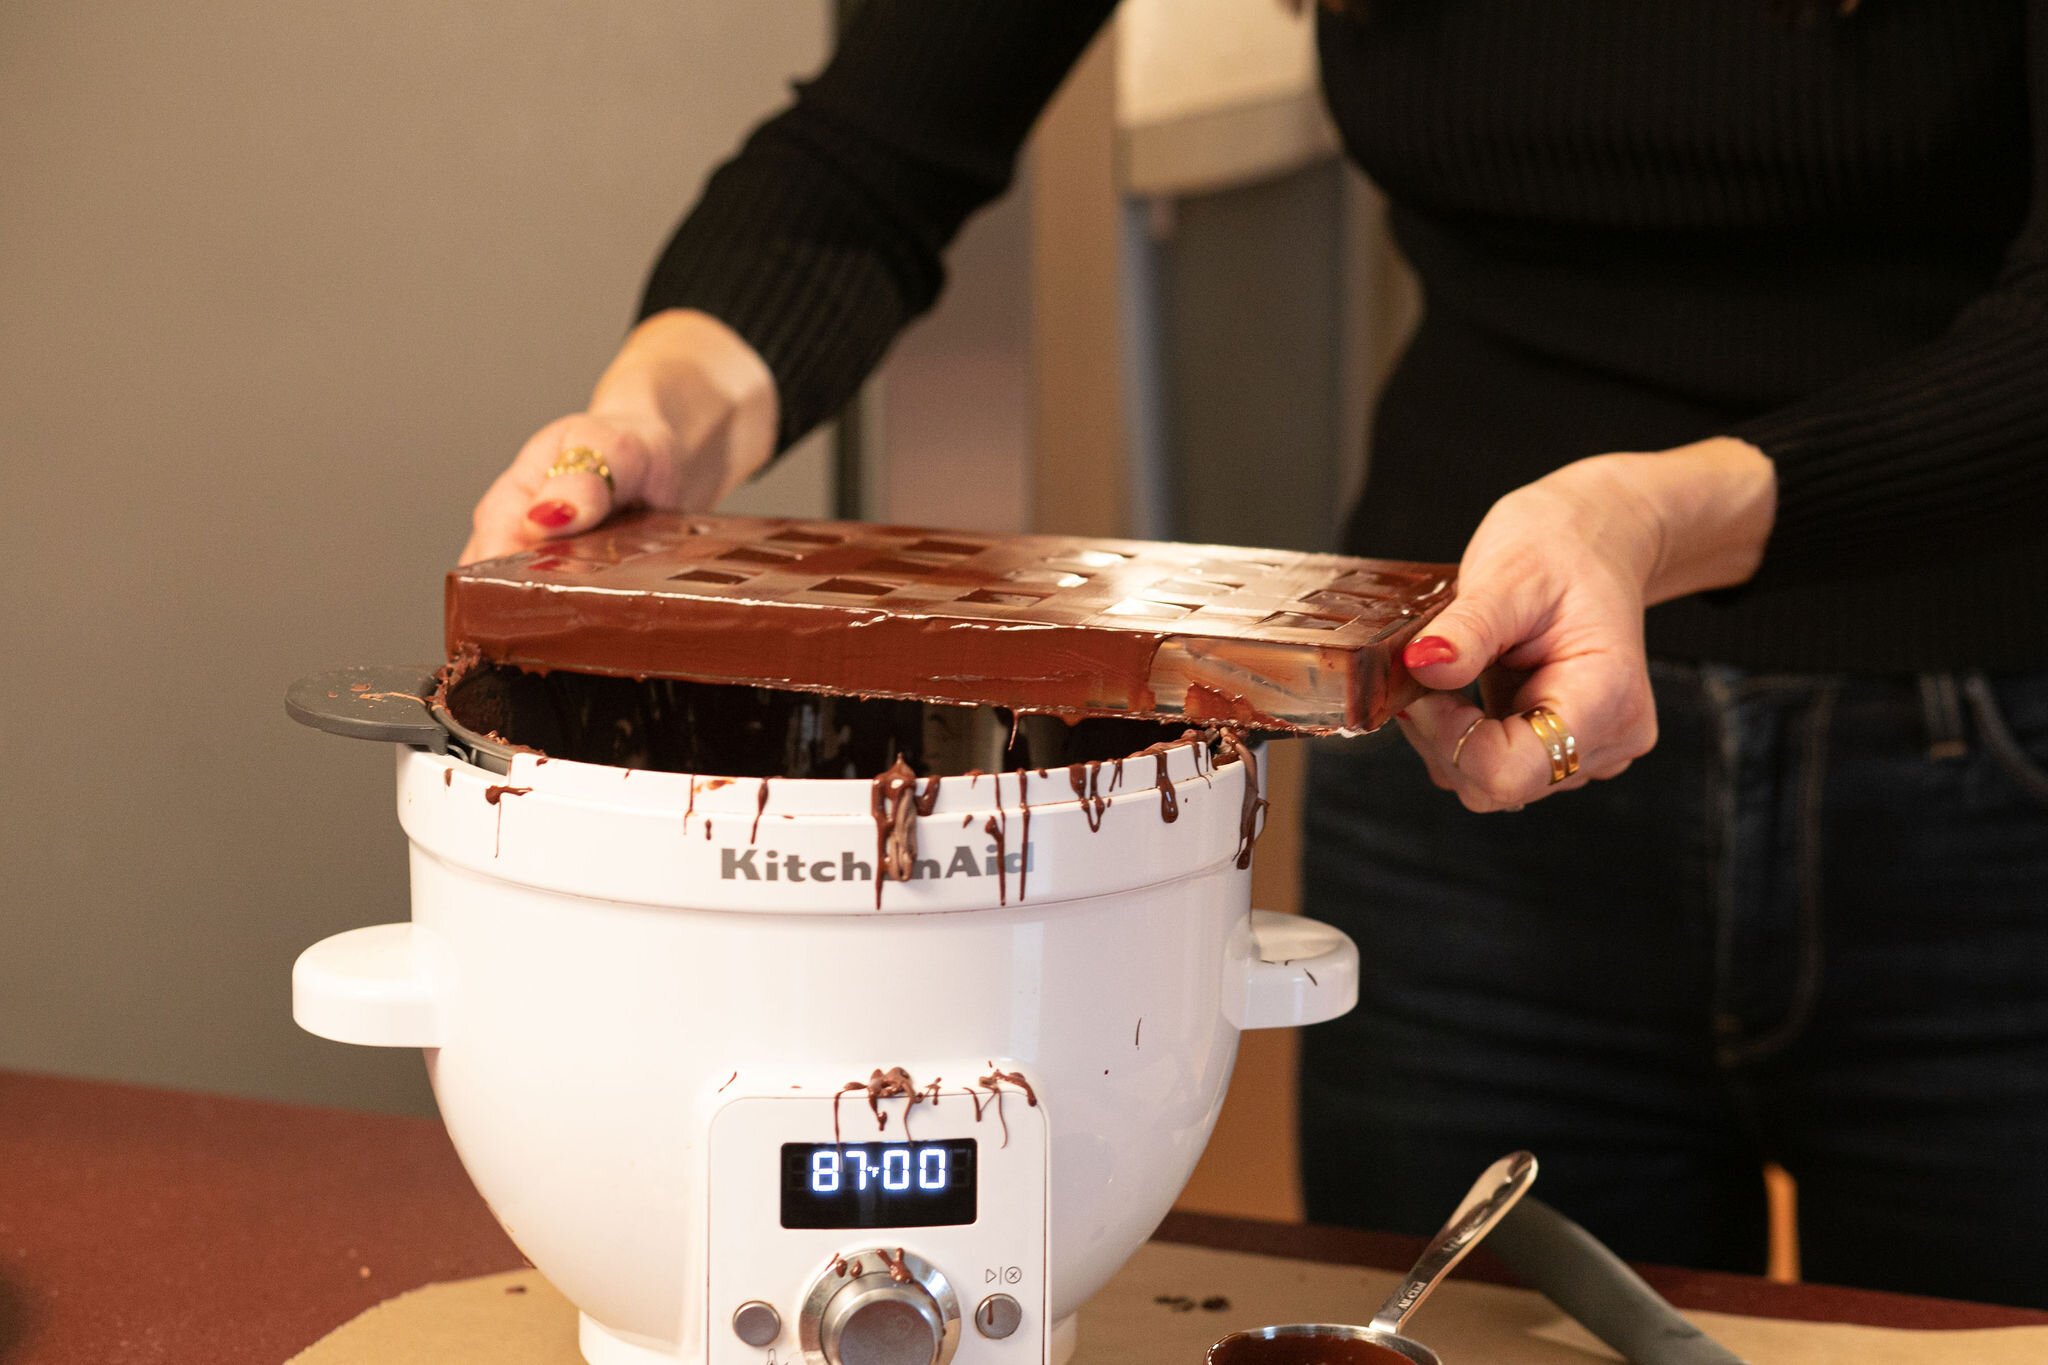
Using your flat metal spatula, scrape the chocolate off the top and sides of the mold.
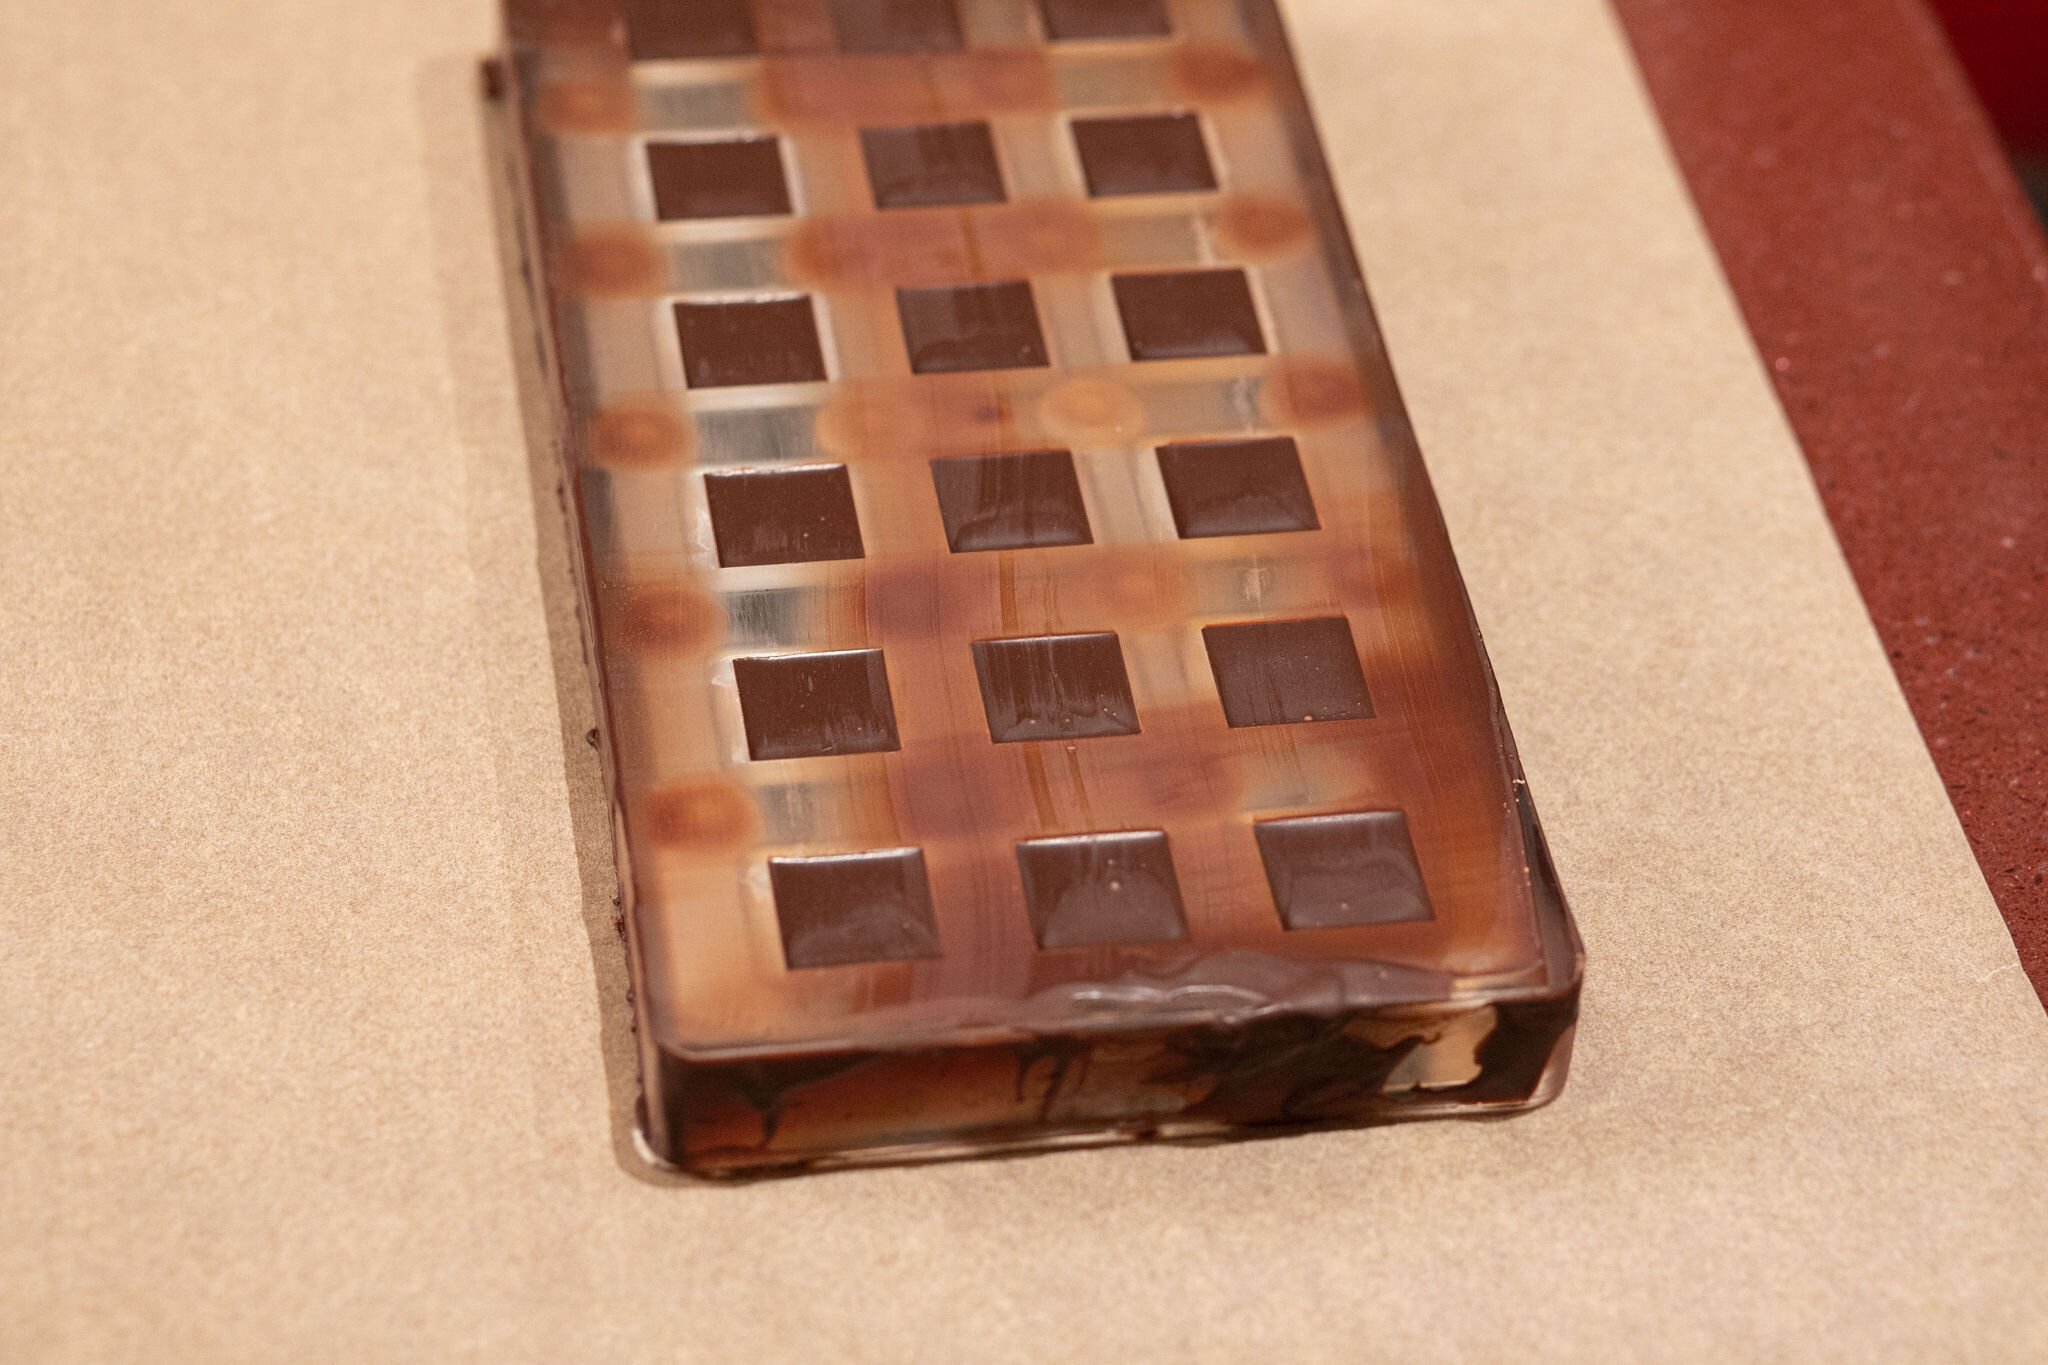
Dump. Yes, flip your mold over and gently shake the chocolate out.
Flip your mold back over and again scrape the full surface of the mold top and sides.
Place your mold into the refrigerator on your prepared shelf.
Return your bowl of chocolate to the kitchen aid mixer, turning the beater on low.
Let your chocolate in the refrigerator rest and set for 30 minutes.
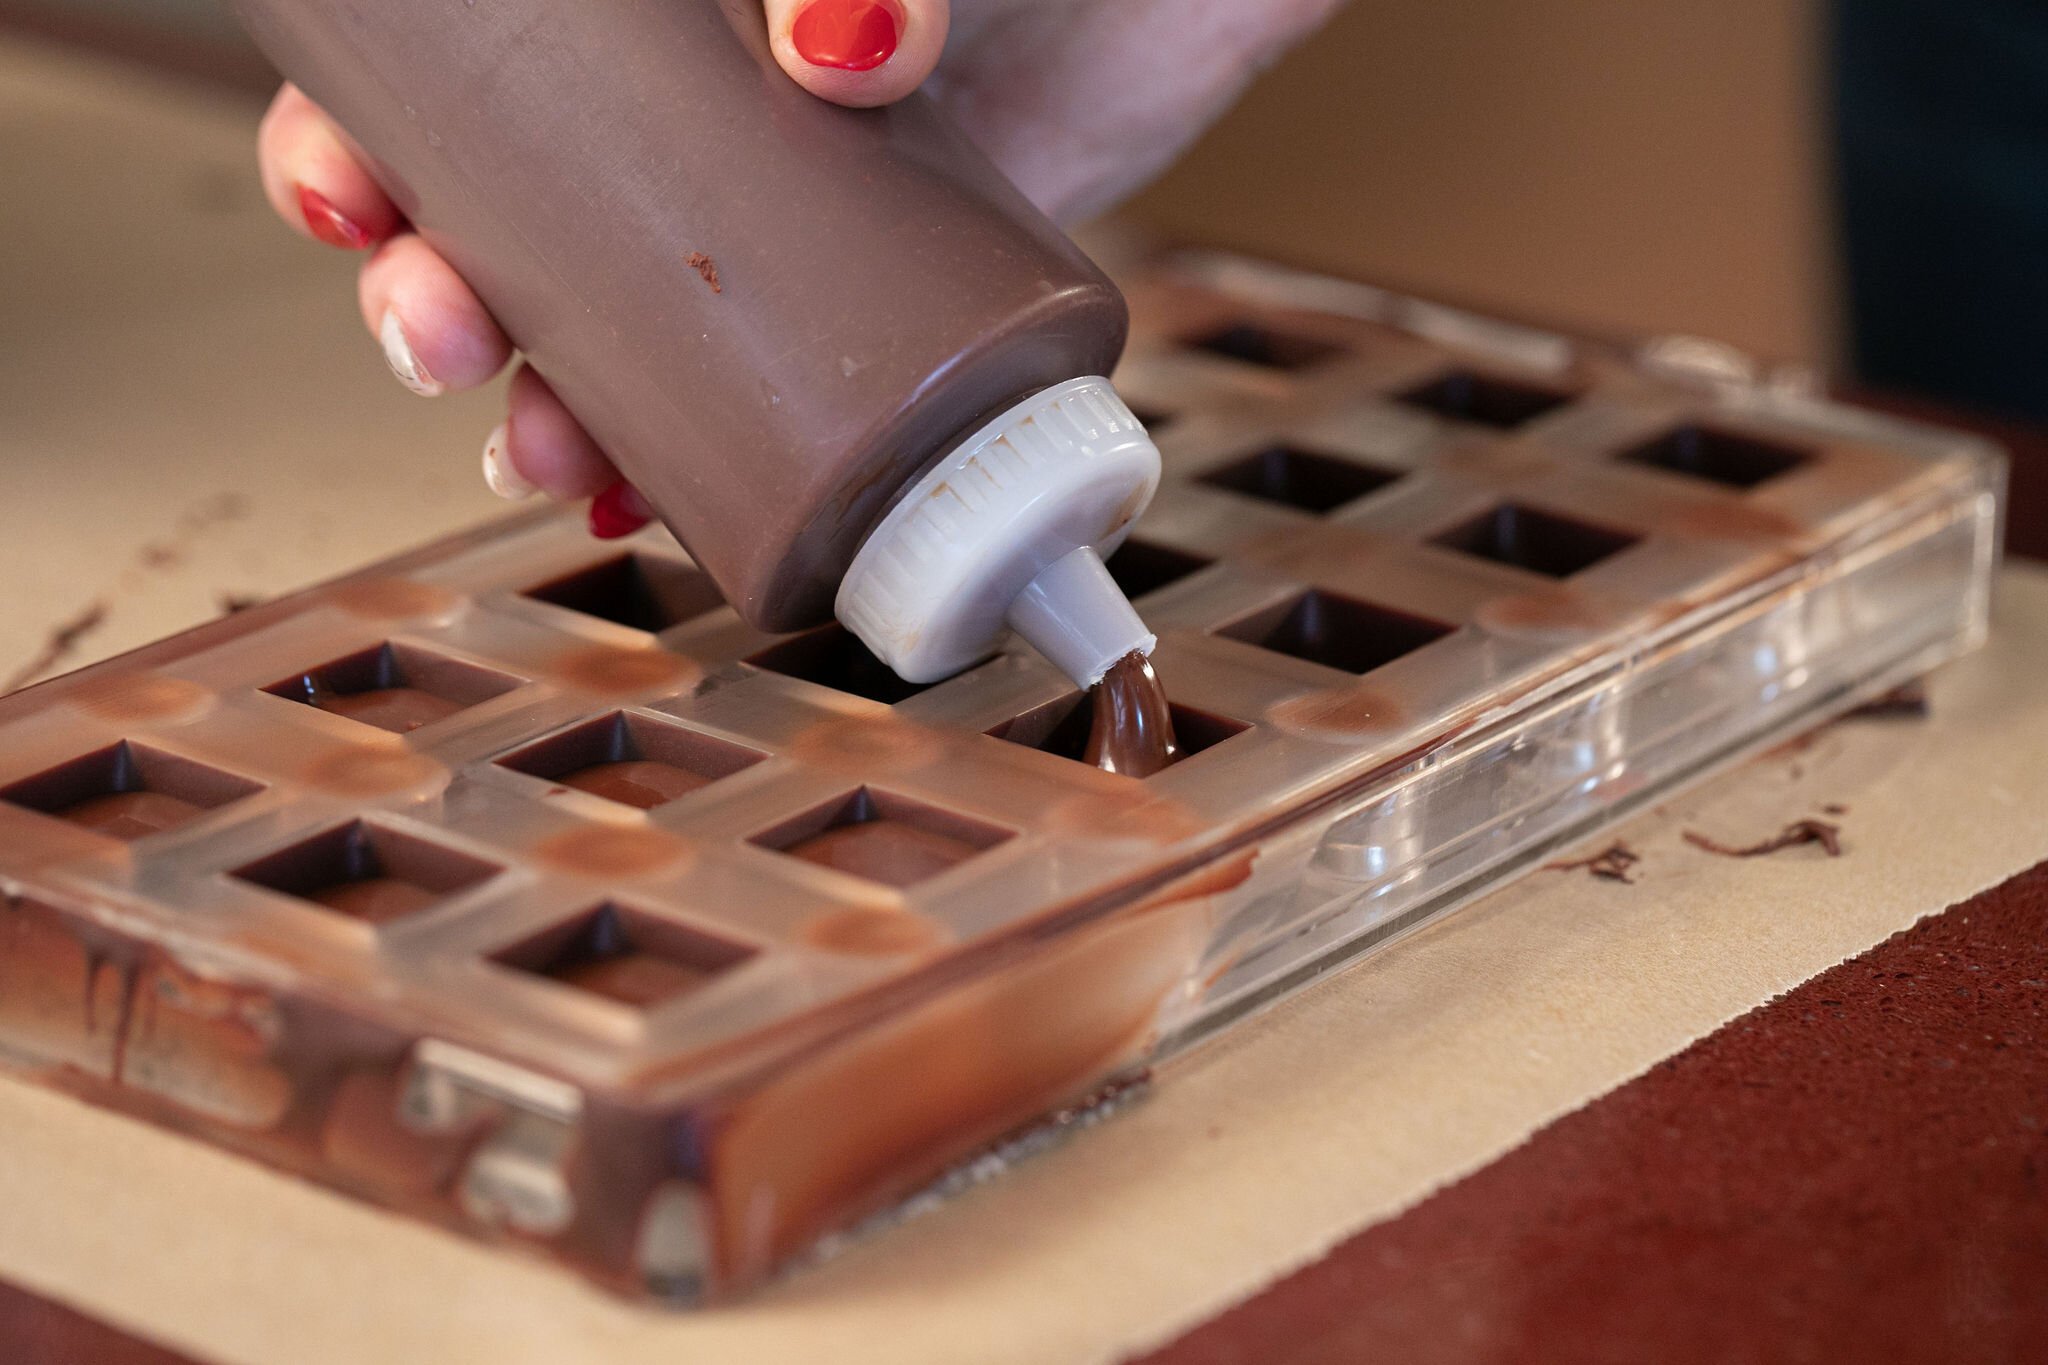
Remove your set molds from the refrigerator and fill each cavity, from the squeeze bottle, with the prepared ganache.
Return your molds with ganache back to the refrigerator and allow the ganache to set for 30 minutes
Remove your set molds from the refrigerator and after bringing the tempered chocolate back to your working area, scoop your tempered chocolate onto the full surface of the mold.
Shimmy your mold so that the chocolate fills the surface.
Using your flat metal spatula, scrape the chocolate off the top and sides of the mold.
Tap your mold on the surface of the counter to remove any possible air bubbles.
Check for any holes and if you see any, dip your finger into the tempered chocolate bowl and touch the hole.
Make sure the surface is smooth using the flat metal scraper again if needed and return the molds to the refrigerator.
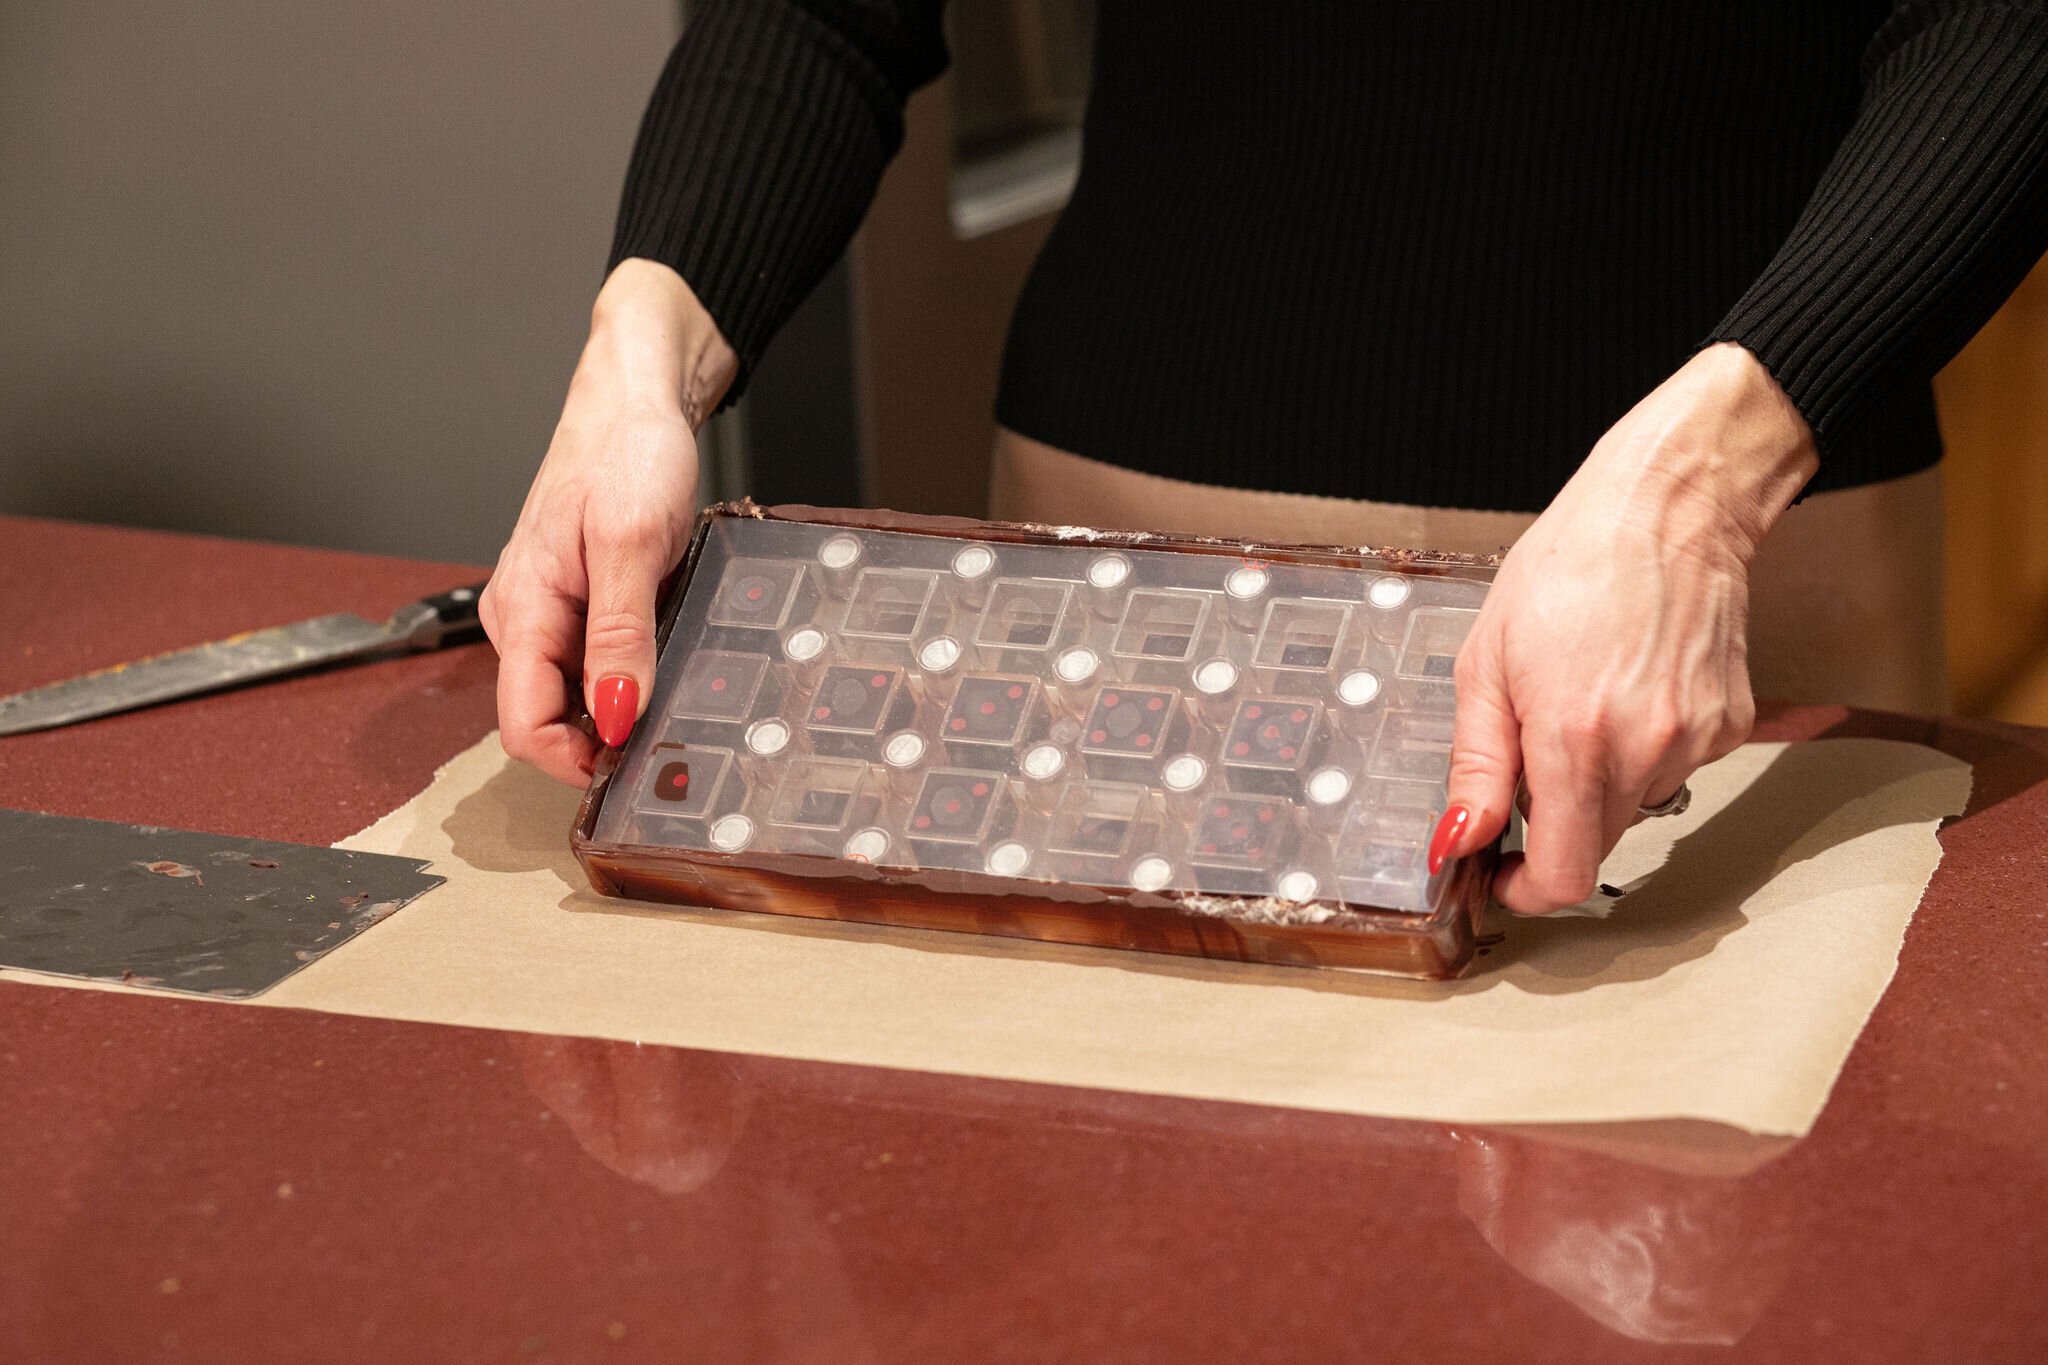
2 hours hours later or the next day, remove your molds from the refrigerator, remove the metal back of your mold and gently “pop” out your truffles onto a clean piece of parchment.
Taste one and know that you have accomplished a great feat and I am SO proud of you!!!!
Check out some Flaweless Italian wine pairings for this dessert!


