A Gluten-Free Thanksgiving

Thanksgiving with awe
How to make an extraordinary feast that’s also gluten-free.
Food & Wine pairing for Thanksgiving plus a dry sakitini welcome cocktail.
Christine’s round-up of every tool, dish and glassware you’ll need for it all!
It’s not a small task to make a succulently juicy and delicious turkey and most of us don’t get to practice the process more than once or twice a year. In this episode of Flaweless TV, I reveal everything I’ve learned from my mother, the incredible restaurant chef’s I’ve worked with and my own experience attempting to master the big bird feast. This is a culmination recipe for turkey that, year after year, guests exclaim:
“This is the best turkey I’ve ever had!”.
Oh, and it’s also gluten-free but to be honest, that’s not a big deal when it comes to a roasted turkey. It is, however, a big deal when it comes to gravy so I’m also sharing my signature recipe for gluten-free champagne gravy. Watch the episode below to learn everything! I hope you enjoy it and find the many other Thanksgiving tips and tools helpful in the blog beneath.
Happy Thanksgiving Friends!
I’ve broken up the full episode into four smaller bites for you. Feel free to zooooooooooom into the clip you need or watch the full episode at the bottom!
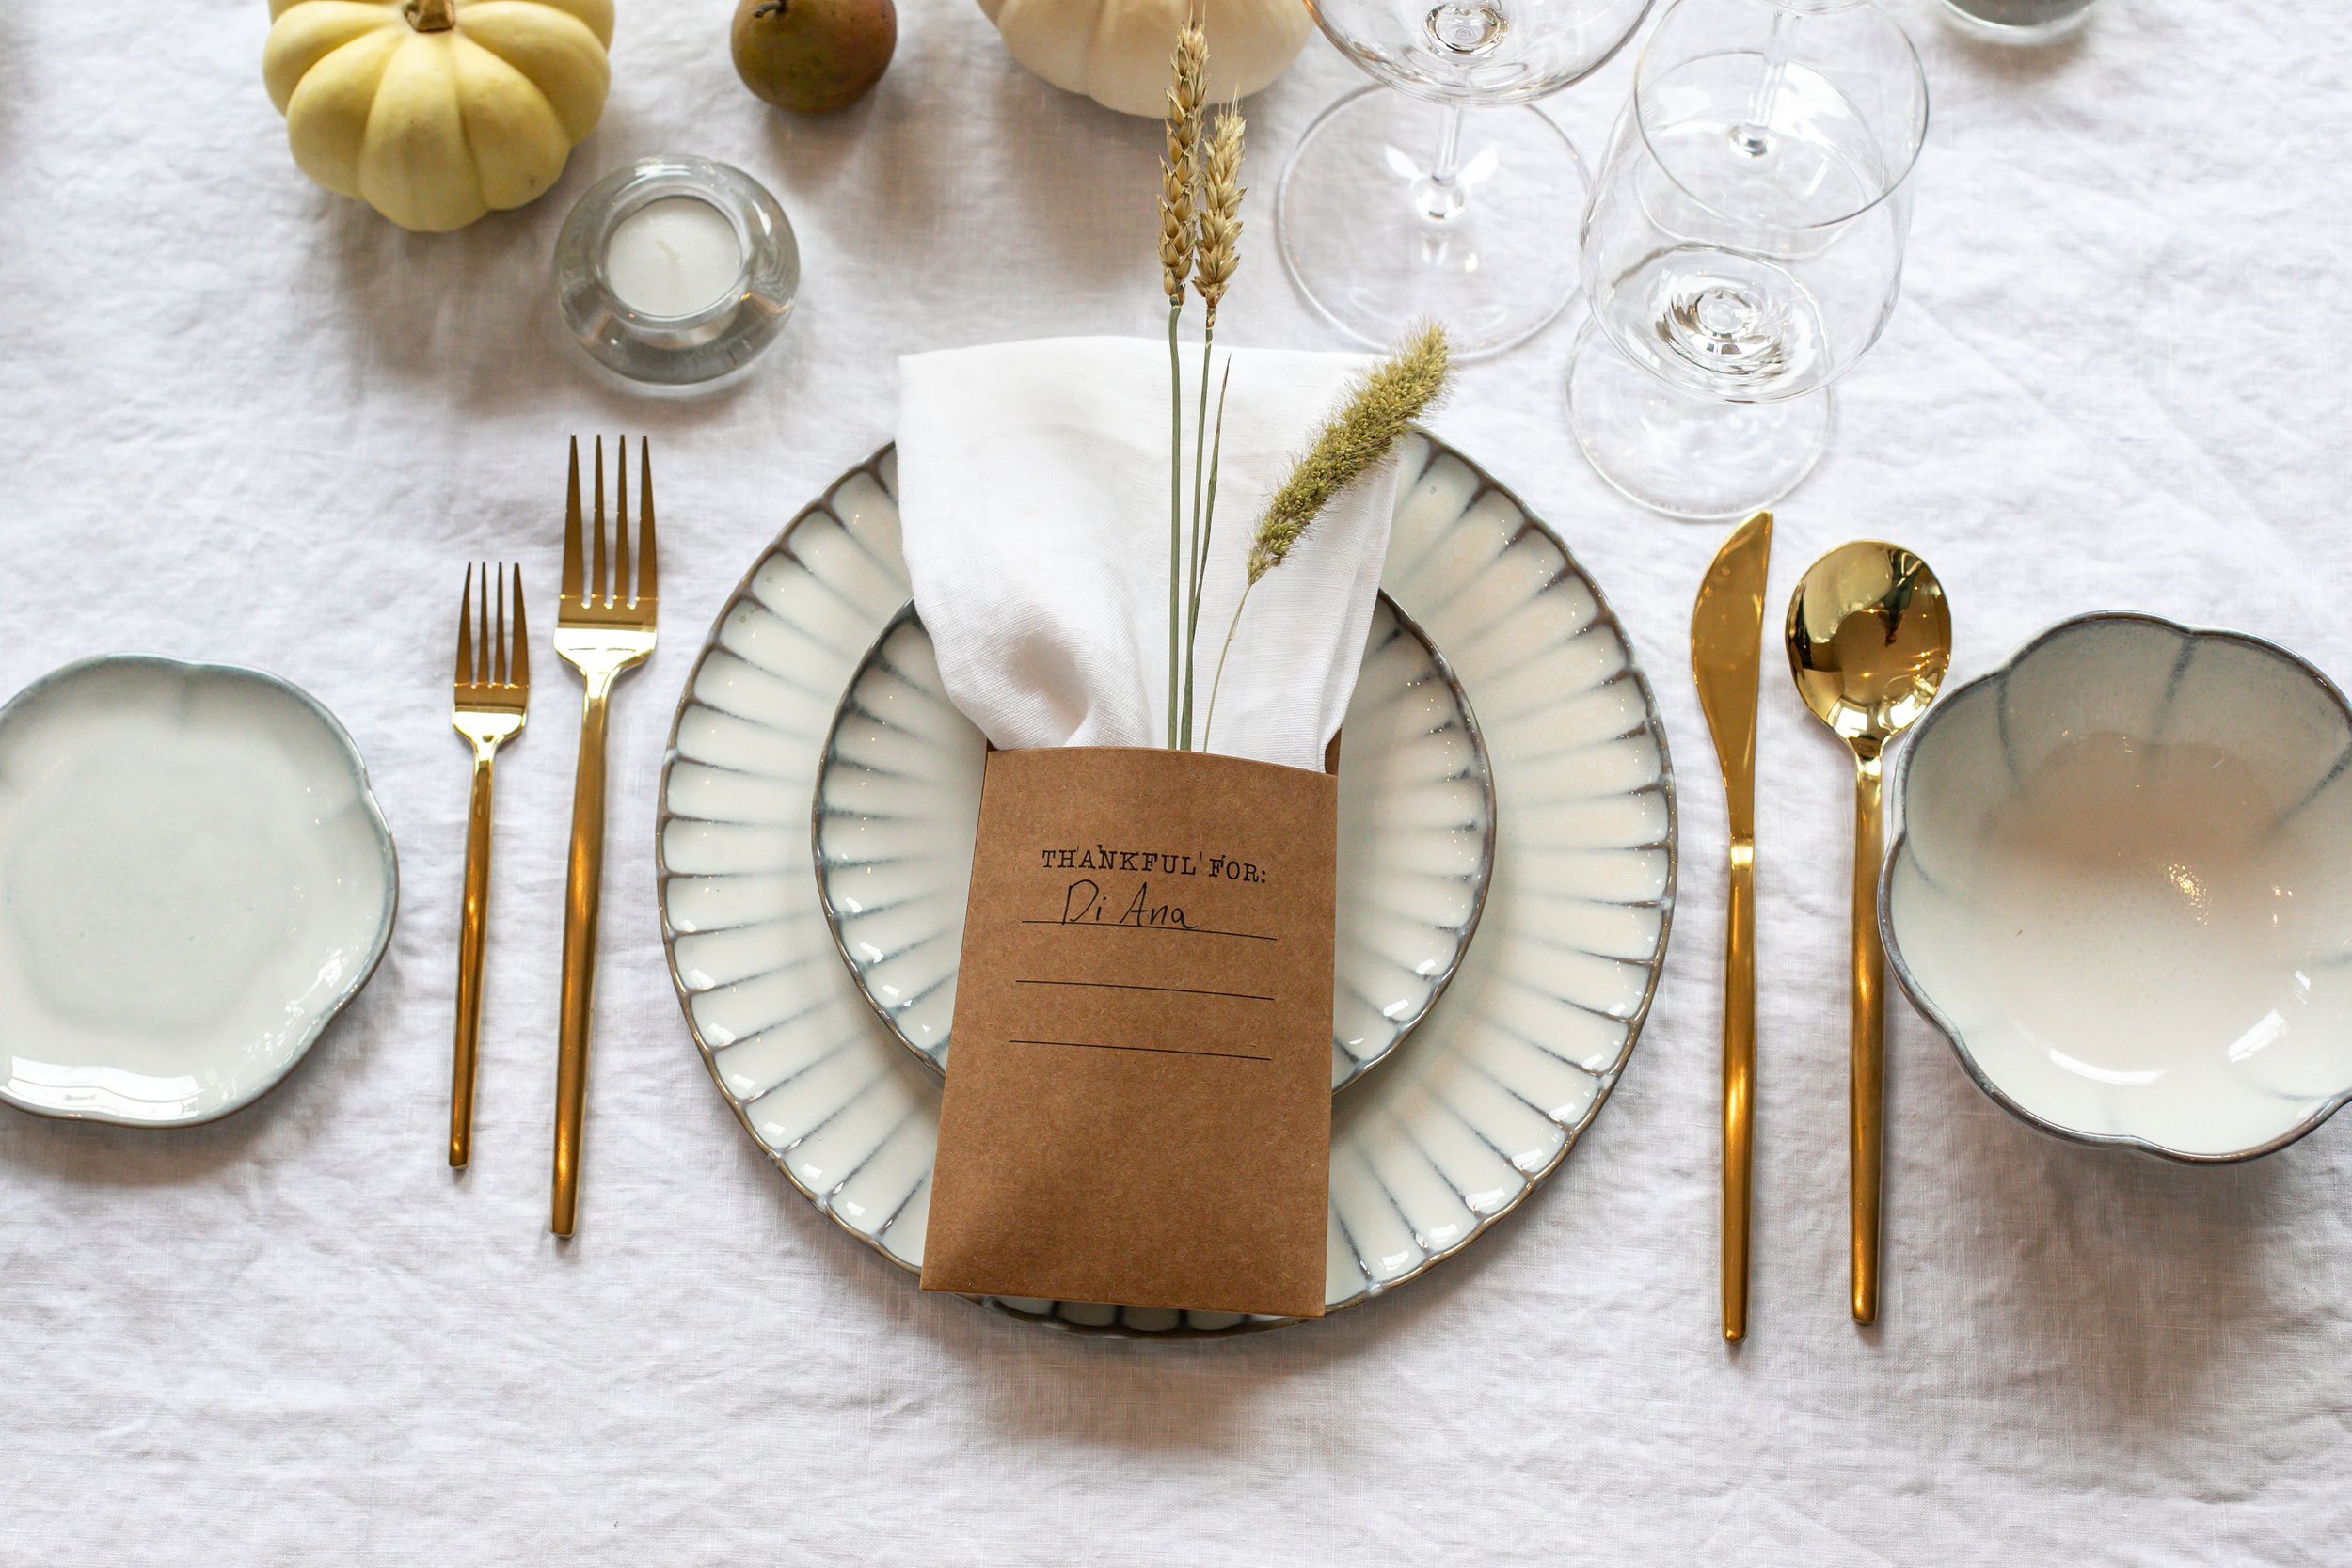
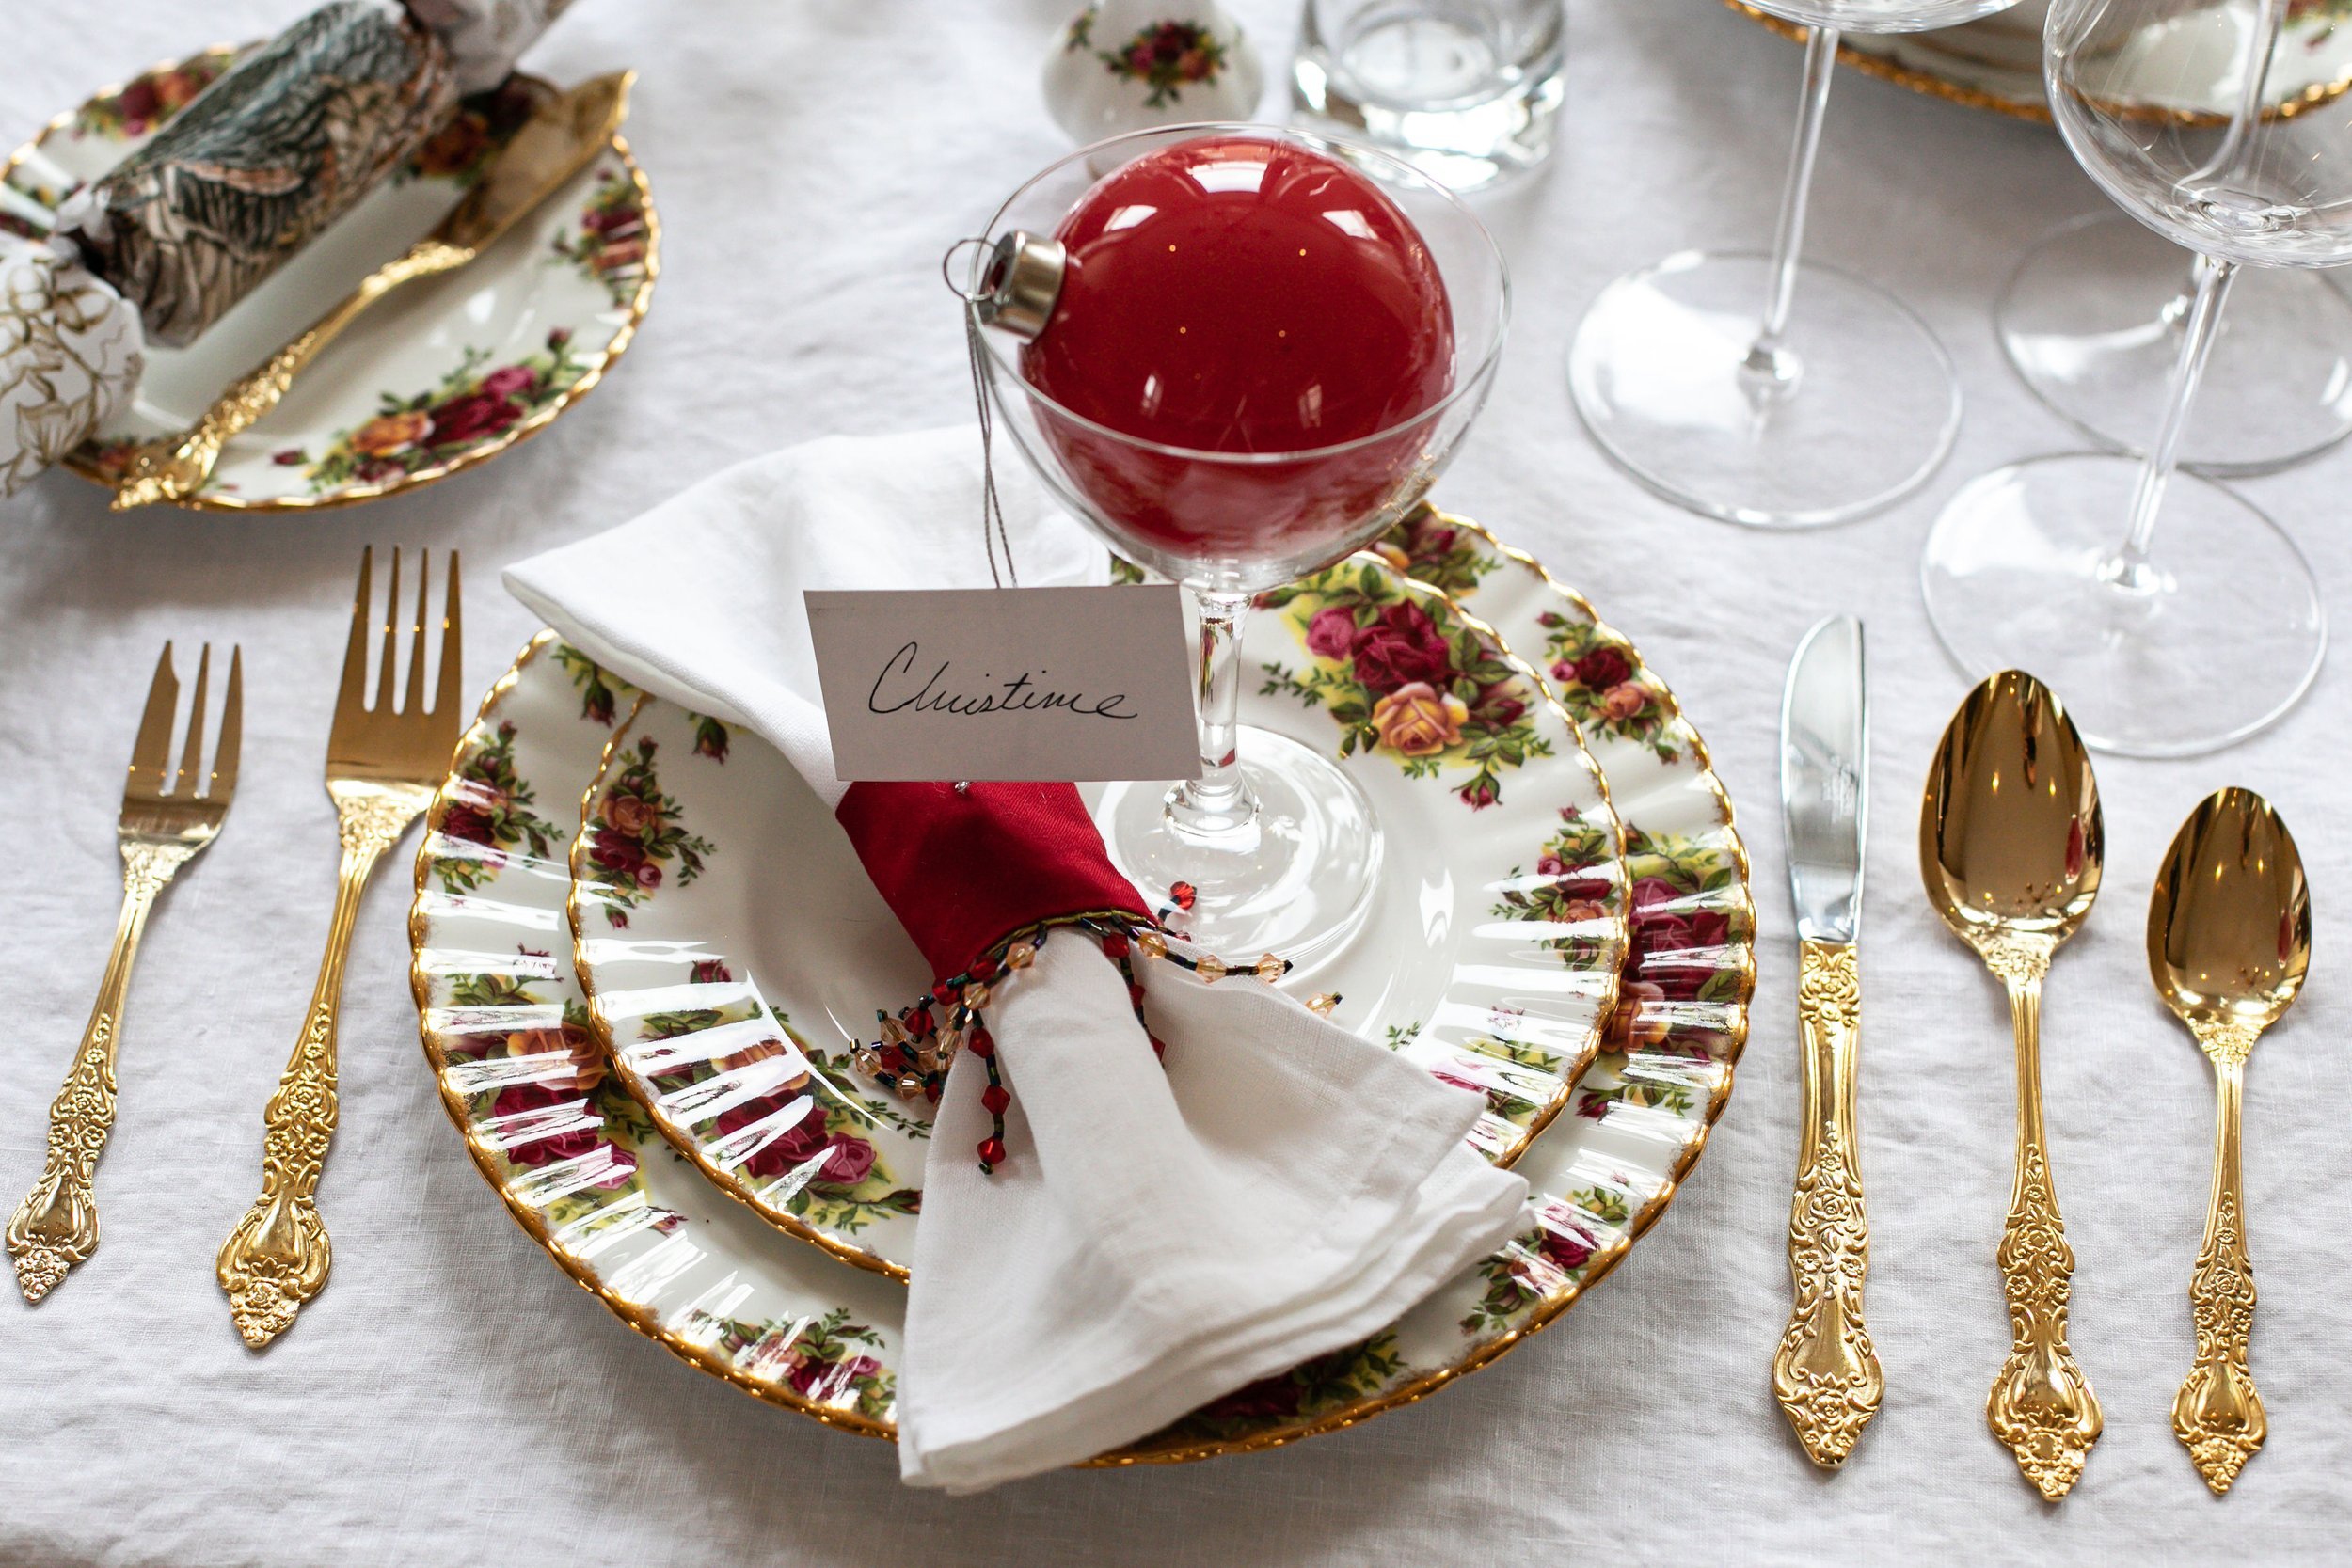
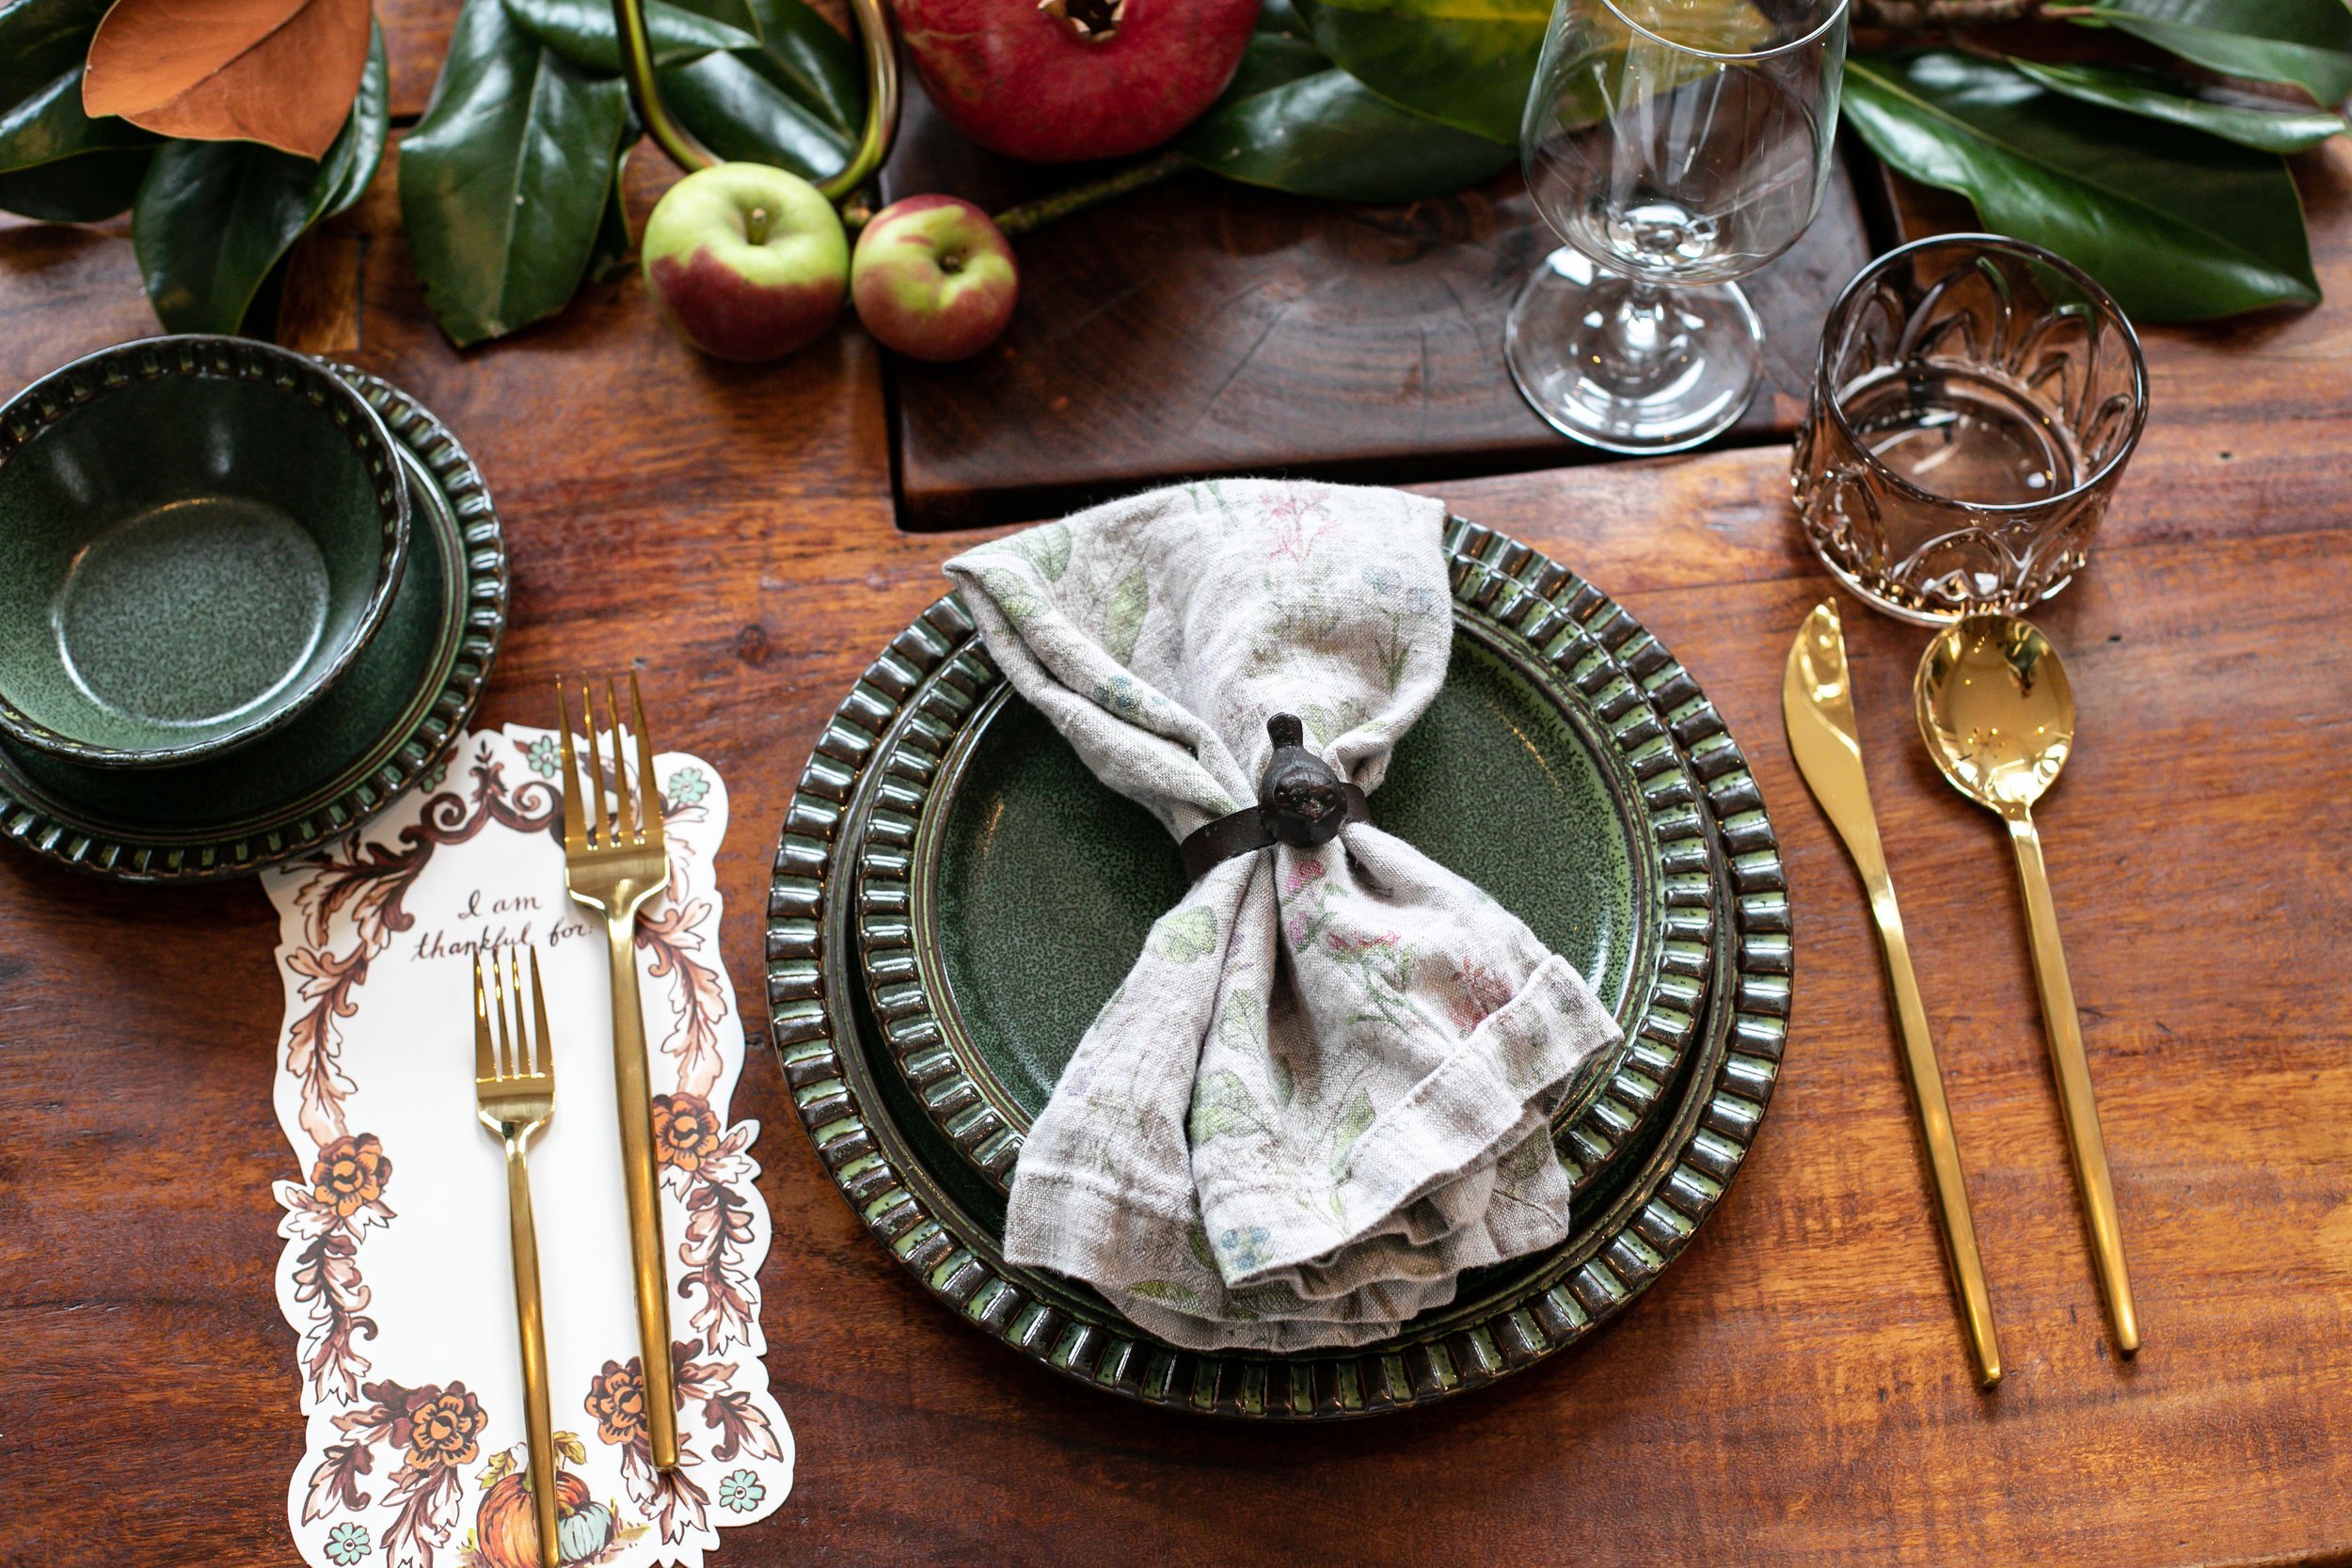
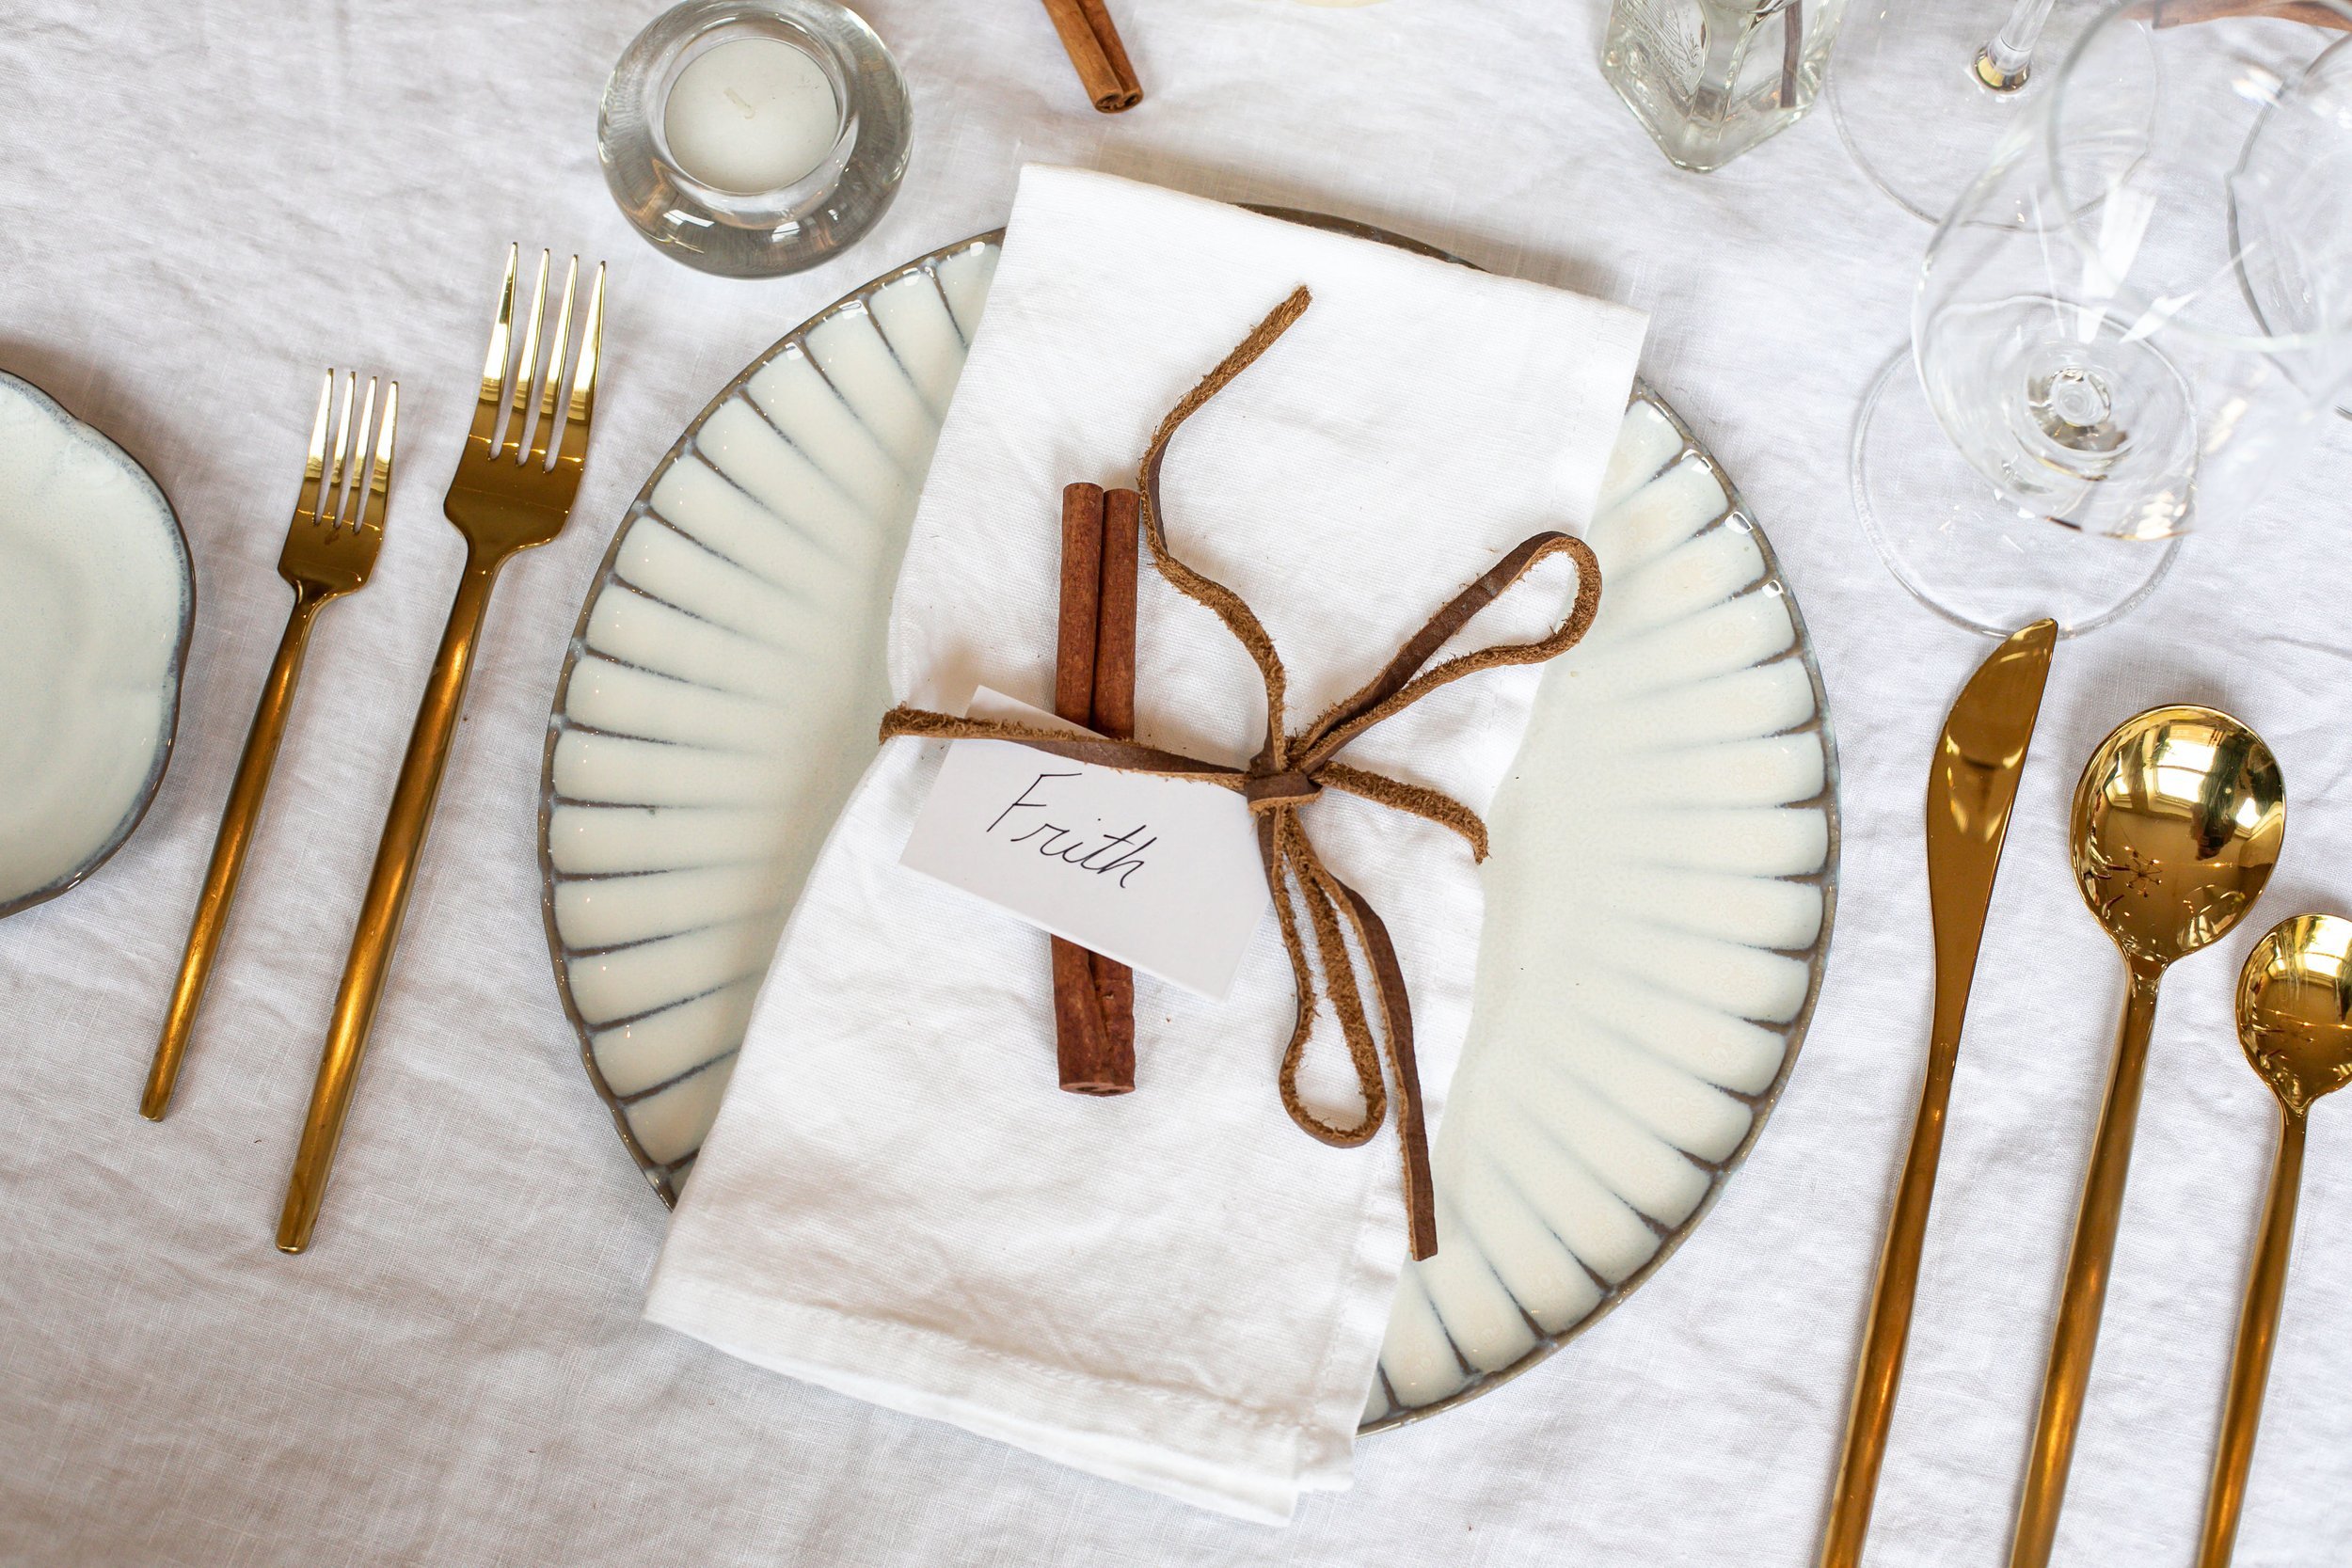
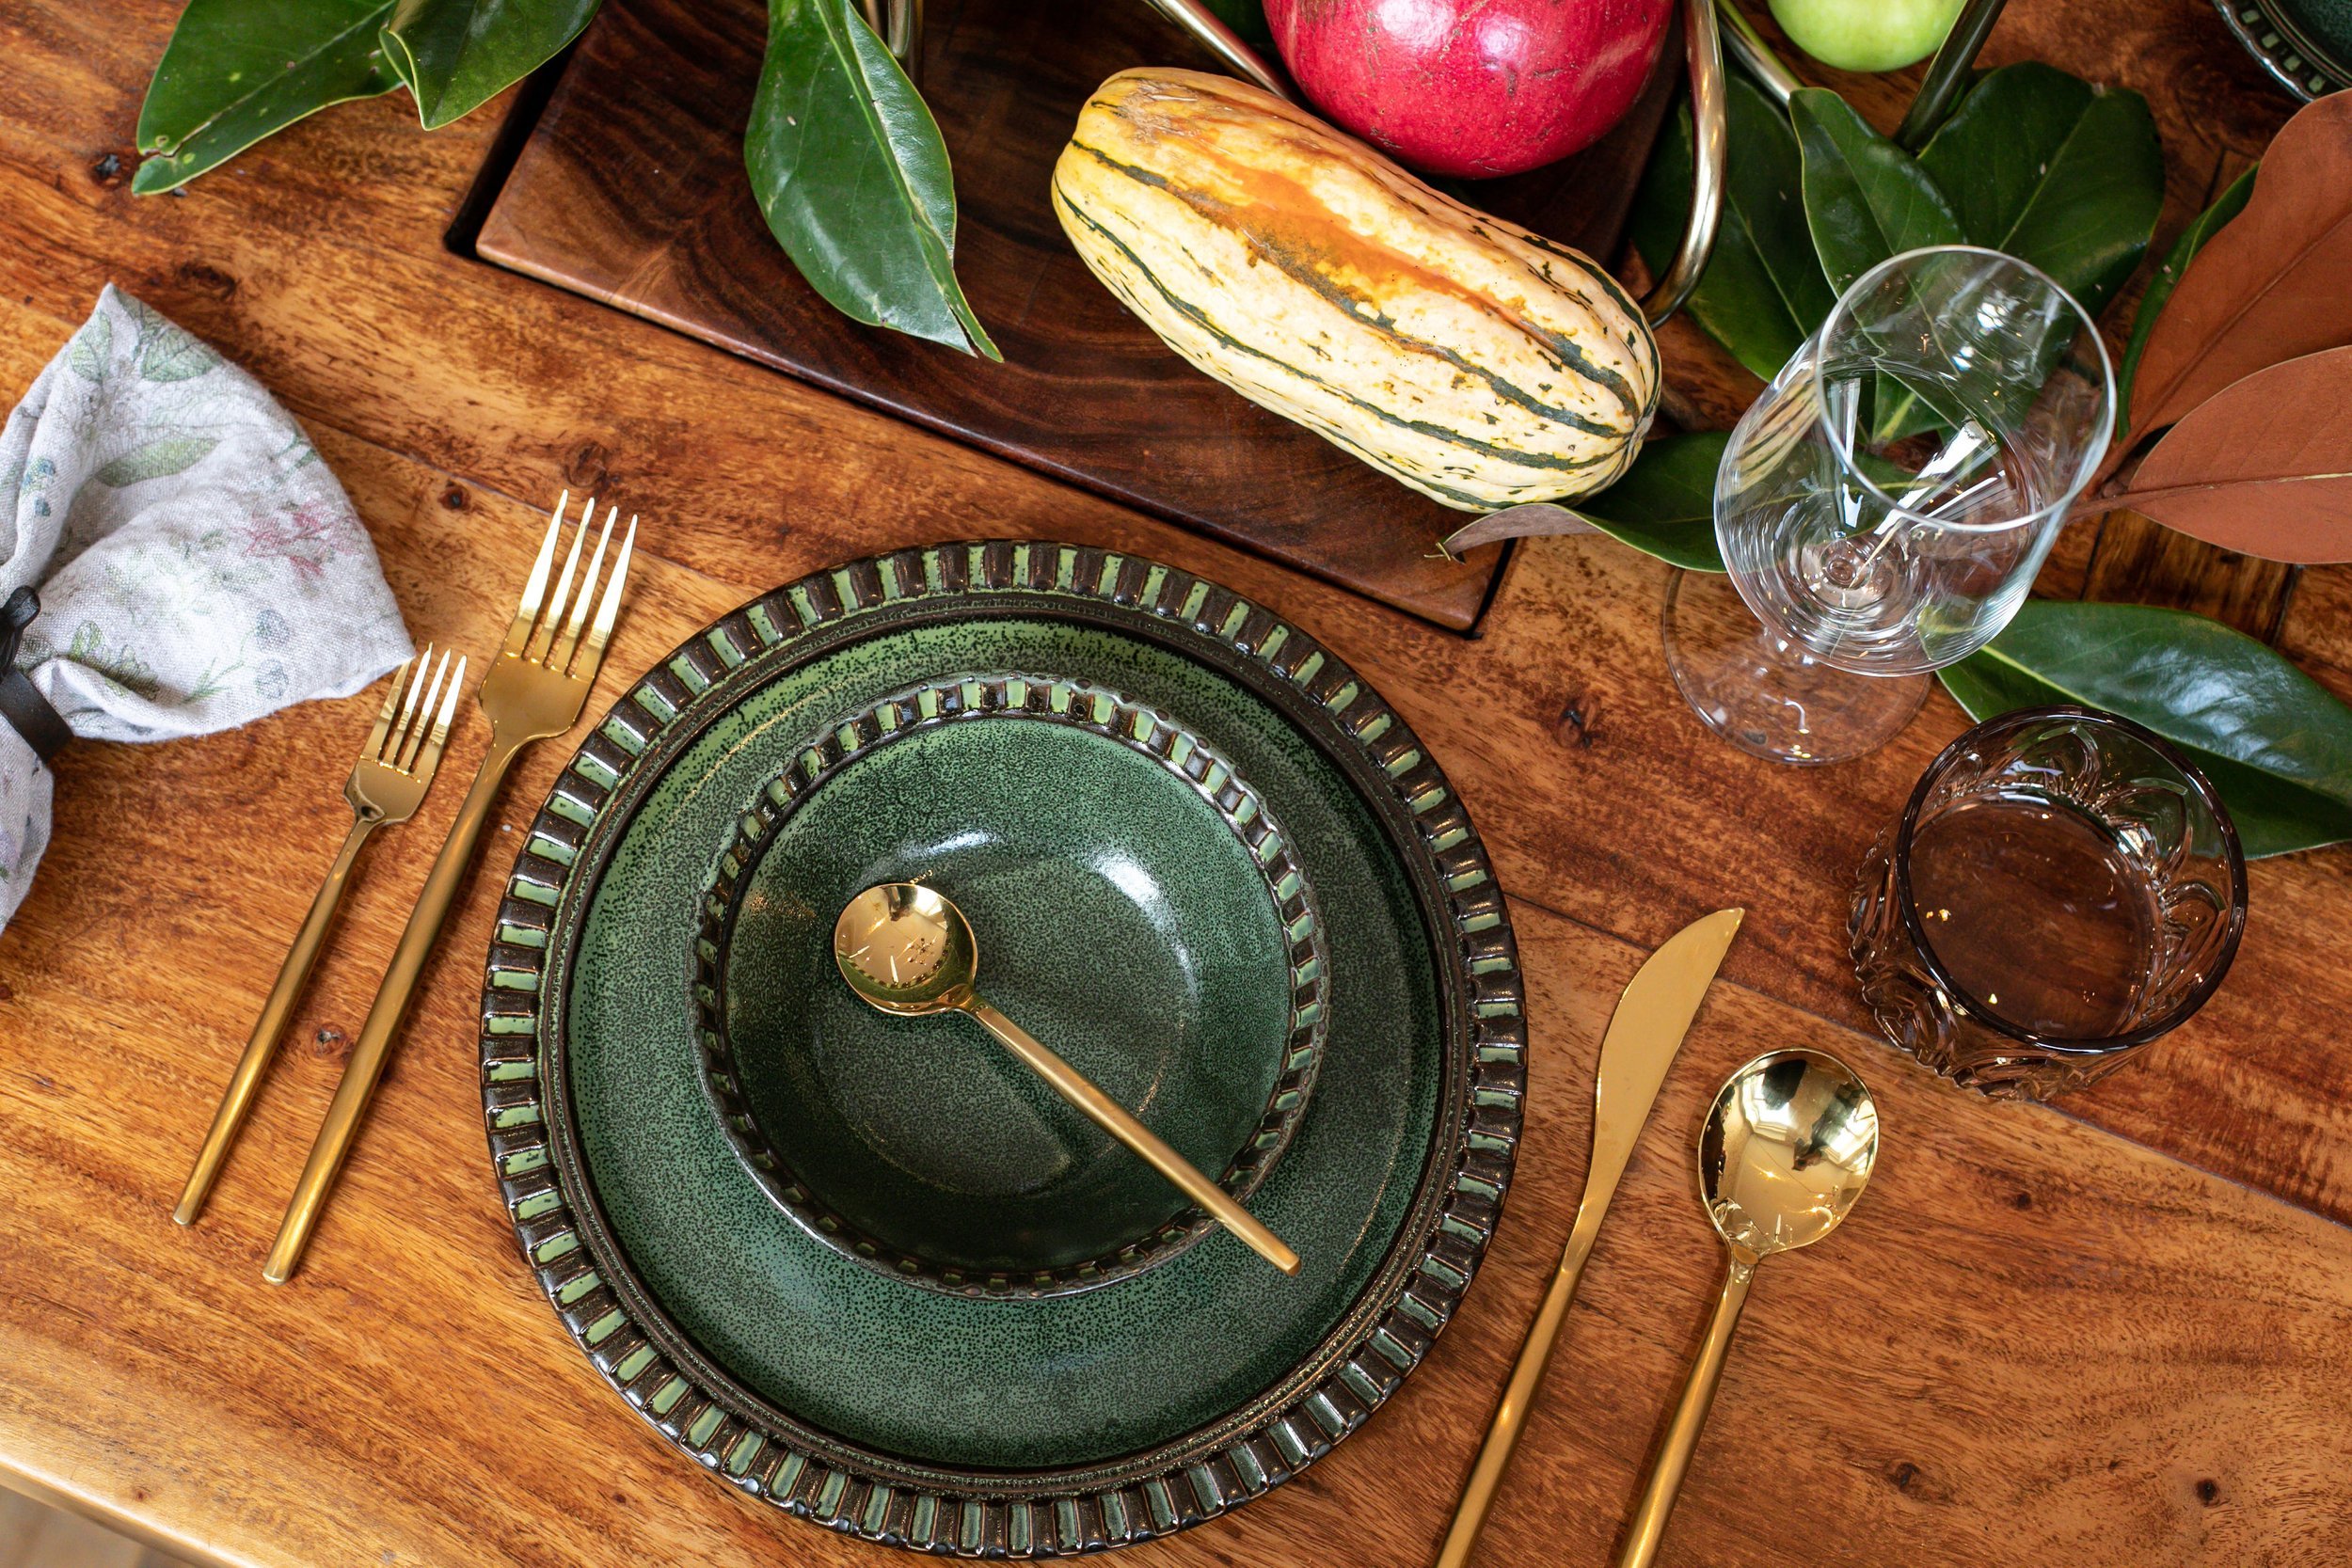
Need inspiration for setting your table? Look no further and head to the Flaweless Hospitality Shop here!
Large Roasted Turkey
I believe that one should always roast an 18- pound turkey no matter how many people are being hosted for Thanksgiving. I mean, who doesn’t love leftovers and why go to all the trouble of Thanksgiving turkey preparation if not to have a lot of it? Having said that, I do think that much larger than 18 pounds becomes “mission impossible” of succulent, safe and juicy. I’ve had restaurant chef’s refuse to roast a whole turkey because they believed all roads lead to dry.
To quote: “If the breast is moist, then the legs will be undercooked. We must cook it in parts, or it will not be delicious or safe to eat.
Certainly, we do not want to serve anything unsafe, whether at a restaurant or at home! In restaurants though, we never bring an entire roasted turkey to a table. Generally, it’s always a beautiful cut of one portion, fully plated with the sides, gravy and sauce. At home, however, there’s something romantic about the whole bird, including the roasting and carving of it. It’s an important ritual, I believe, and I’ve discovered that 18 pounds works flawelessly when using my recipe in all its steps. Let’s get to it!
STEP 1 - Brine & Dry the turkey surface and make the gravy stock
Timing: Begin this step with a fresh or thawed turkey two days before roasting. That means that, if I’m preparing it for Thanksgiving Day, I begin on Tuesday.
Why are some turkeys dry as sawdust and others boast meat that’s firm, juicy and well-seasoned? The answer is brining. Soaking a turkey in brine, a solution of salt, often sugar and a liquid (usually water), provides the bird with a plump cushion of seasoned moisture that will sustain it throughout cooking. The bird actually gains weight and retains water that stays with it through the cooking process. This weight gain translates into moist meat. The salt and sugar in the brine translate into seasoned, flavorful meat.


For those of you that, like me, enjoy the science of cooking, read on. Table salt is made up of two ions, sodium and chloride, that are oppositely charged. Meat proteins are large molecules that contain a mosaic of charges, negative and positive. When protein molecules are placed in a solution containing salt, they readjust their shape to accommodate the opposite charges in the salt. This rearrangement of the protein molecules compromises the structural integrity of the meat, reducing its overall toughness! The added saltwater makes the water less likely to evaporate during cooking, and the result is meat that is both juicy and tender. So cool!
PRO-TIP: If you need to save time or don’t want to bother with the brining step buy a kosher turkey because it’s been soaked in salt during processing; or use a butterball turkey because it’s been injected with salt and water.
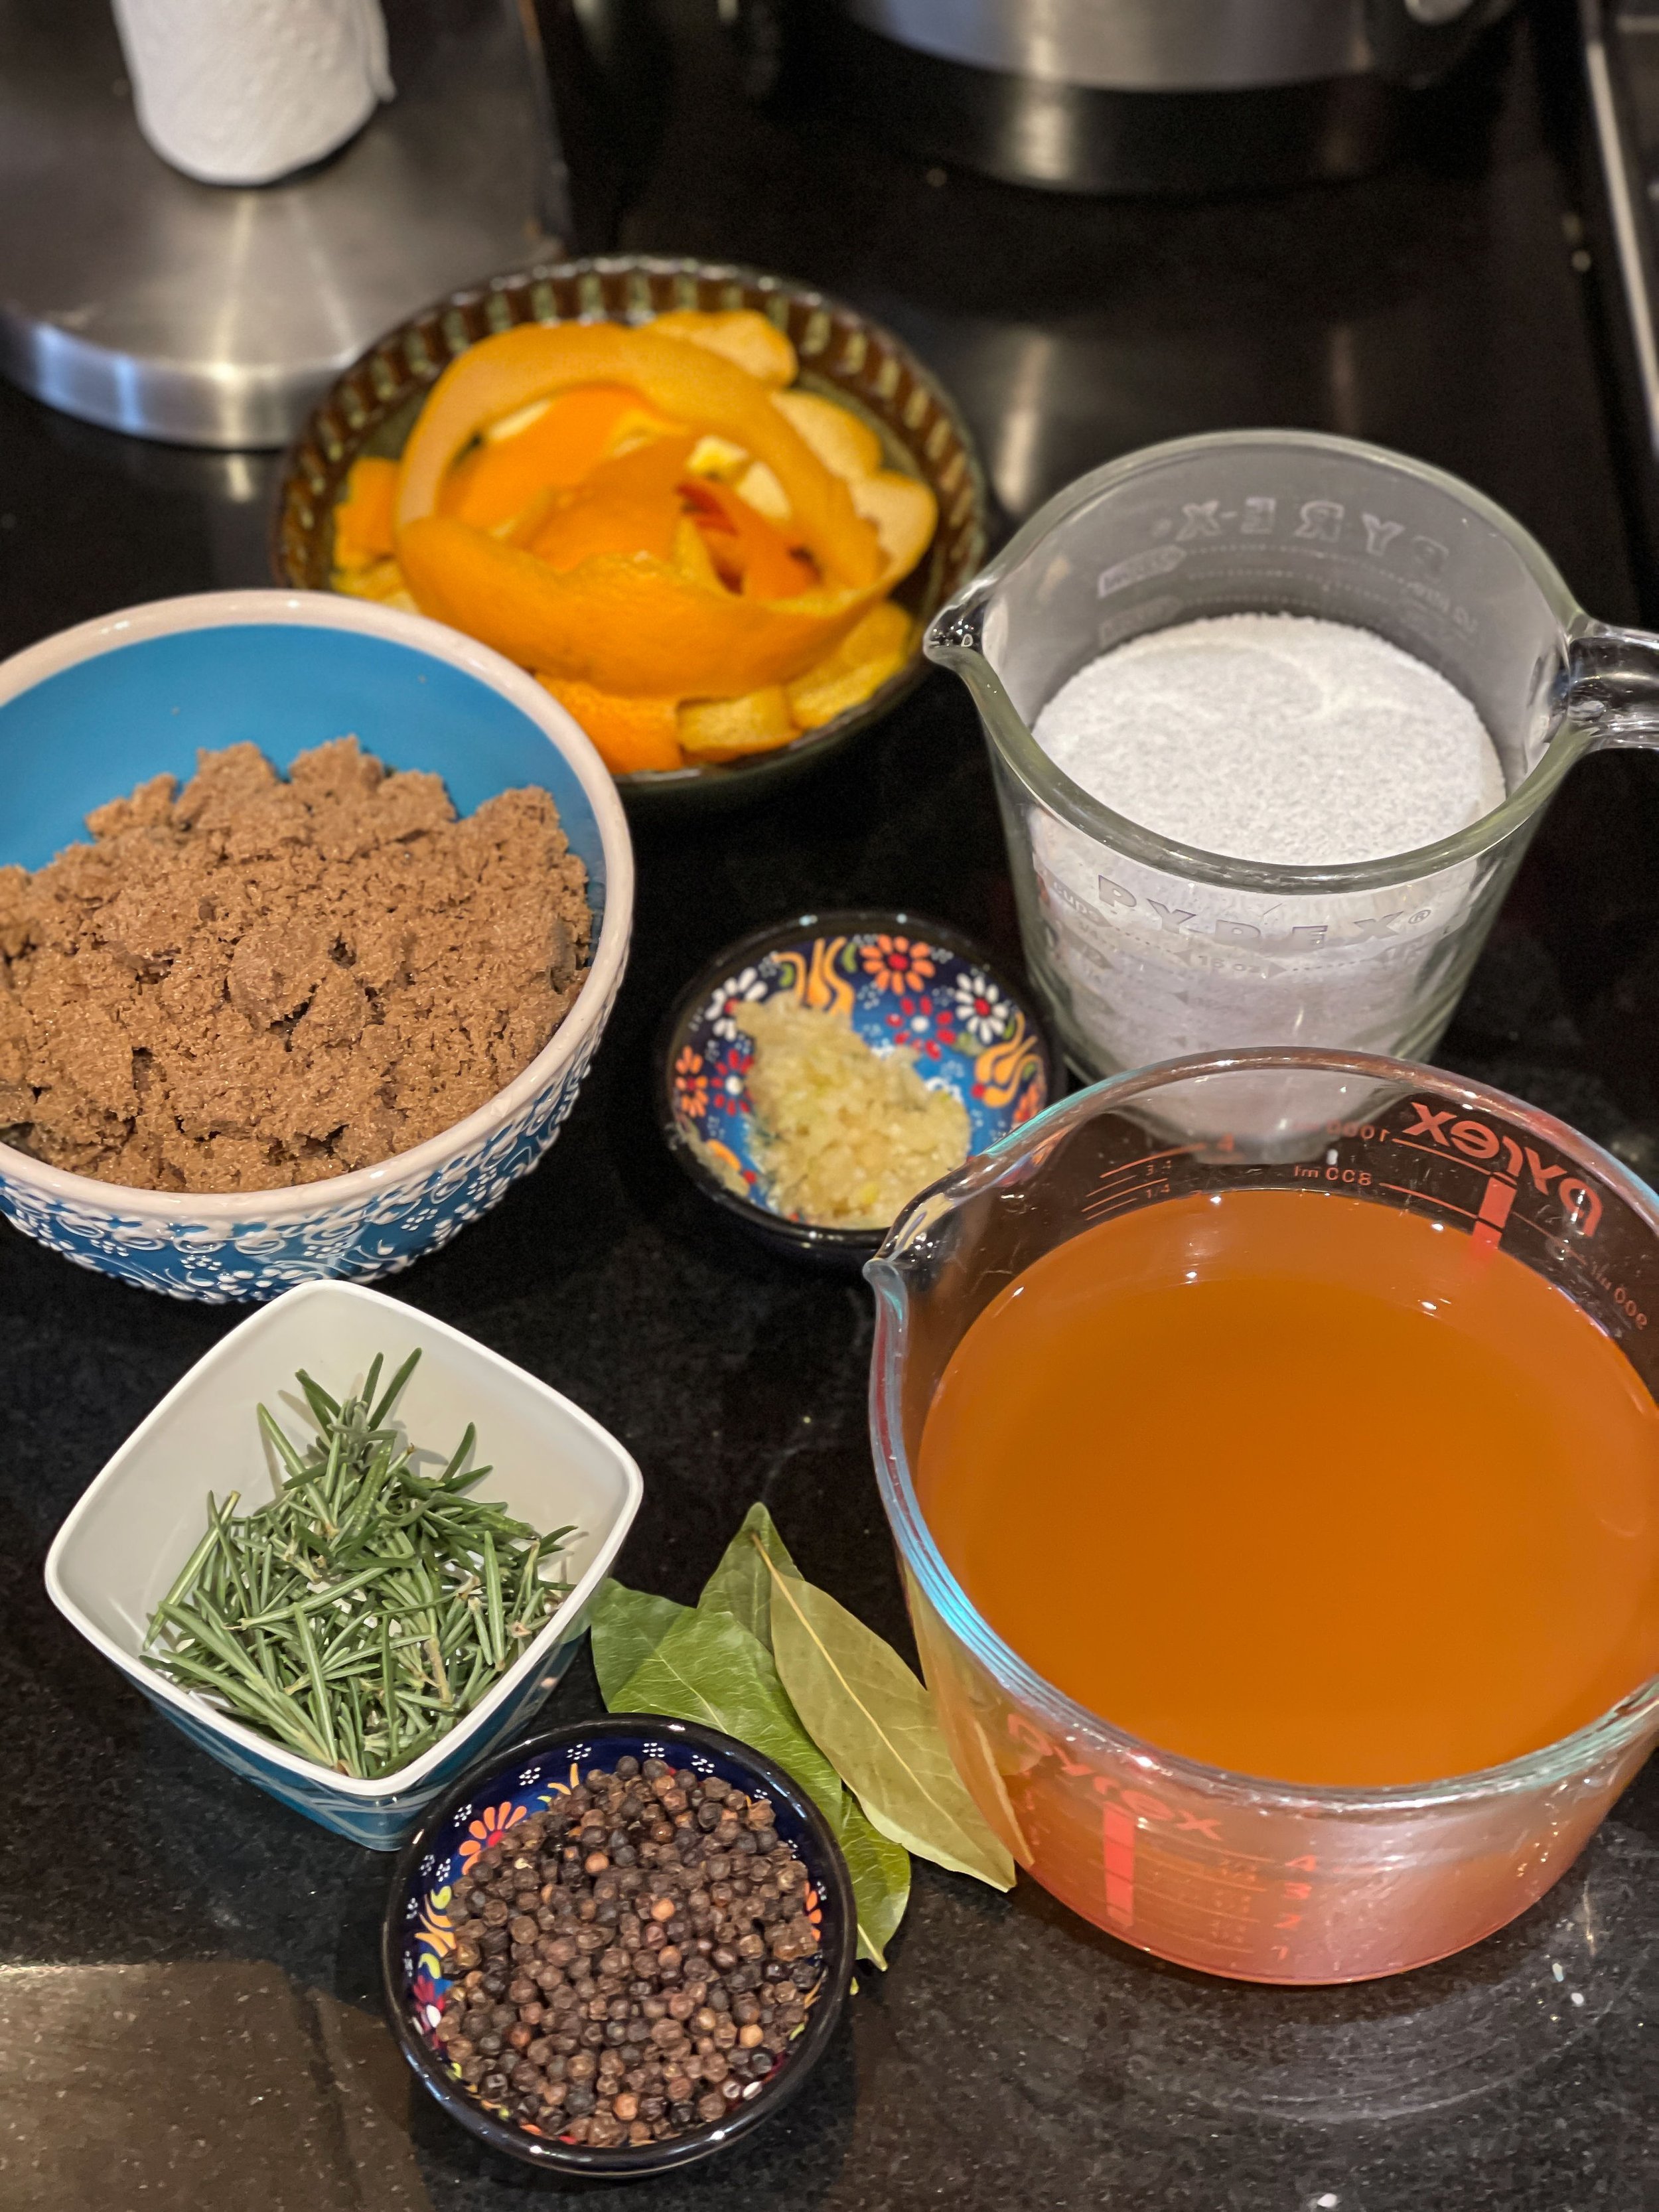
Turkey Brine
INGREDIENTS
3 cups apple cider
2 gallons water
4 tablespoons fresh rosemary leaves
5 cloves garlic, minced
1 1/2 cups kosher salt
2 cups brown sugar
3 tablespoons black peppercorns
5 whole bay leaves
Peel of three oranges
METHOD
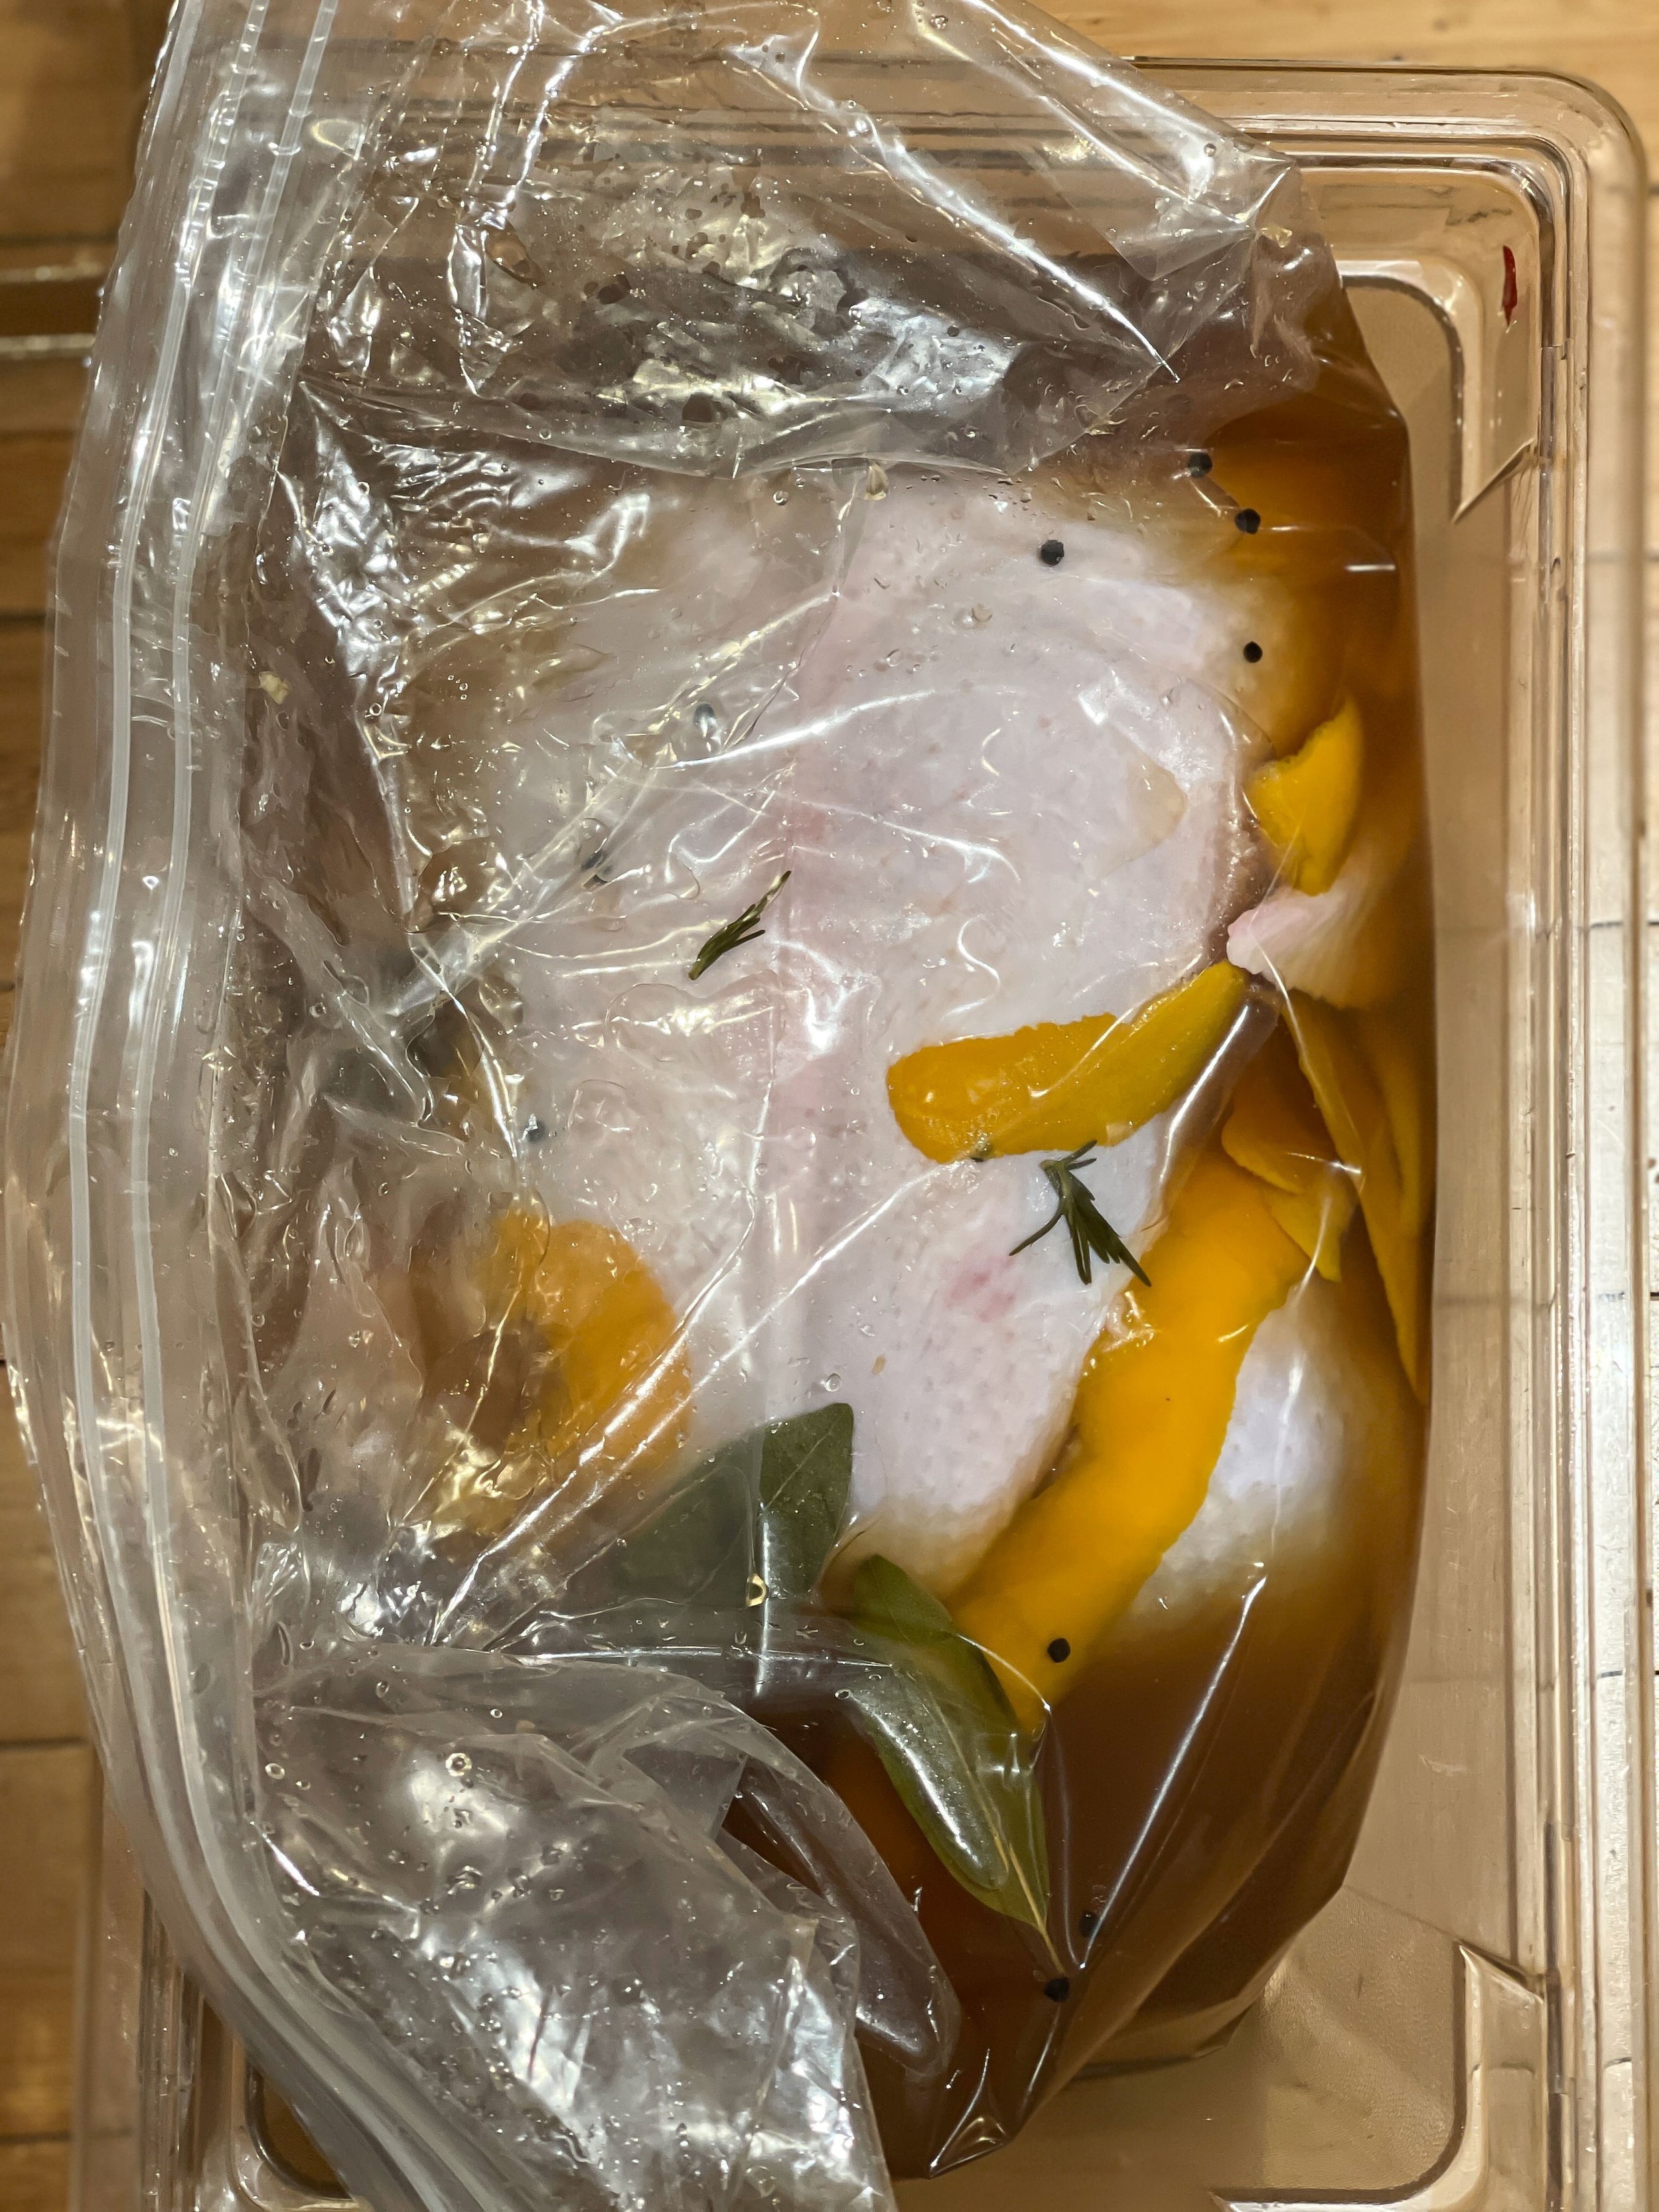
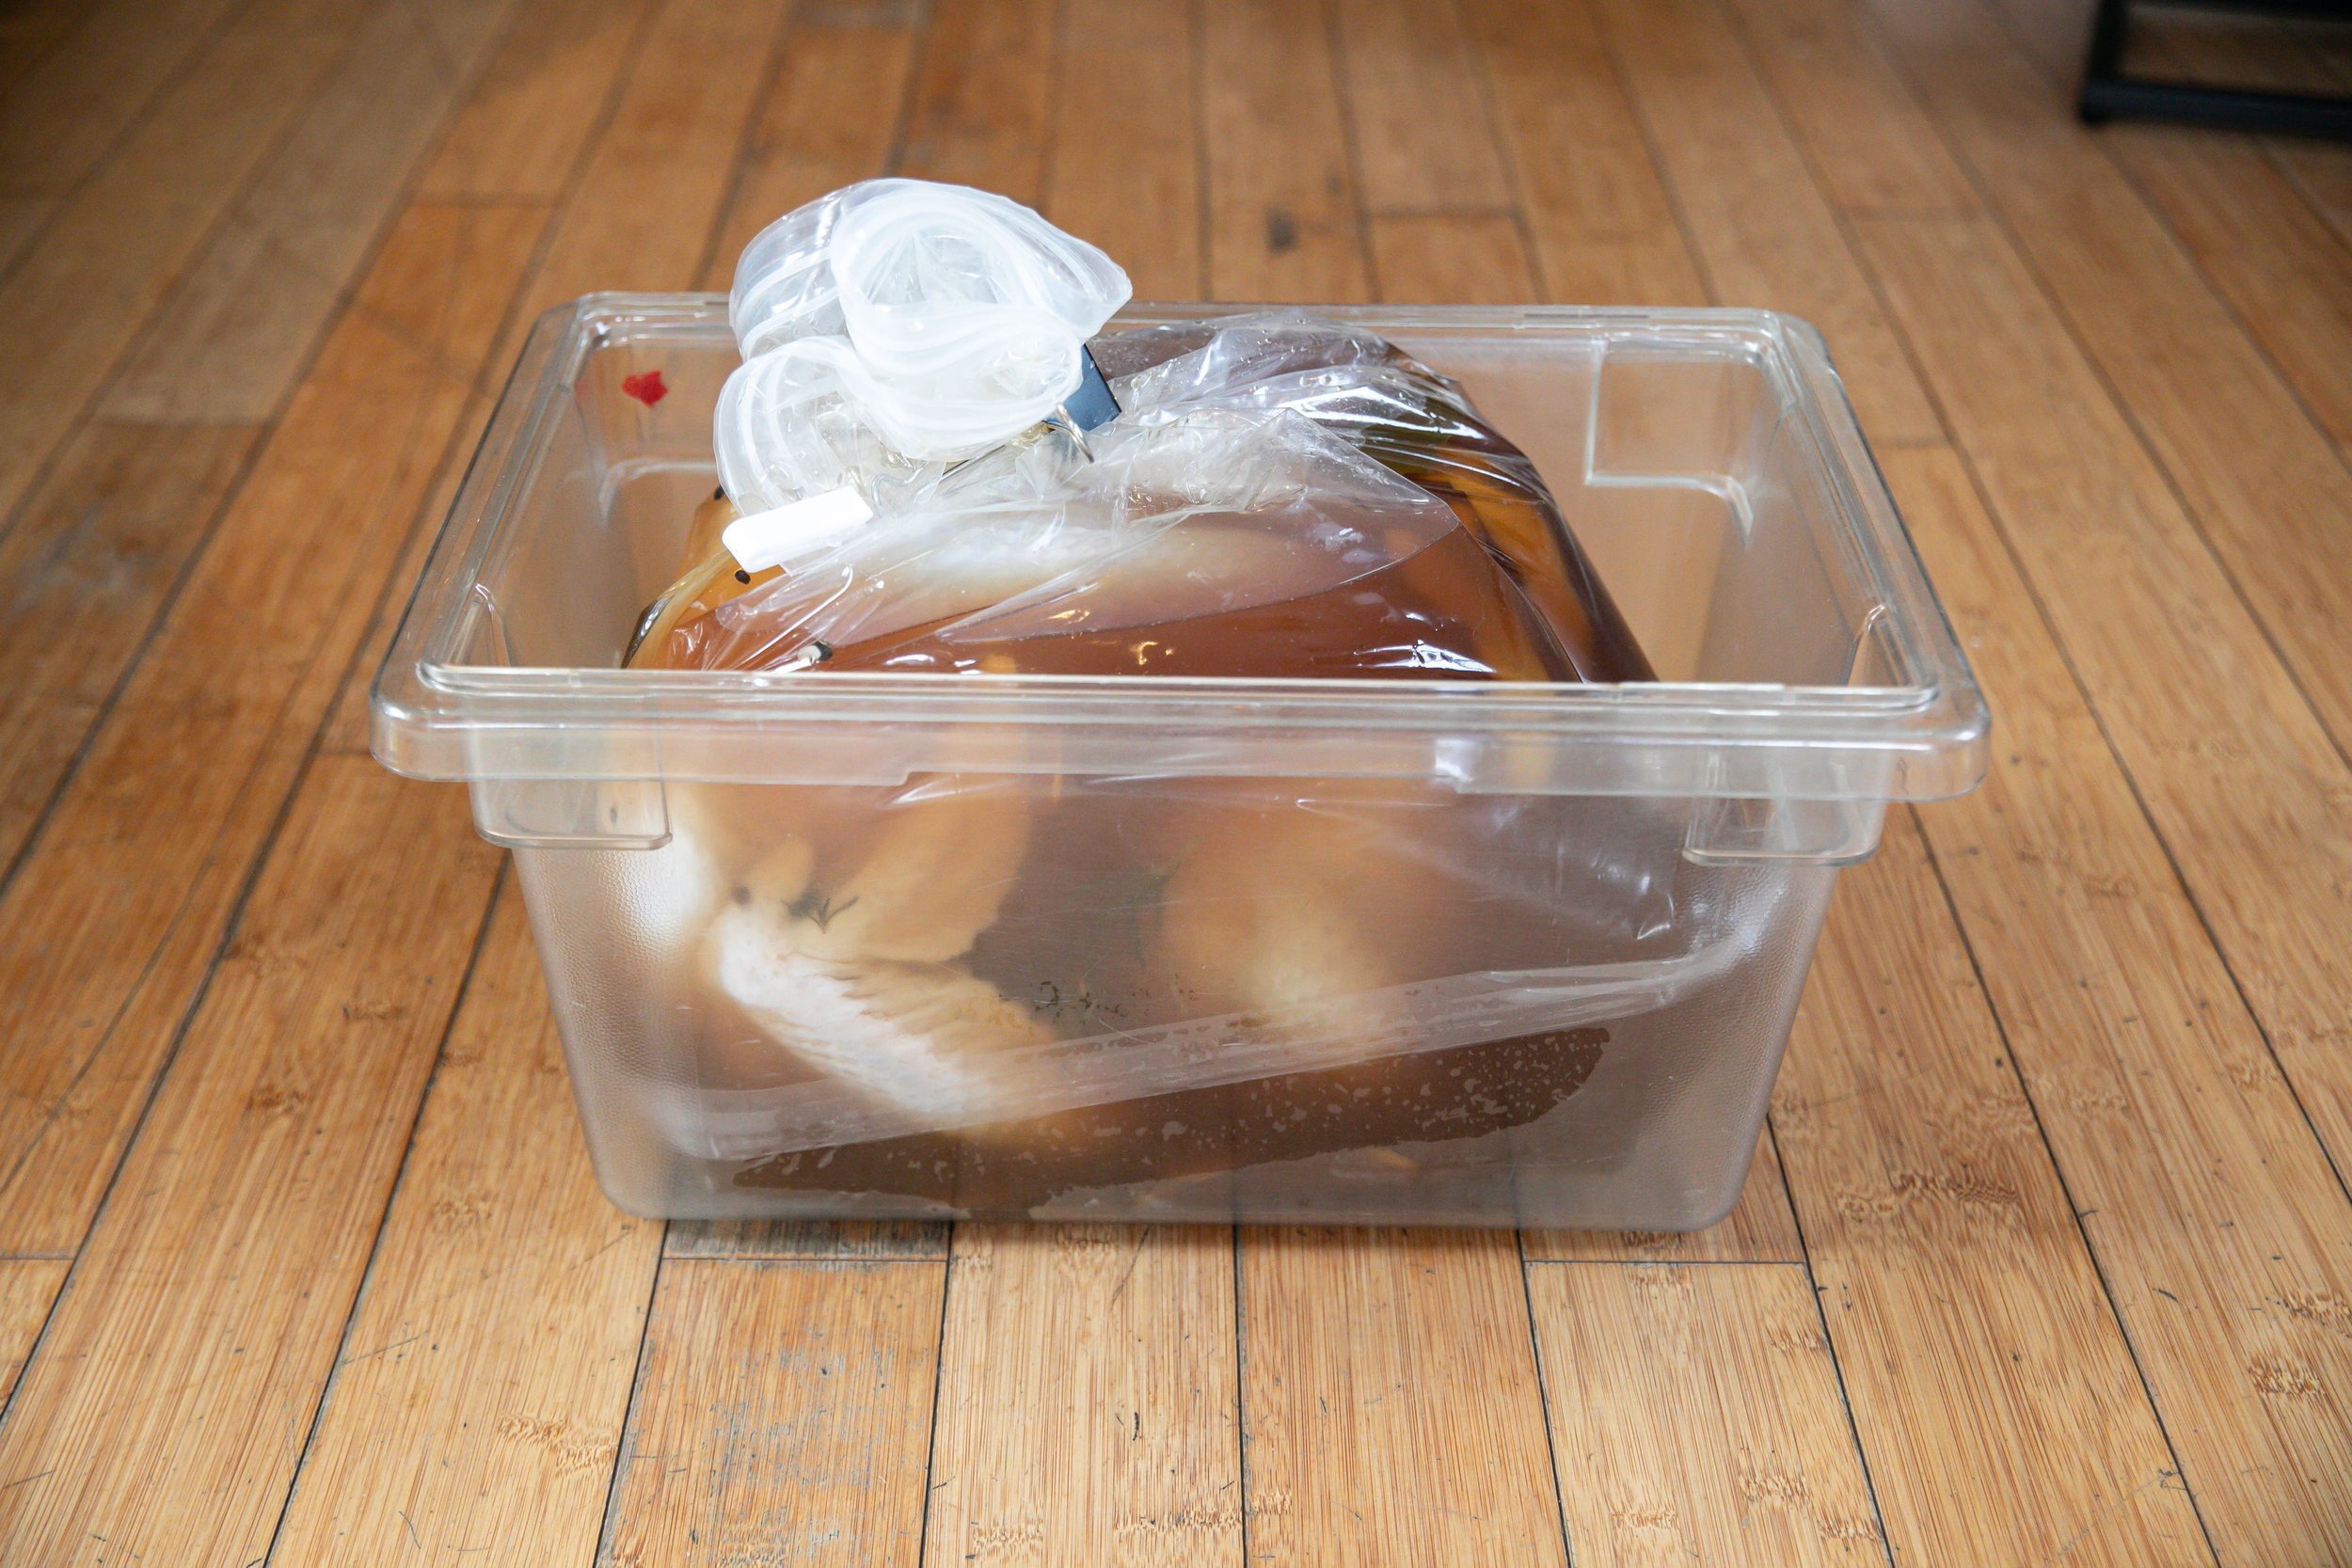
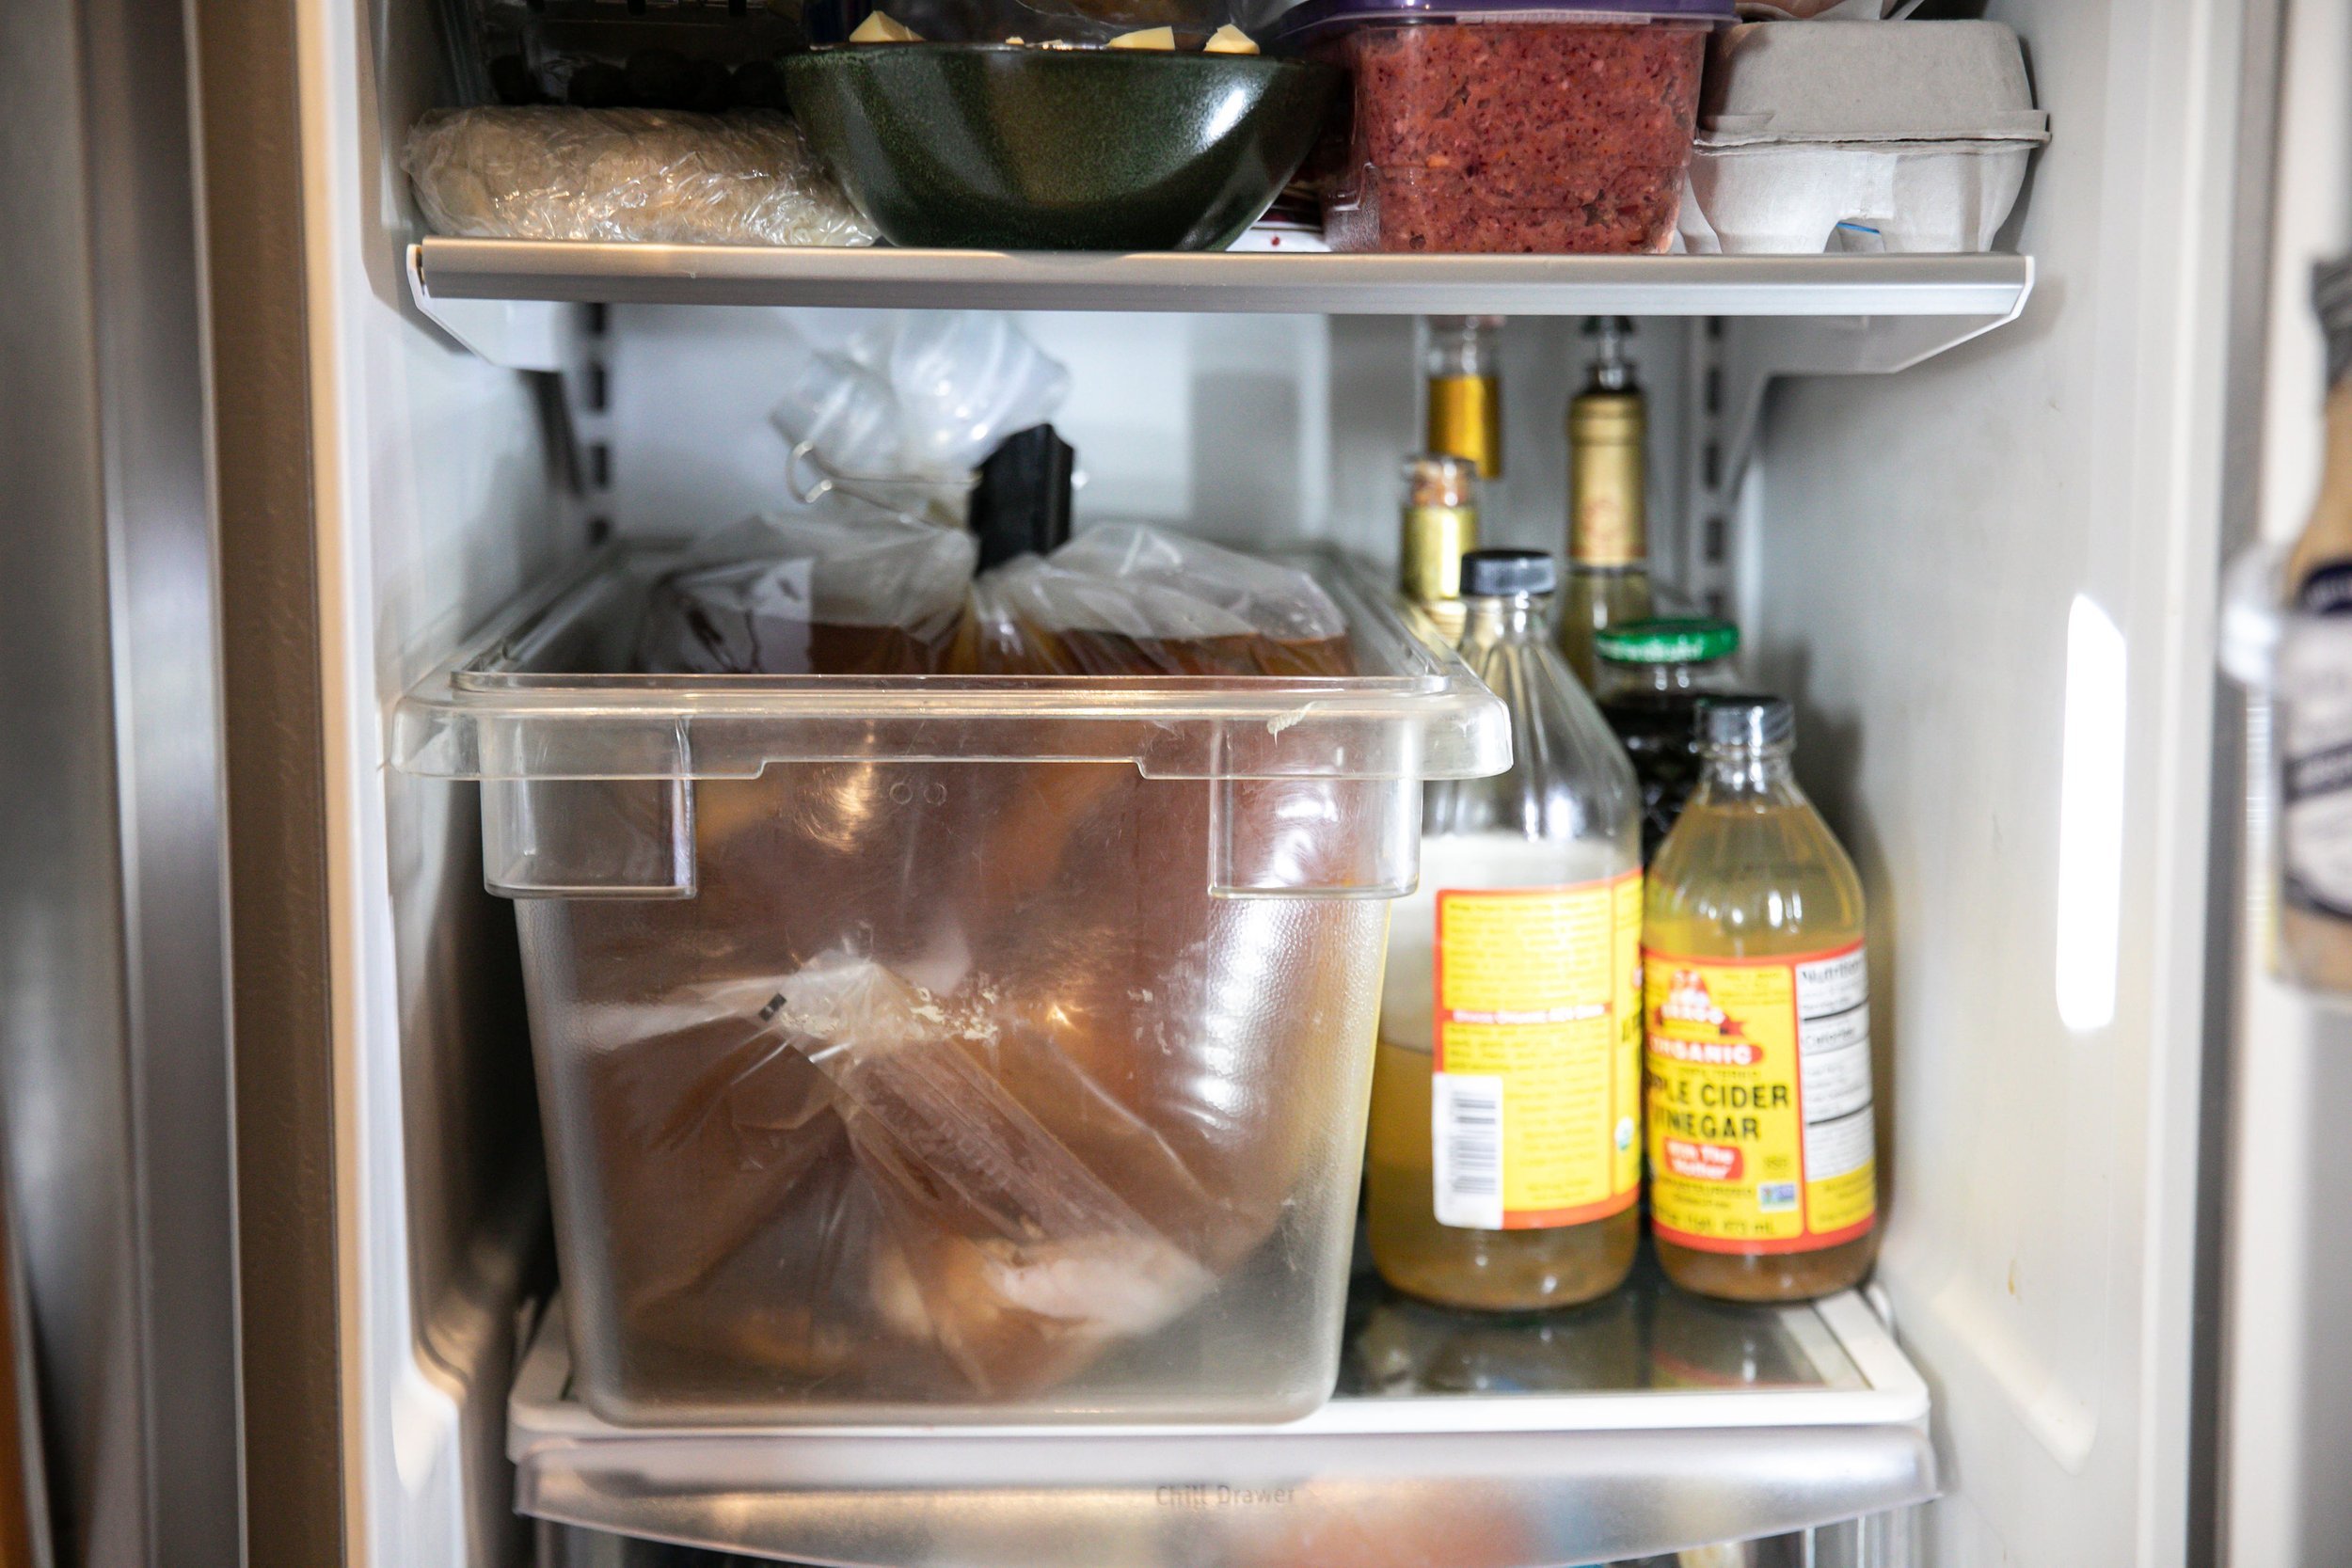
Line a large container with a large brining bag. I like to use a 5-gallon Cambro for my container, but any large bucket that will fit in your refrigerator will work.
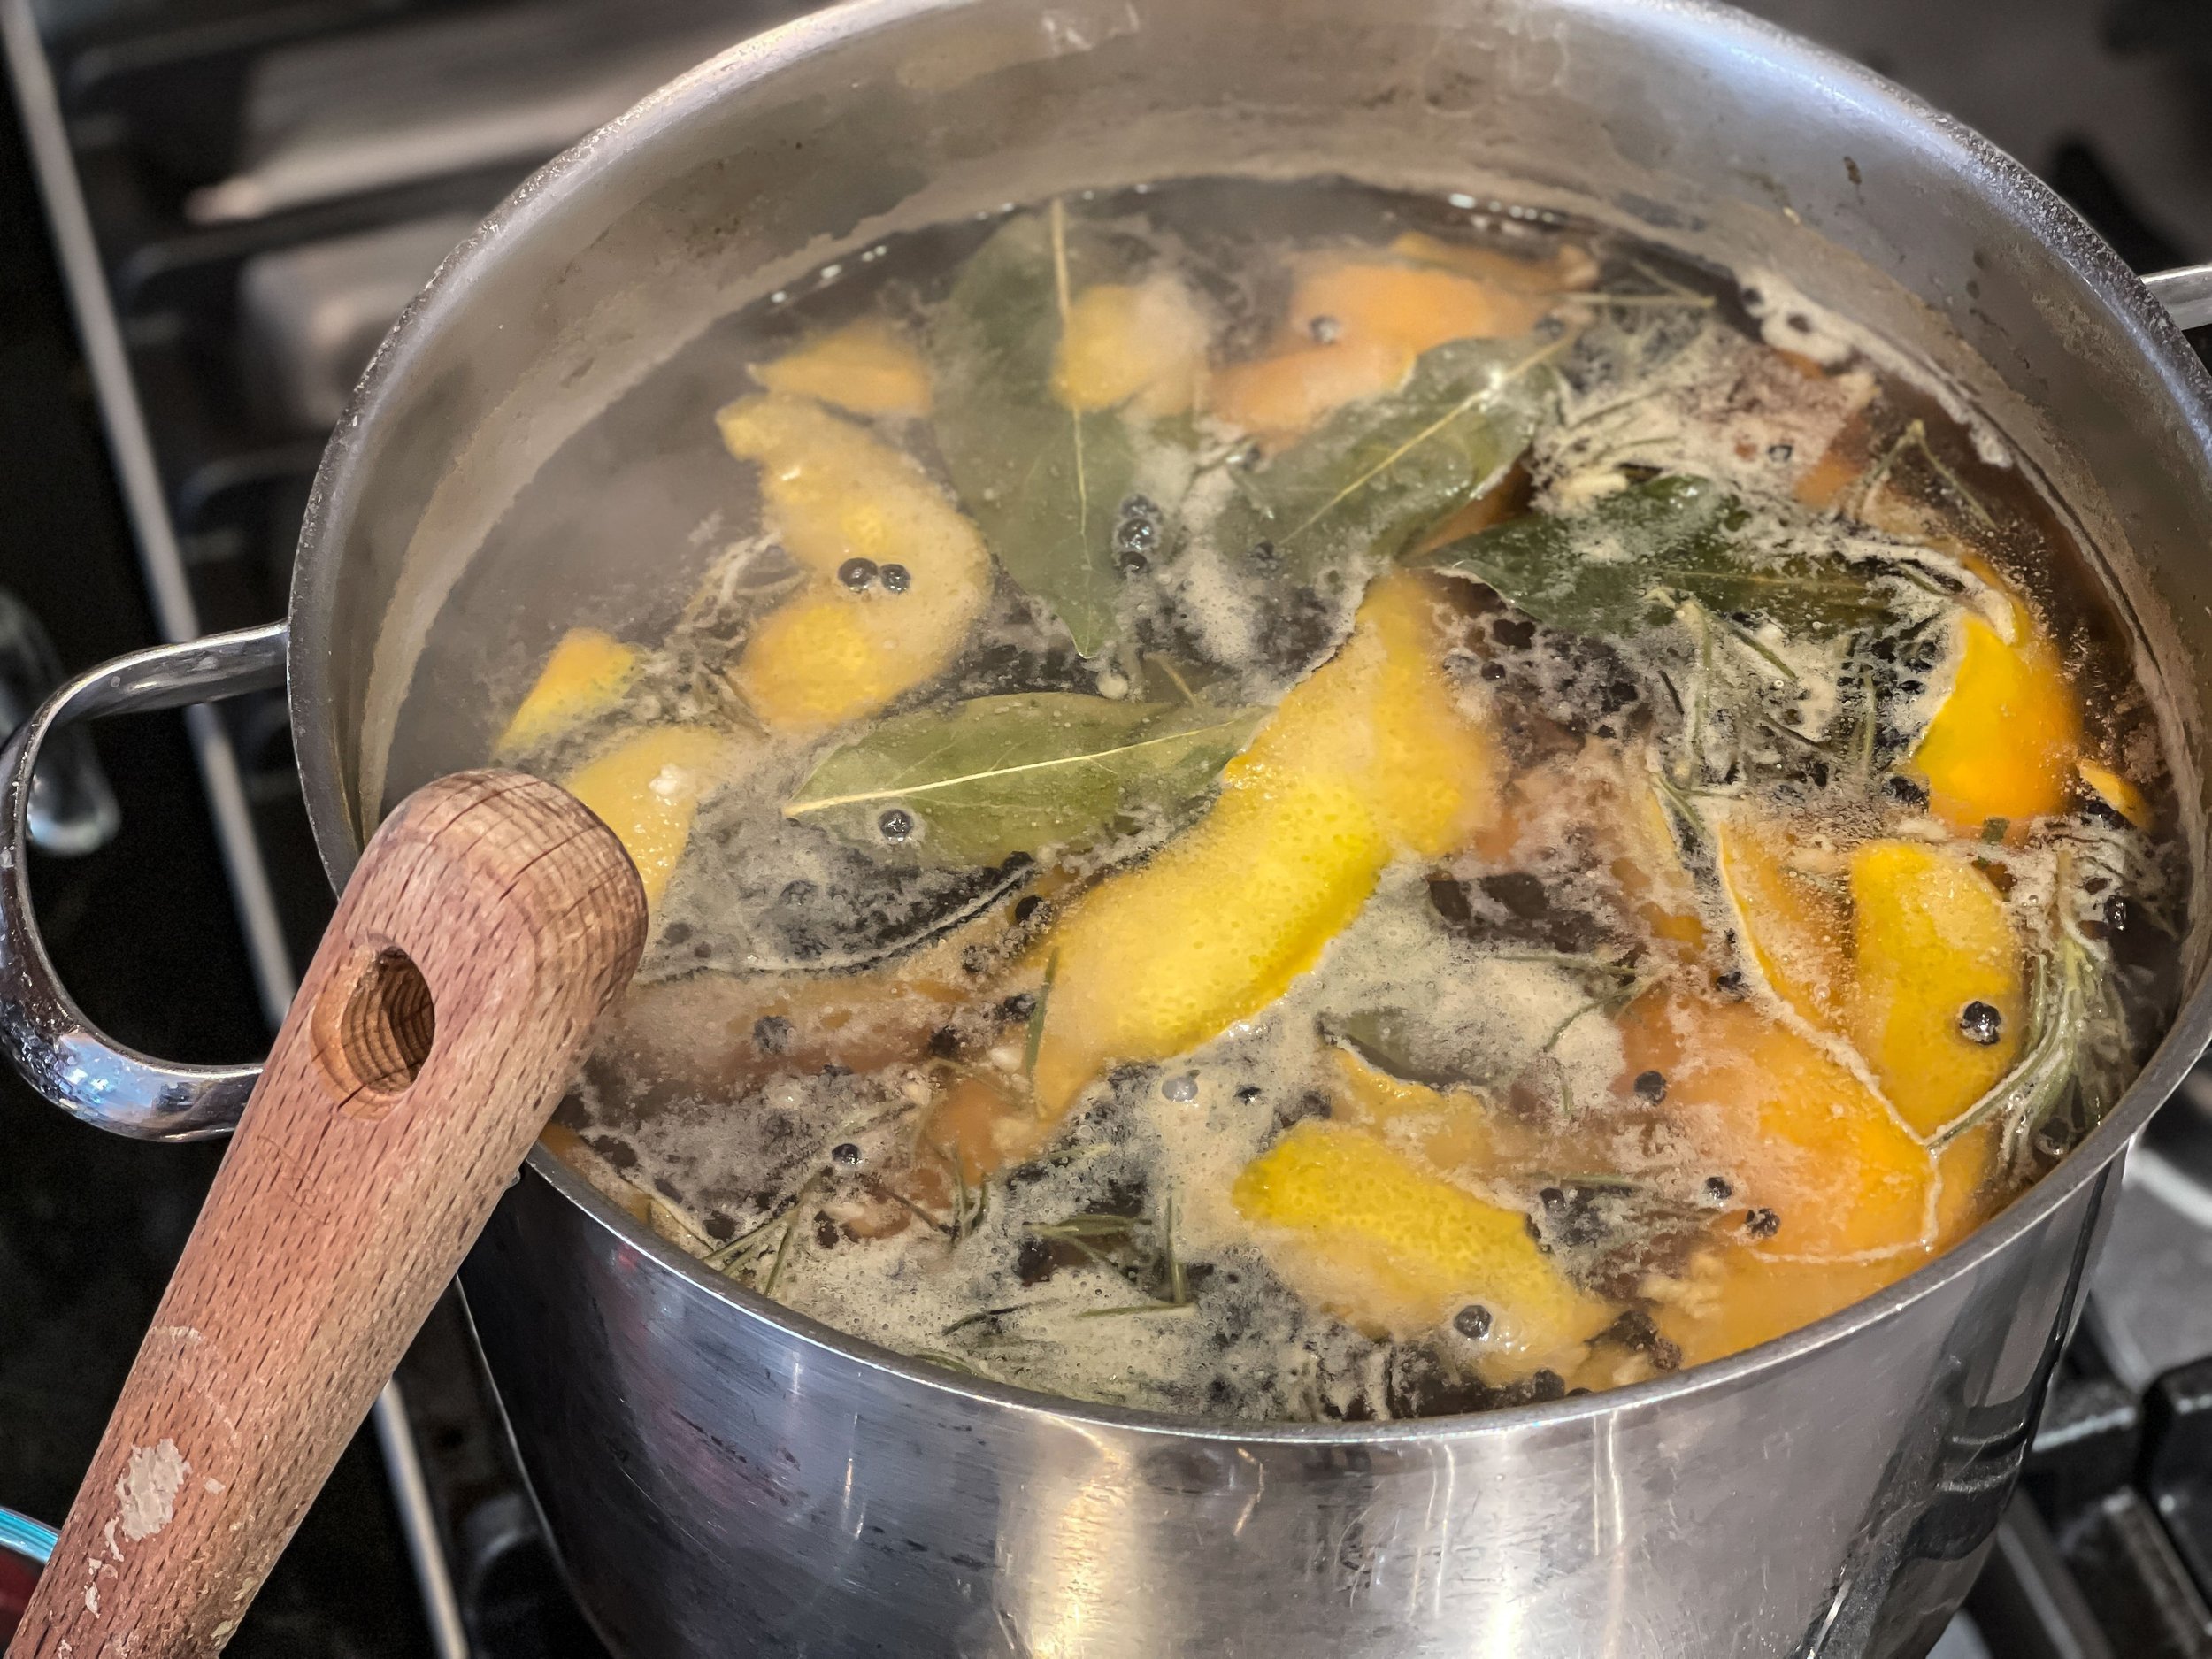
In a large pot, combine all the ingredients and bring to a boil. Stir until the salt and sugar have dissolved.
Turn off the heat, cover and cool brine completely.
Place raw turkey into the prepared brining bag and pour the brine solution in, covering the turkey.
Seal the bag, removing as much air as possible. Refrigerate for 24 - 36 hours.
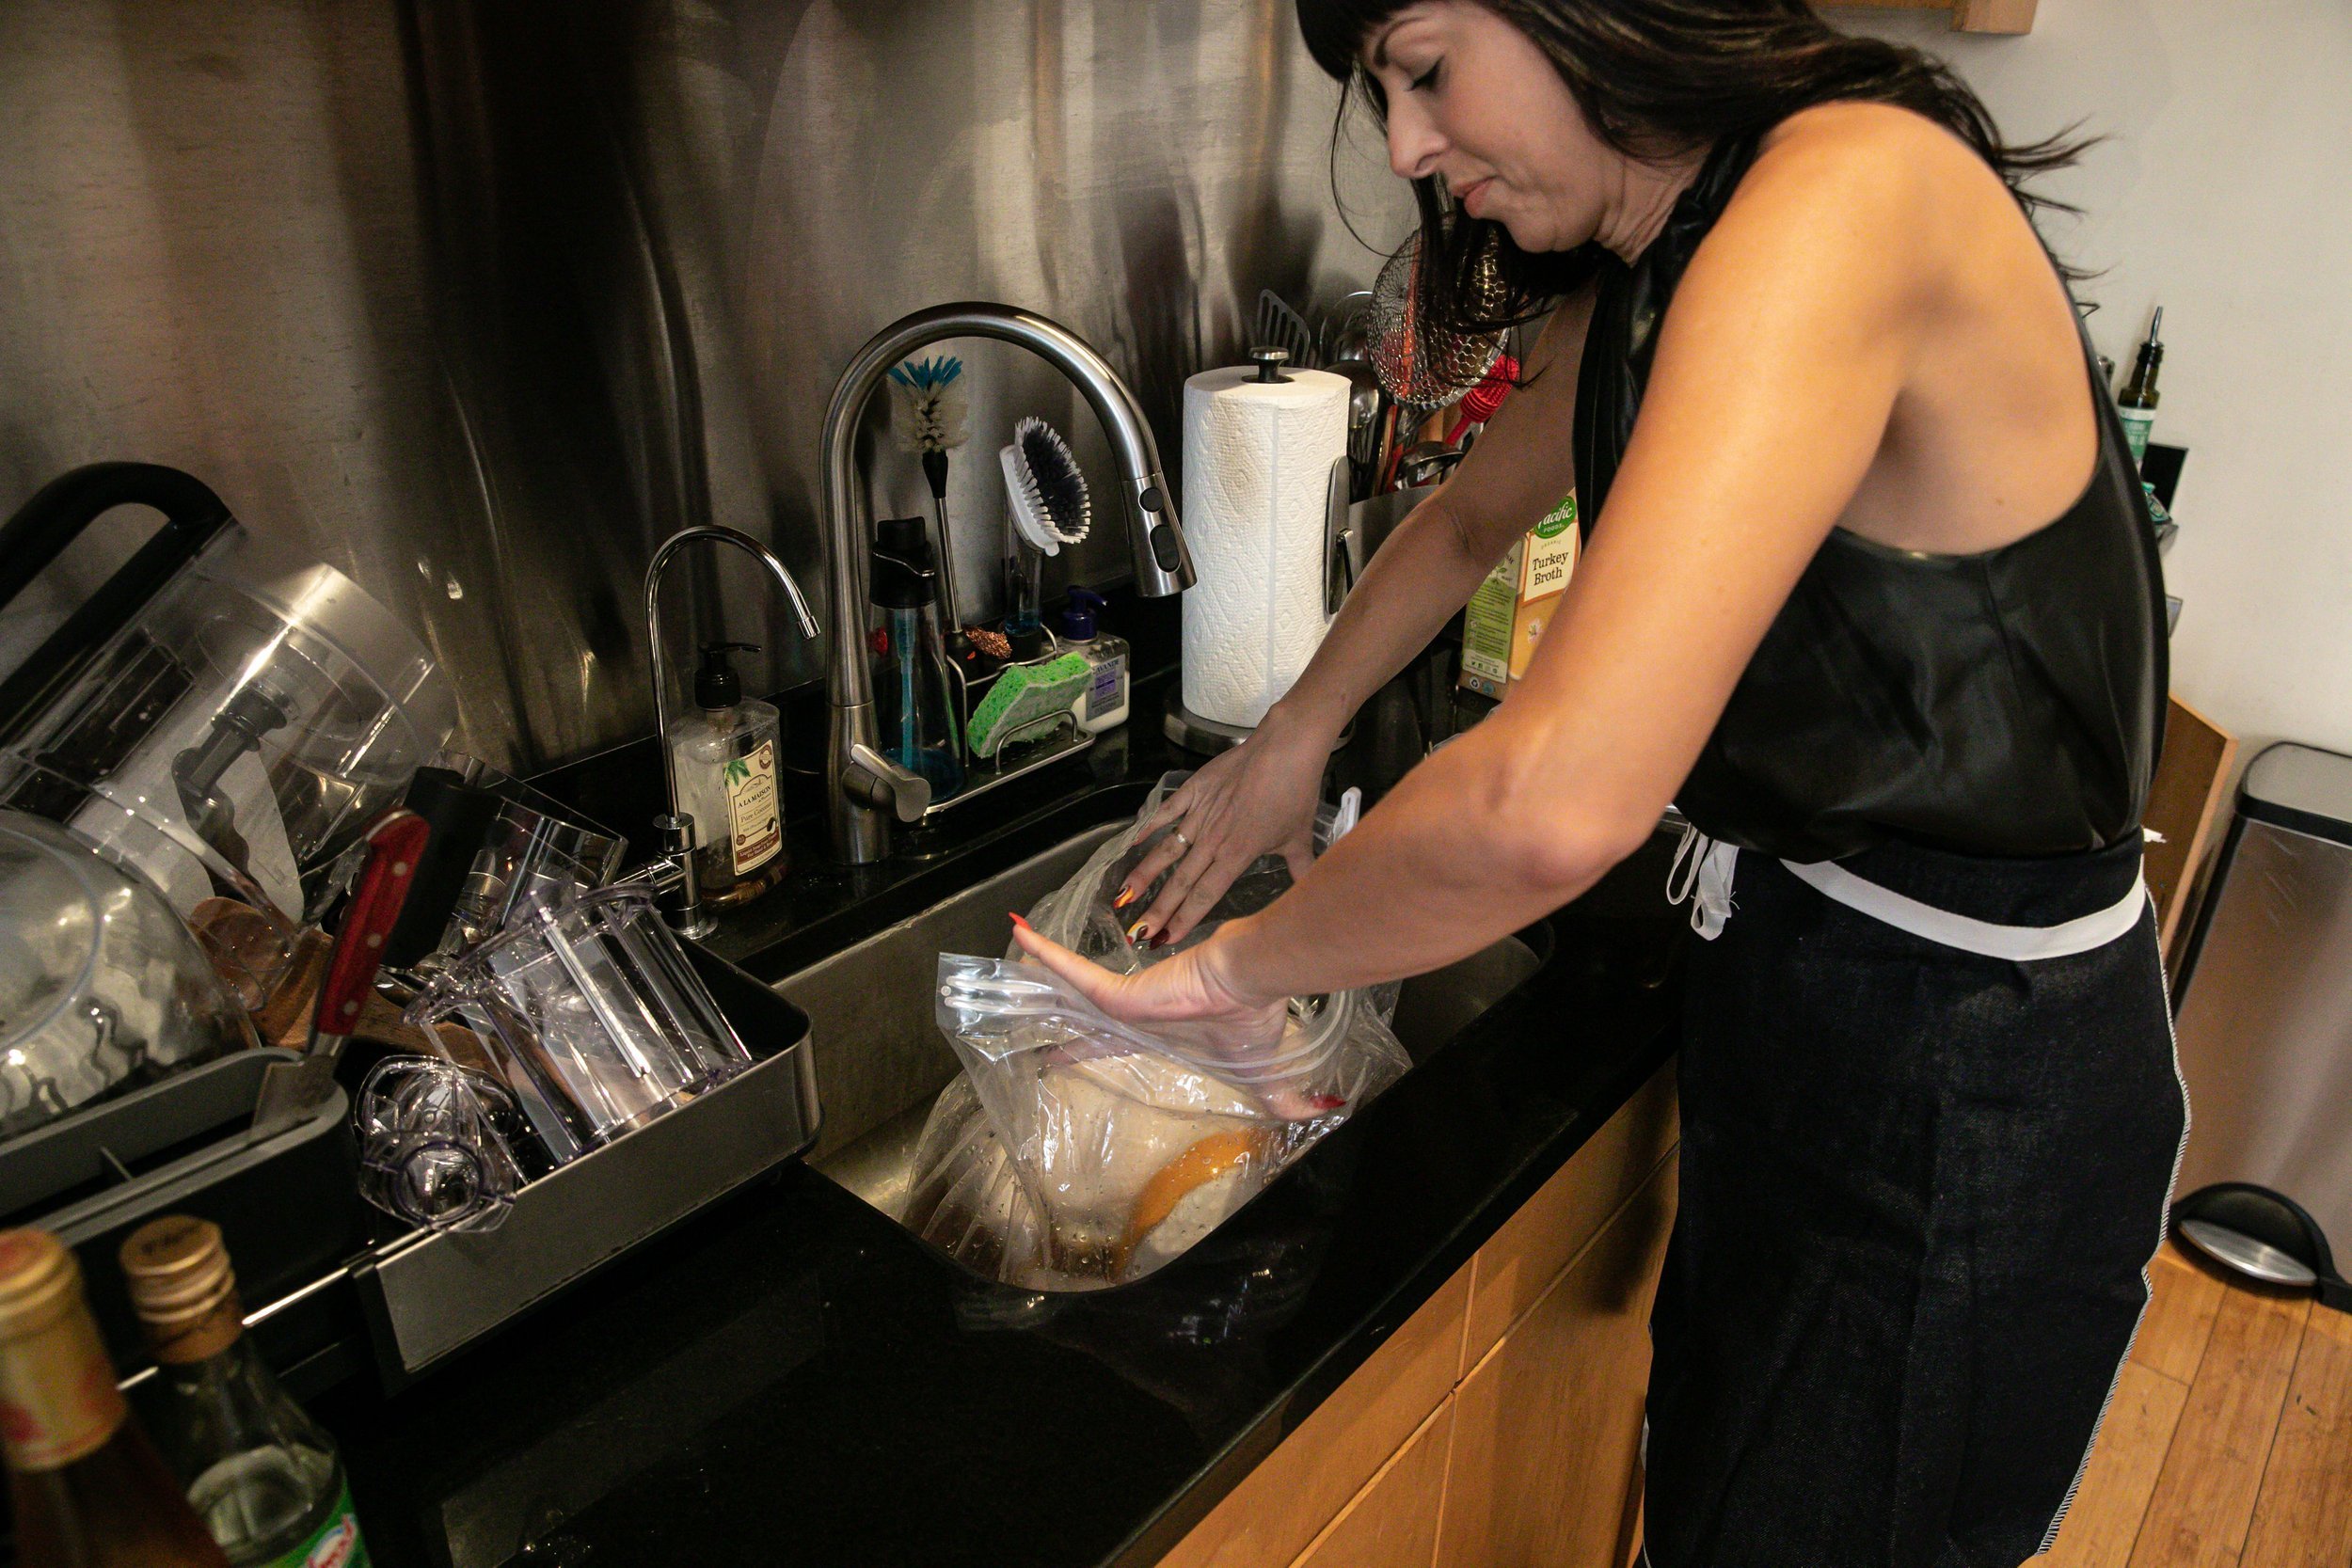
Remove the turkey from the brine and discard the brine. Rinse the turkey well, inside and out, under cold water for several minutes.
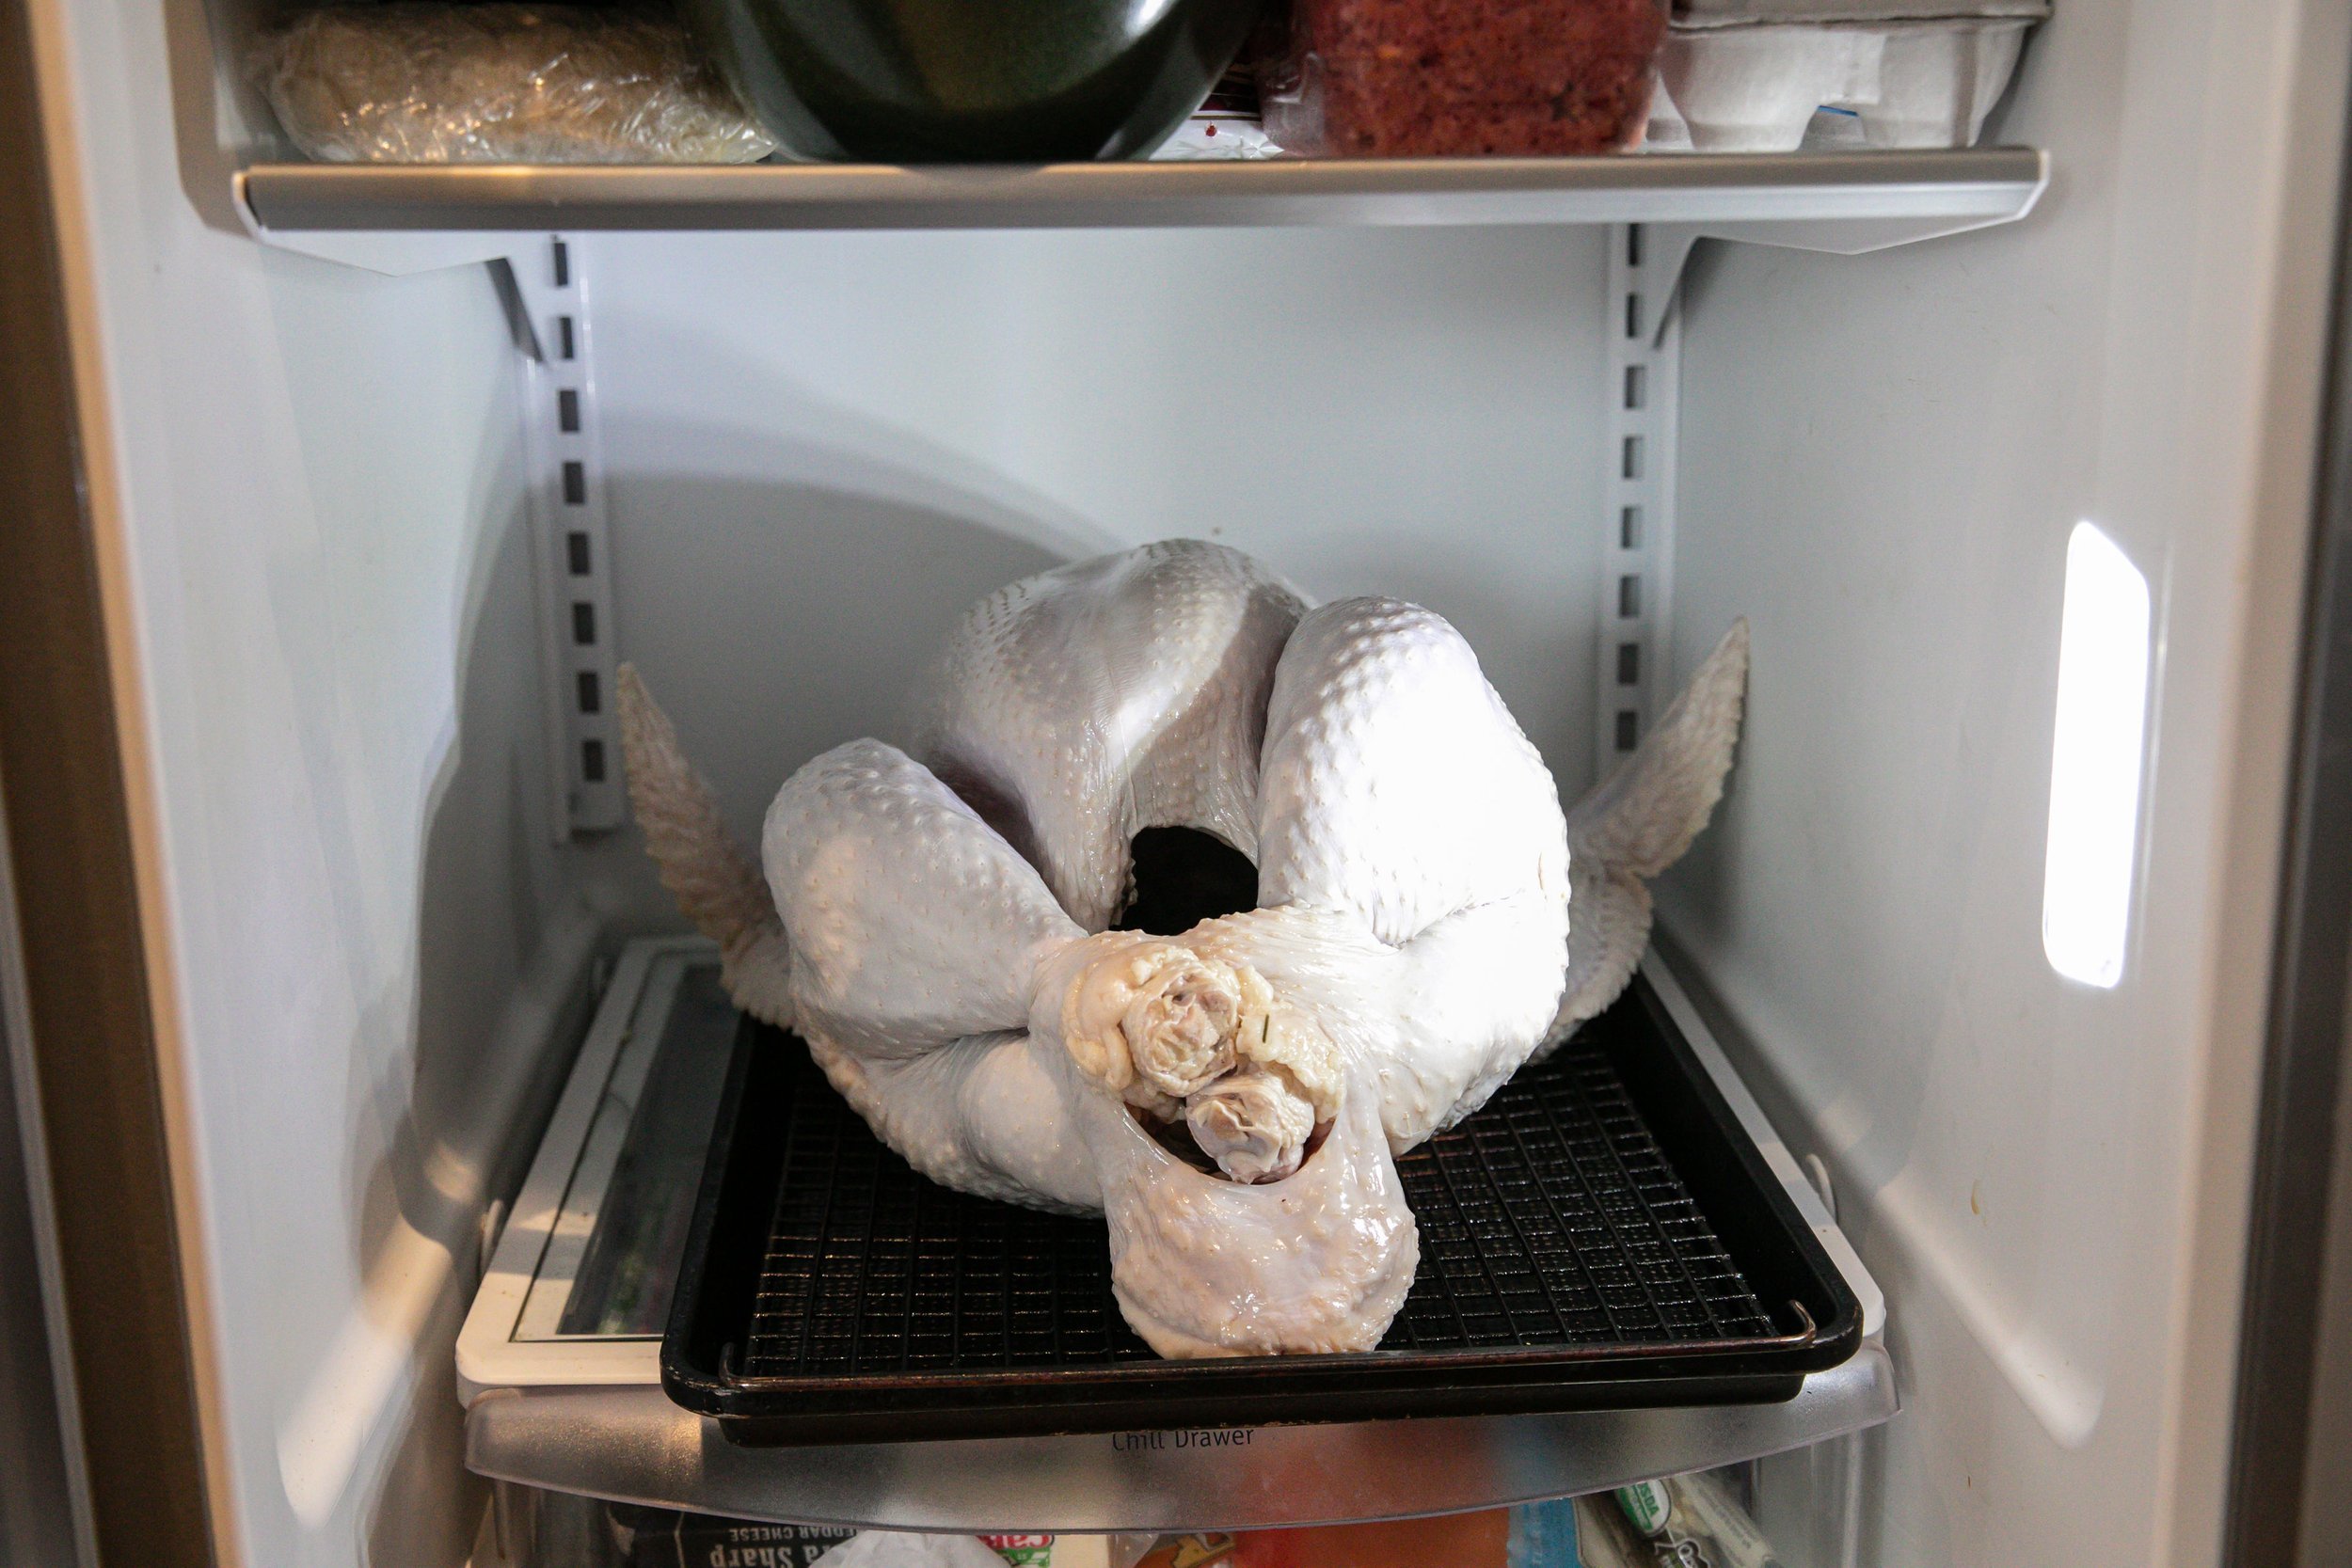
Dry the turkey surface. I like to use paper towels to get it, initially, as dry as possible; then place the turkey on a sheet pan with a drying rack inserted (to elevate the turkey slightly). Refrigerate, uncovered, for 8-12 hours, ideally overnight, the day before roasting.
PRO-TIP: Why dry the turkey surface? Not doing so can prevent the skin from crisping when cooked and it can also make the skin look spotty.
STEP 2 - Roasting Turkey
FLAWELESS ROAST the 18-POUND TURKEY
INGREDIENTS
2 onions, coarsely chopped
2 carrots, coarsely chopped
2 celery ribs, coarsely chopped
1 lemon, quartered
2 sprigs fresh thyme
1 18-pound fresh turkey*. Reserve the giblets and neck for gravy (recipe follows).
*If you’re from the NY / NJ area, you can’t go wrong with Di Paola’s Turkey Farm.
4 tablespoons unsalted butter, melted
salt and pepper
1 cup water
METHOD
Adjust the oven rack to the lowest position; remove the remaining racks.
Preheat the oven to 425°.
Line a large V-rack of a roasting pan with heavy duty foil and poke holes in the foil. Place the V-rack in the large roasting pan; set aside.
Toss onions, carrots, celery, lemon and thyme in a large bowl; set aside.
Place turkey in the lined V-rack breast side up; brush the turkey breast with 2 tablespoons of melted butter and season with salt and pepper.
Fill the cavity with half of the onion mixture; scatter the rest in the roasting pan and pour one cup of water into the pan.
Rotate the turkey breast-side down in the rack, brush with the remaining 2 tablespoons of butter and season with salt and pepper.
Roast the turkey one hour.
Remove the roasting pan with the turkey from the oven and lower the oven temperature to 325°.
Using clean kitchen towels or two potholders, turn the turkey breast-side up.
Insert an oven-safe meat thermometer or probe into the thickest part of the breast, without touching bone. Set the cooked turkey’s finishing temperature to 170 degrees.
Return the roasting pan with the turkey to the oven and continue to roast until the meat thermometer registers 170°, about two hours longer.
Remove the turkey from the pan to a carving board and let it rest, uncovered, until you’re ready to carve it, about 30 to 40 minutes. Don’t cover your roasted turkey as this will turn the golden crispy skin to golden soggy skin! Nooooooo!
PRO-TIP: While the turkey rests, insert an instant thermometer in the thickest part of the thigh, without touching bone, to ensure it reaches 180 degrees. This will happen over the next few minutes but if it doesn’t, you can carve the breast meat out of the turkey and return the bird to the oven to roast 15 minutes longer, or until the thickest part of the thigh registers 180 degrees.
Carve and serve with piping hot champagne gravy (recipe follows).
STEP 3 - Gravy
This is best prepared in three stages, the first of which happens before the turkey is roasting in the oven. But because the bulk of the recipe is completed after the turkey is placed into the oven, I have listed it as “Step 3”.
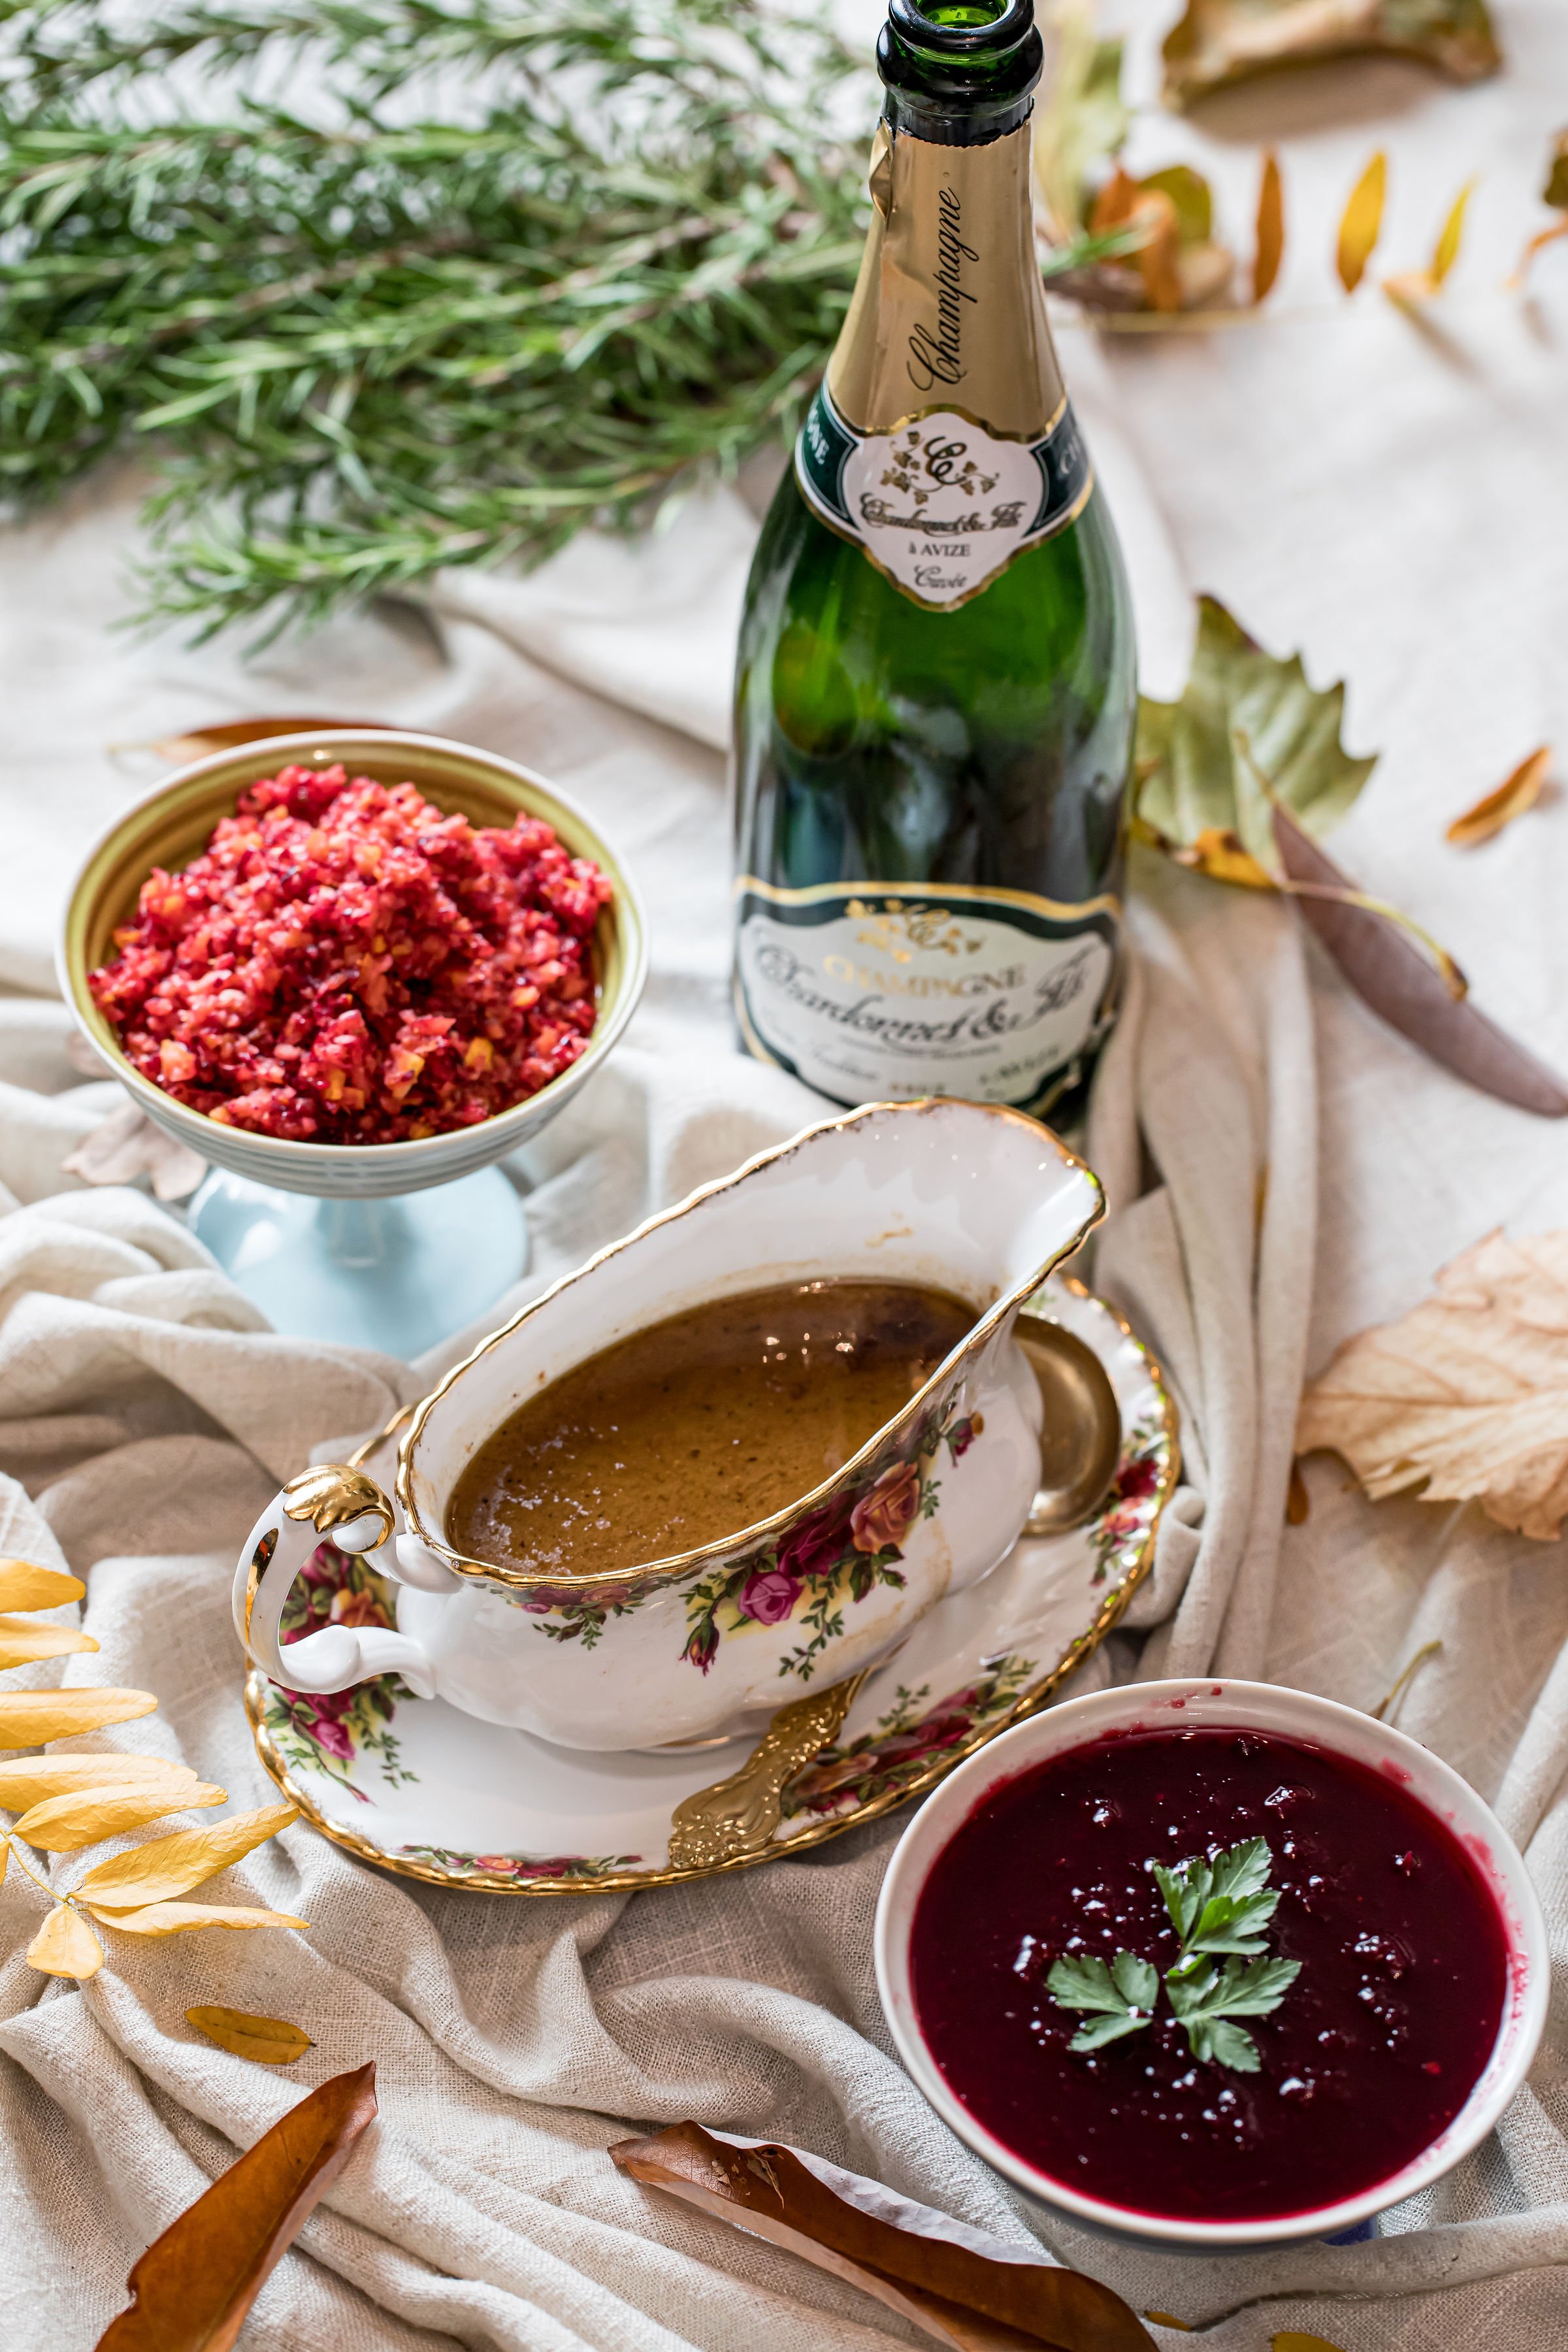
GLUTEN-FREE CHAMPAGNE GRAVY
INGREDIENTS - STAGE 1
1 tablespoon vegetable oil
Reserved giblets and neck
1 onion, unpeeled and chopped
3 cups water
1 1/2 quarts turkey stock
2 sprigs fresh thyme
8 sprigs fresh Italian parsley
INGREDIENTS - STAGE 2
5 tablespoons unsalted butter
1/4 cup plus 2 tablespoons gluten-free flour (I like King Arthur GF Flour)
1 1/2 cups dry Champagne
METHOD - Stage 1
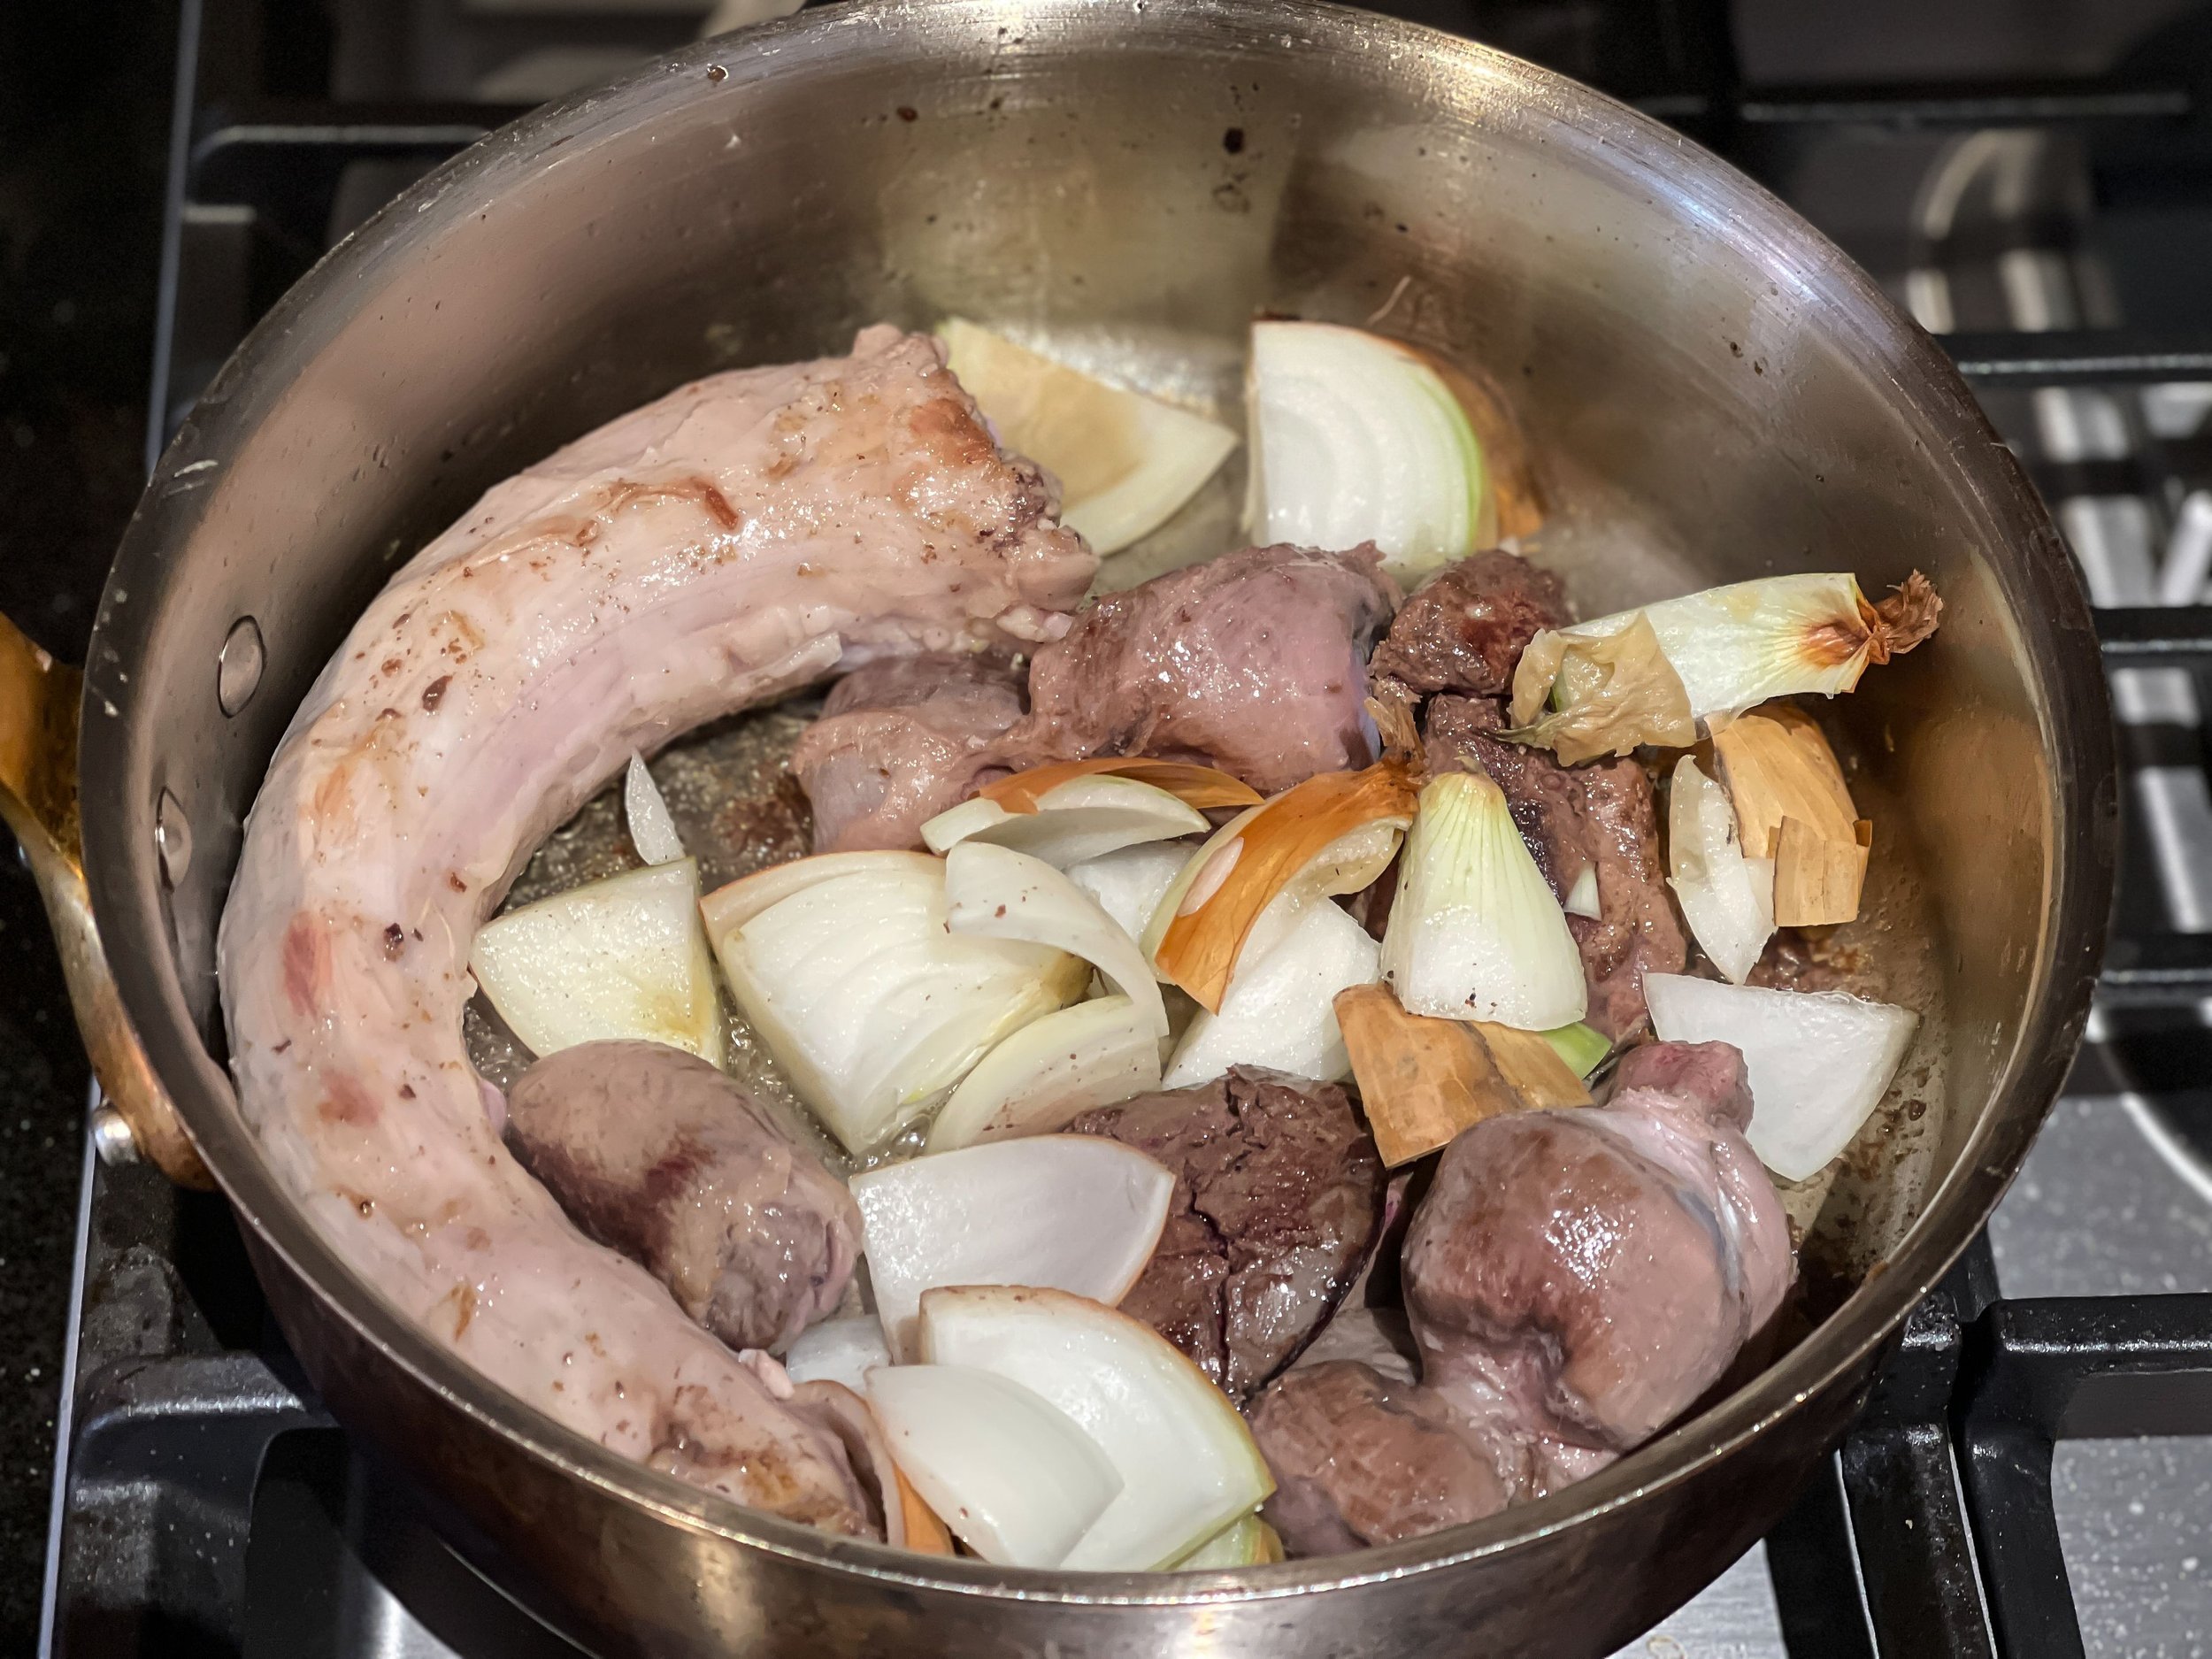
Heat the oil in a stock pot; add the giblets and neck and sauté until golden and fragrant, about five minutes.
Add the onion and continue to sauté until softened, 3 to 4 minutes longer.
Reduce the heat to low, cover and cook until the turkey and onion release their juices, about 20 minutes.
Add the water, stock and herbs. Bring to a boil then adjust the heat to low.
Simmer uncovered until the broth is rich and flavorful, about 30 minutes longer.
Strain the broth into a large container (you should have about 5 cups).
METHOD - Stage 2
While the turkey is roasting, return the reserved turkey broth to a simmer.
Heat the butter in a large, heavy-bottomed saucepan over medium low heat.
Vigorously whisk in the GF flour (the roux will froth and then thin out again). Cook slowly, stirring constantly until nutty brown and fragrant, 5 - 8 minutes.
Vigorously whisk the hot broth into the roux and bring to a boil. Continue to simmer, stirring occasionally, until the gravy is slightly thickened and very flavorful, about 30 minutes longer.
Set aside until the turkey is done.
METHOD - Stage 3
When the turkey has been transferred to carving board to rest, strain the pan juices into a fat separator, pressing as much juice as possible out of the caramelized vegetables.
Allow the fat to separate from the pan juices in the fat separator for about 2 minutes. It will be visually clear when this has happened.
Remove the stopper from the spout of the fat separator and gently pour only the pan juices back into the roasting pan.
Place the roasting pan over two burners set on medium-high heat.
At the same time, return the reserved gravy to a simmer on a nearby burner.
Add champagne to the roasting pan of fat-separated pan juices, scraping up any remnant browned bits with a wooden spoon.
Boil champagne mixture in the roasting pan until it’s reduced by half; about five minutes.
Strain reduced champagne mixture into neighboring saucepan of simmering gravy.
Serve hot with carved turkey.
PRO TIP: The gravy should be the last thing you place on the table or buffet. Thanksgiving is usually packed full of casseroles that need reheating so, while I’m finishing the gravy, I like to have someone else carve the bird. While that’s happening, I throw the casseroles into a 200° oven to gently reheat. Even if this doesn’t go exactly as planned, no one will mind if the gravy is piping hot! 😉

STEP 4 - Carving The Turkey
This is best shown in the Flaweless TV episode here (insert link) but I’ve also written some steps below that could be helpful.
Be sure to allow the turkey to rest, uncovered, for 30 - 40 minutes before carving. The board on which you plan to carve the turkey should be able to catch and retain the ‘juice’ from the bird.
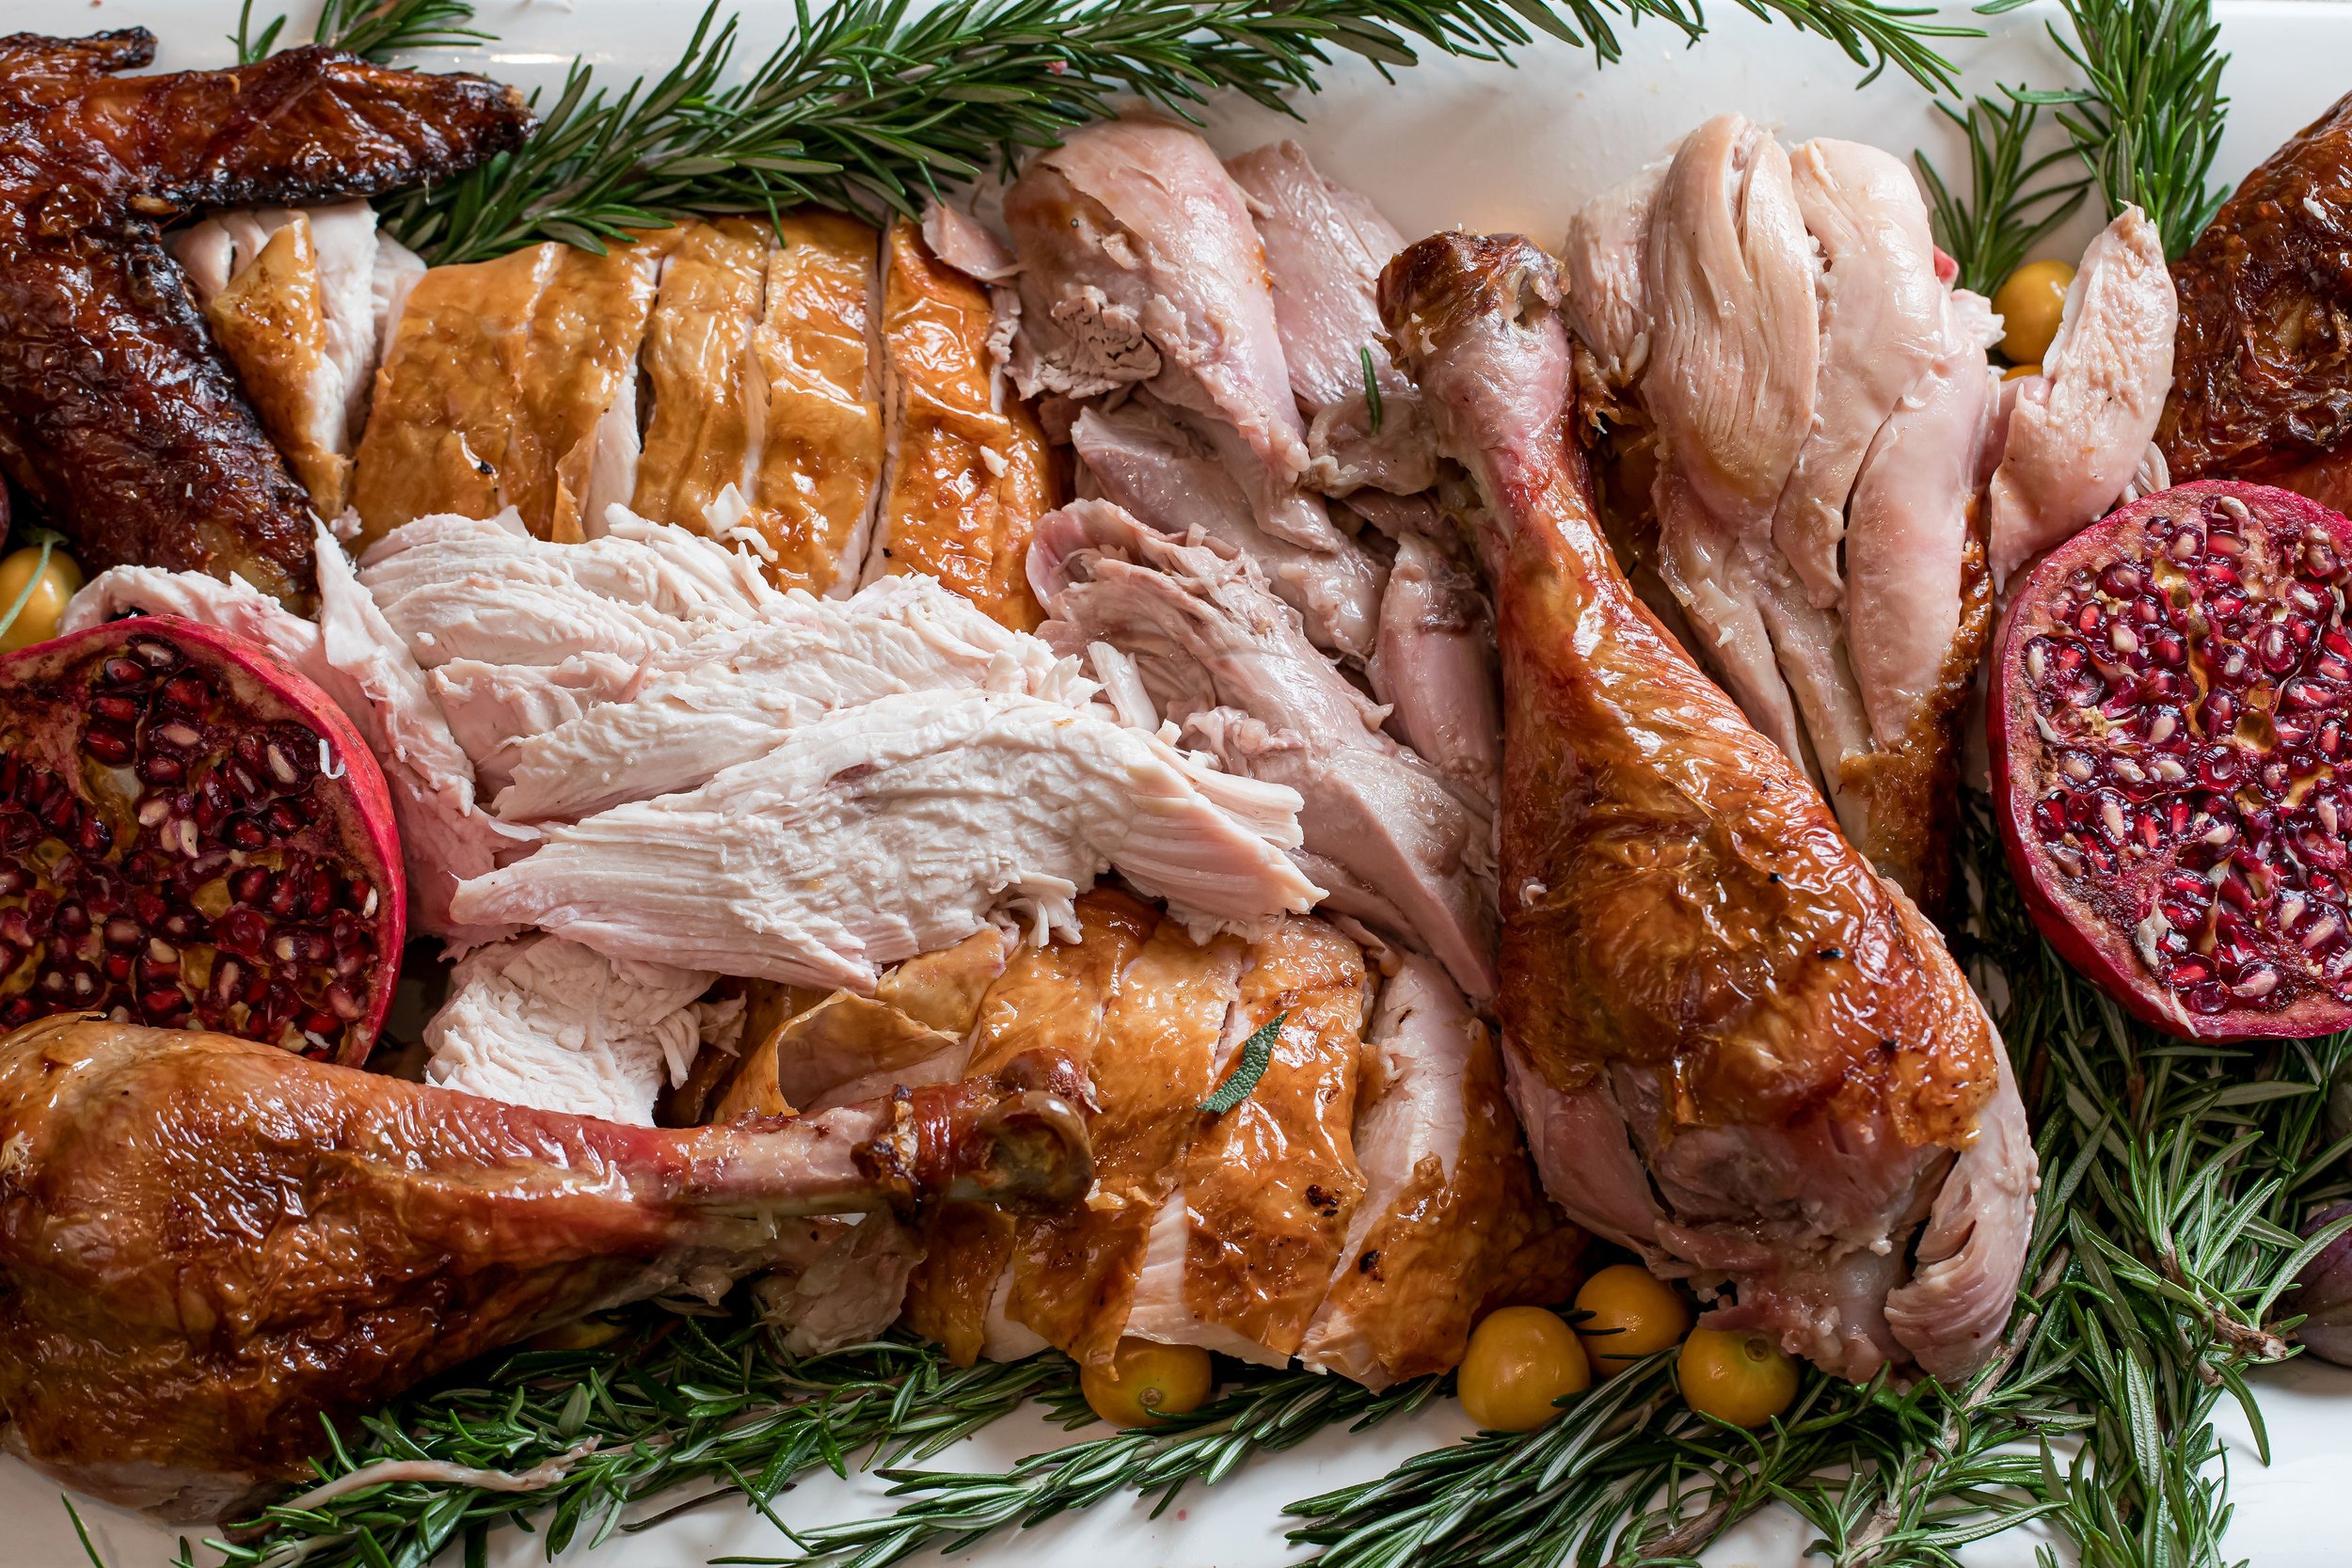
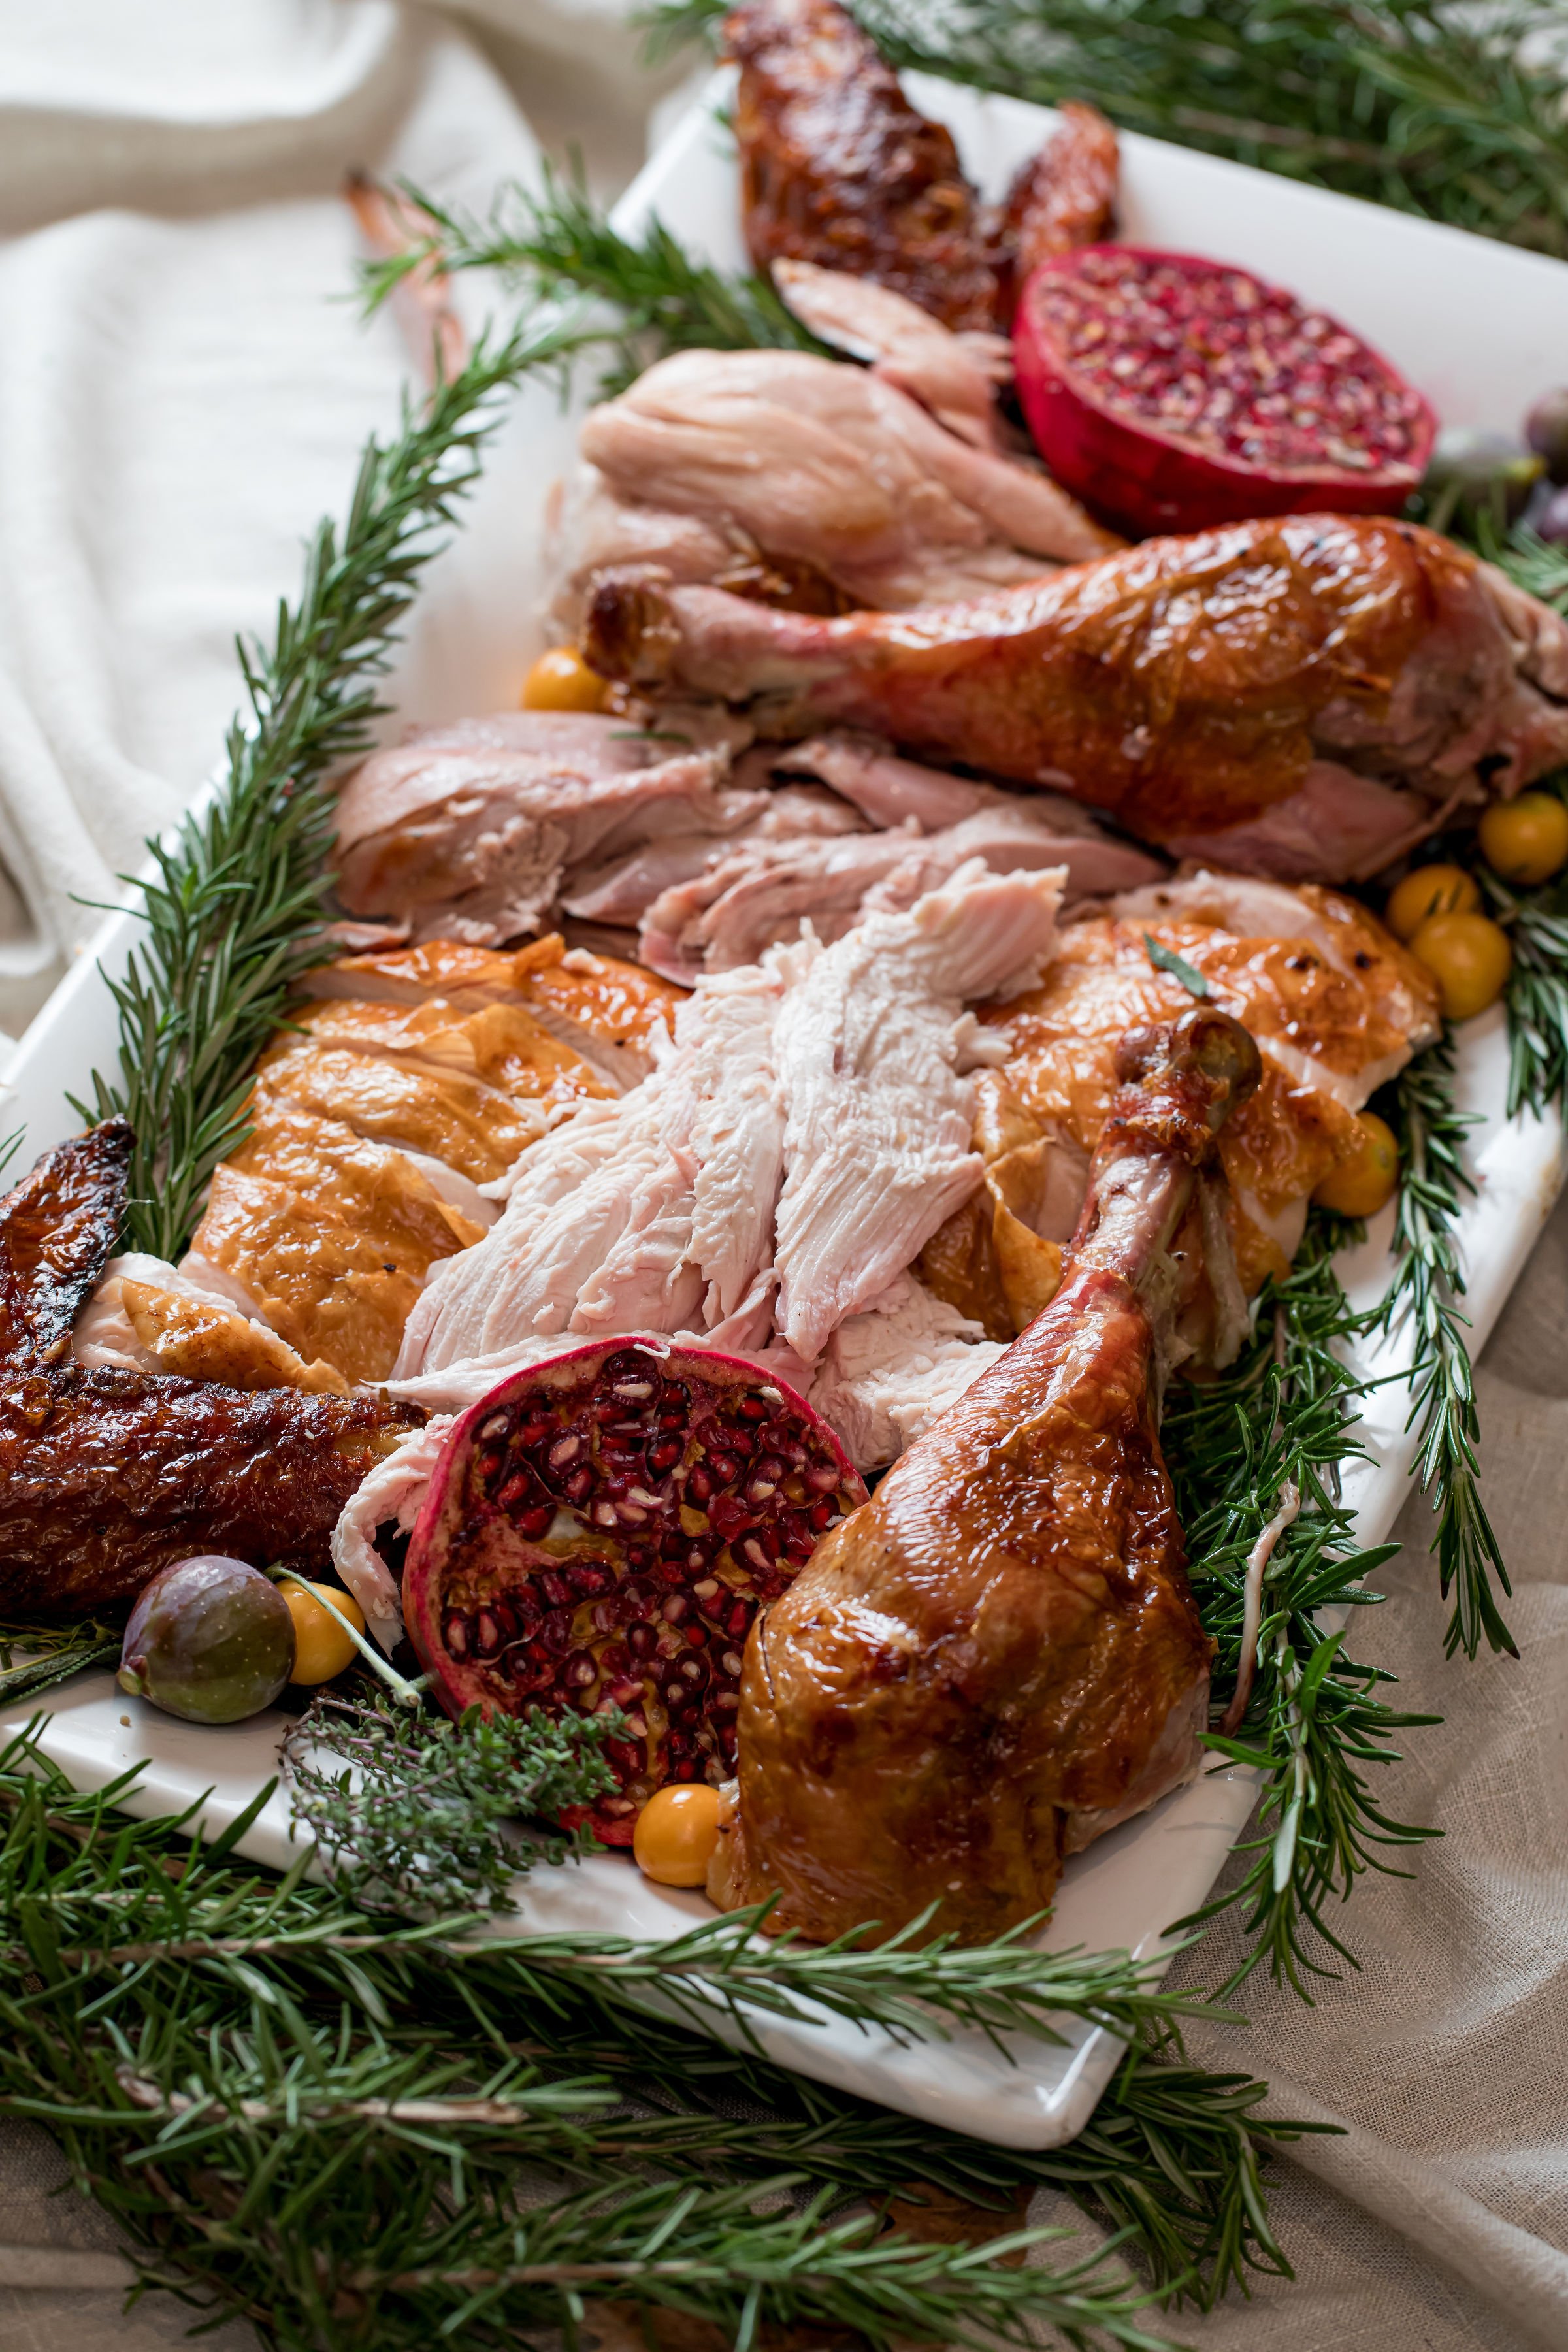
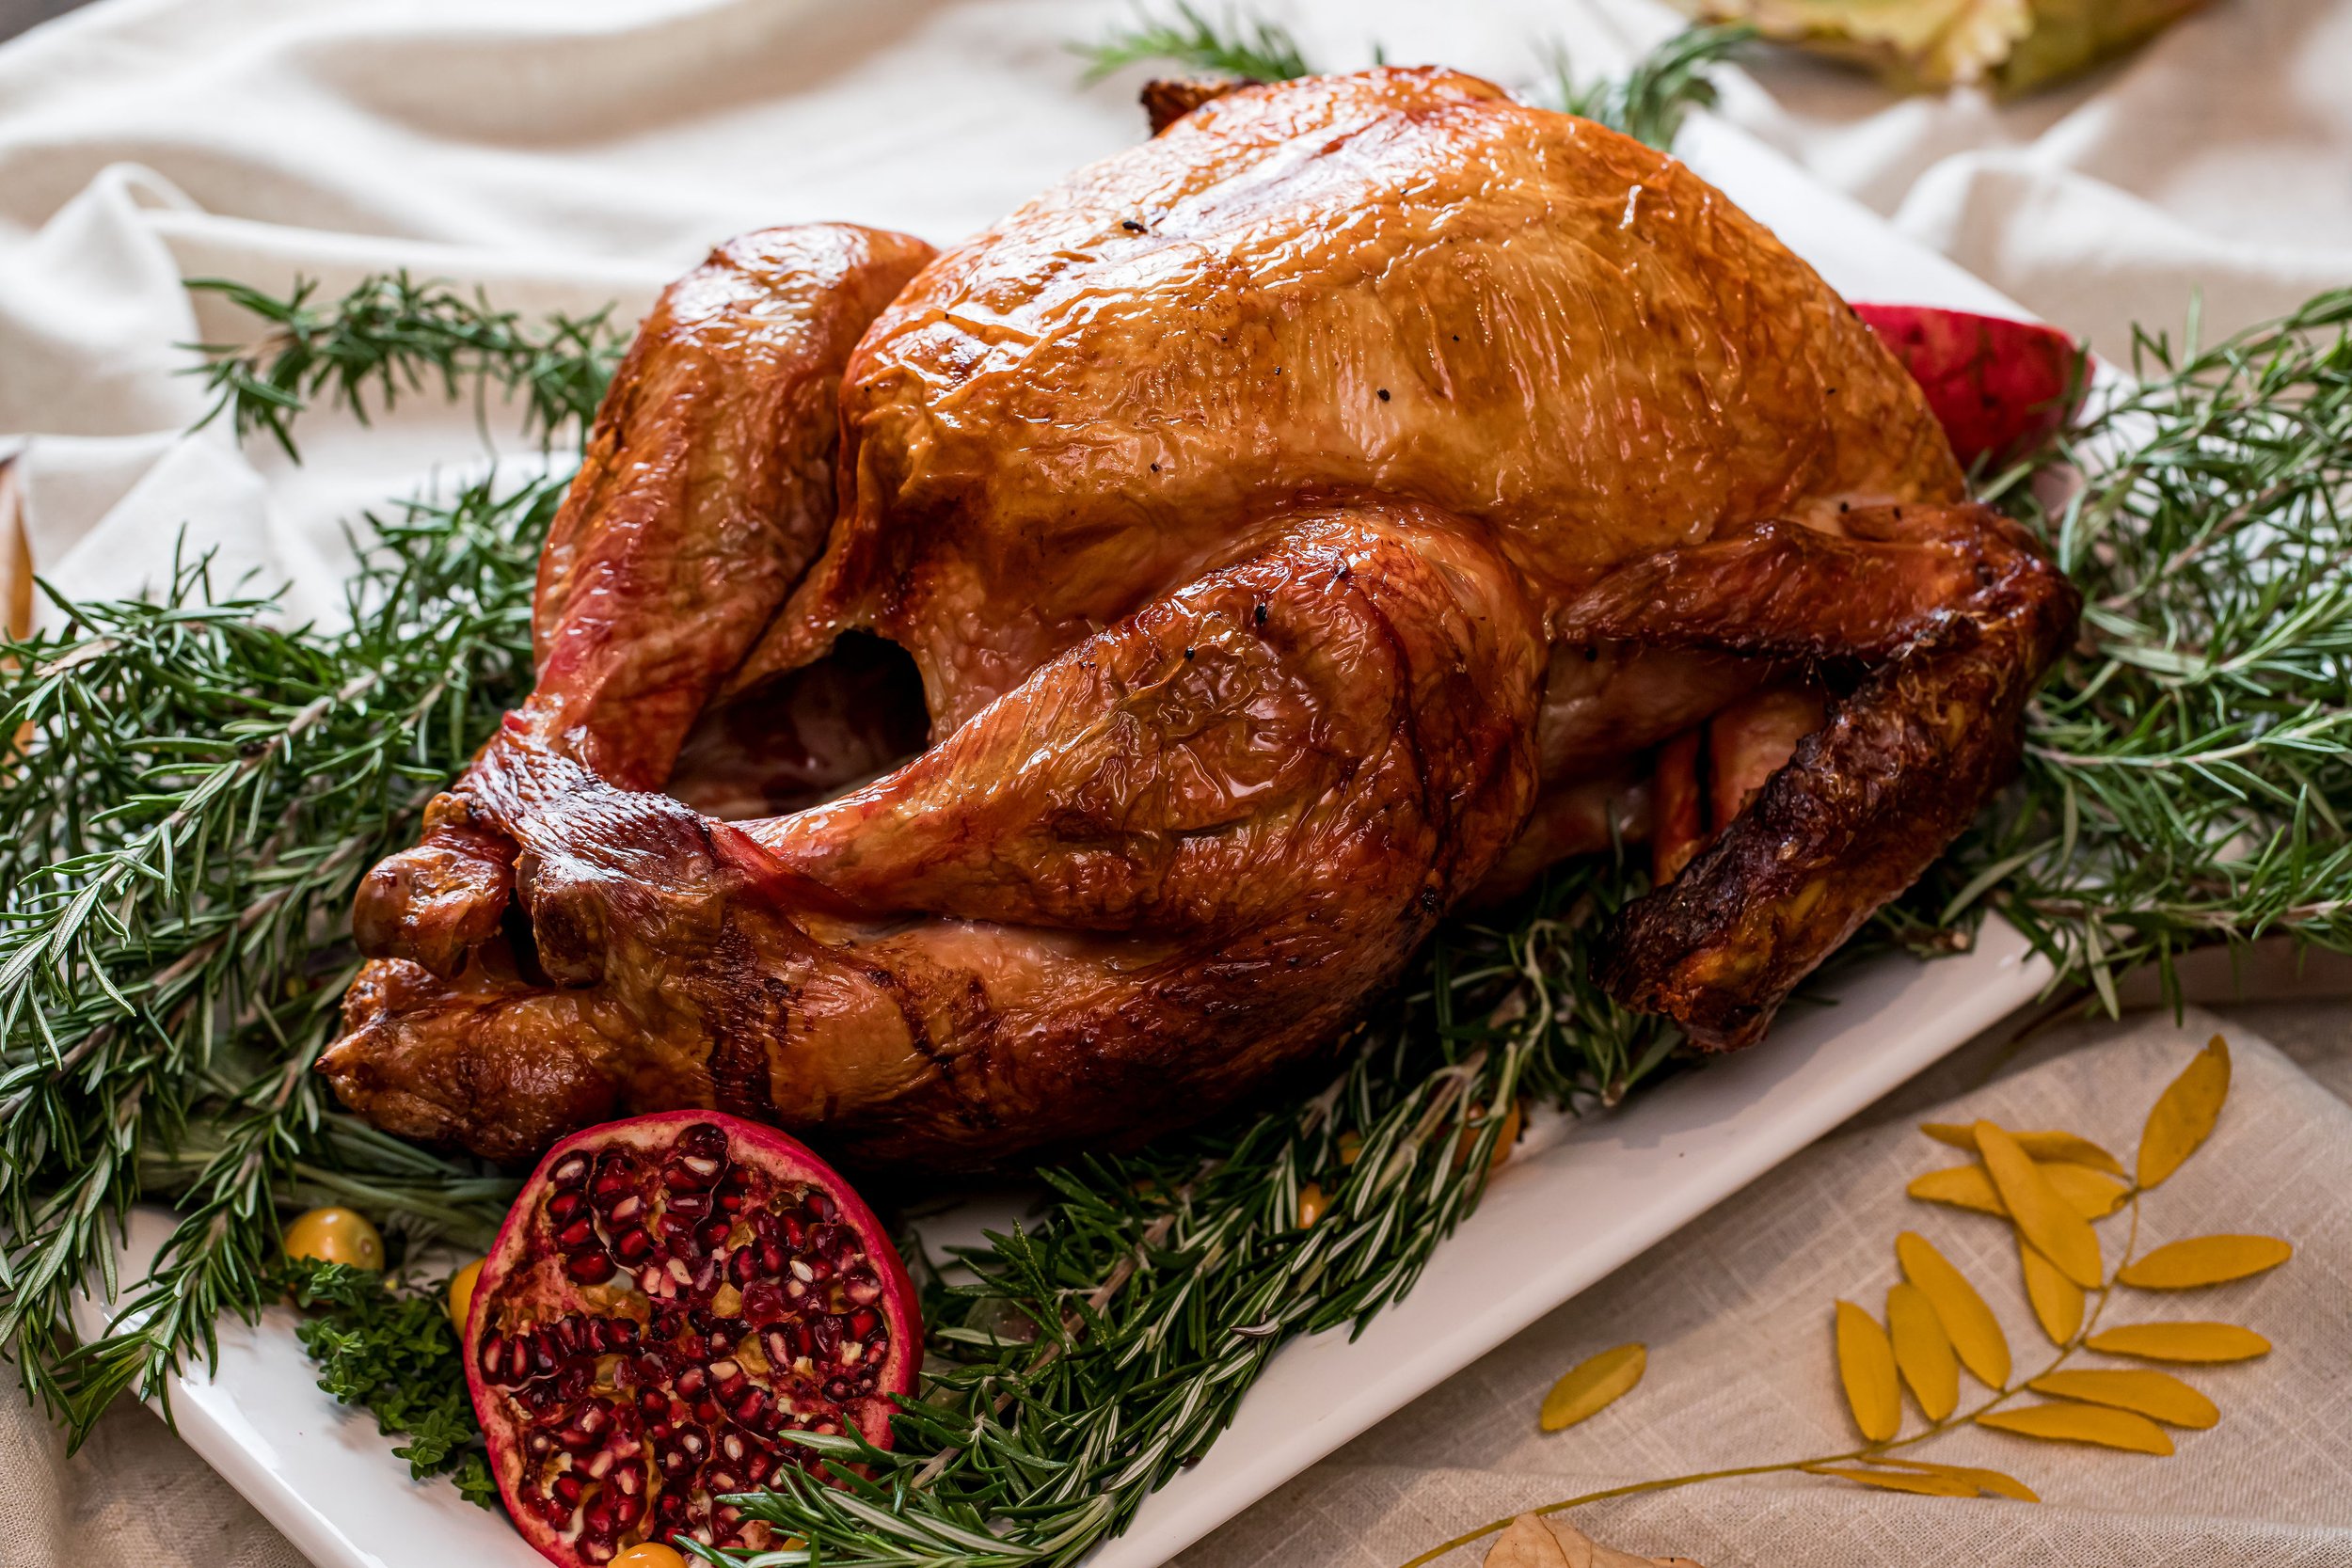
Use a large platter to display your turkey slices and parts in one glorious layer.
In addition to the carving board the turkey is resting on, you’ll need a cutting board to make detail slices before placing them on the serving platter. You don’t want to have to make slices on the serving platter itself as that will muck it up.
Gather garnishes to add color like golden berries, cumquats, red cabbage, fresh herbs, lady apples and pomegranates.
Use a very sharp knife to slice and use cotton kitchen towels to protect your hands from the heat.
Start with the breast halves, then the legs and wings and finally the back dark meat if desired.
Finish the platter with pops of color using the garnishes.
Place serving fork or tongs with the platter and serve with hot gravy.
Save the carcass to make my leftovers recipe: The BEST Bone Broth You Can Only Make Once A Year.
Pairing Wine with Thanksgiving Dinner

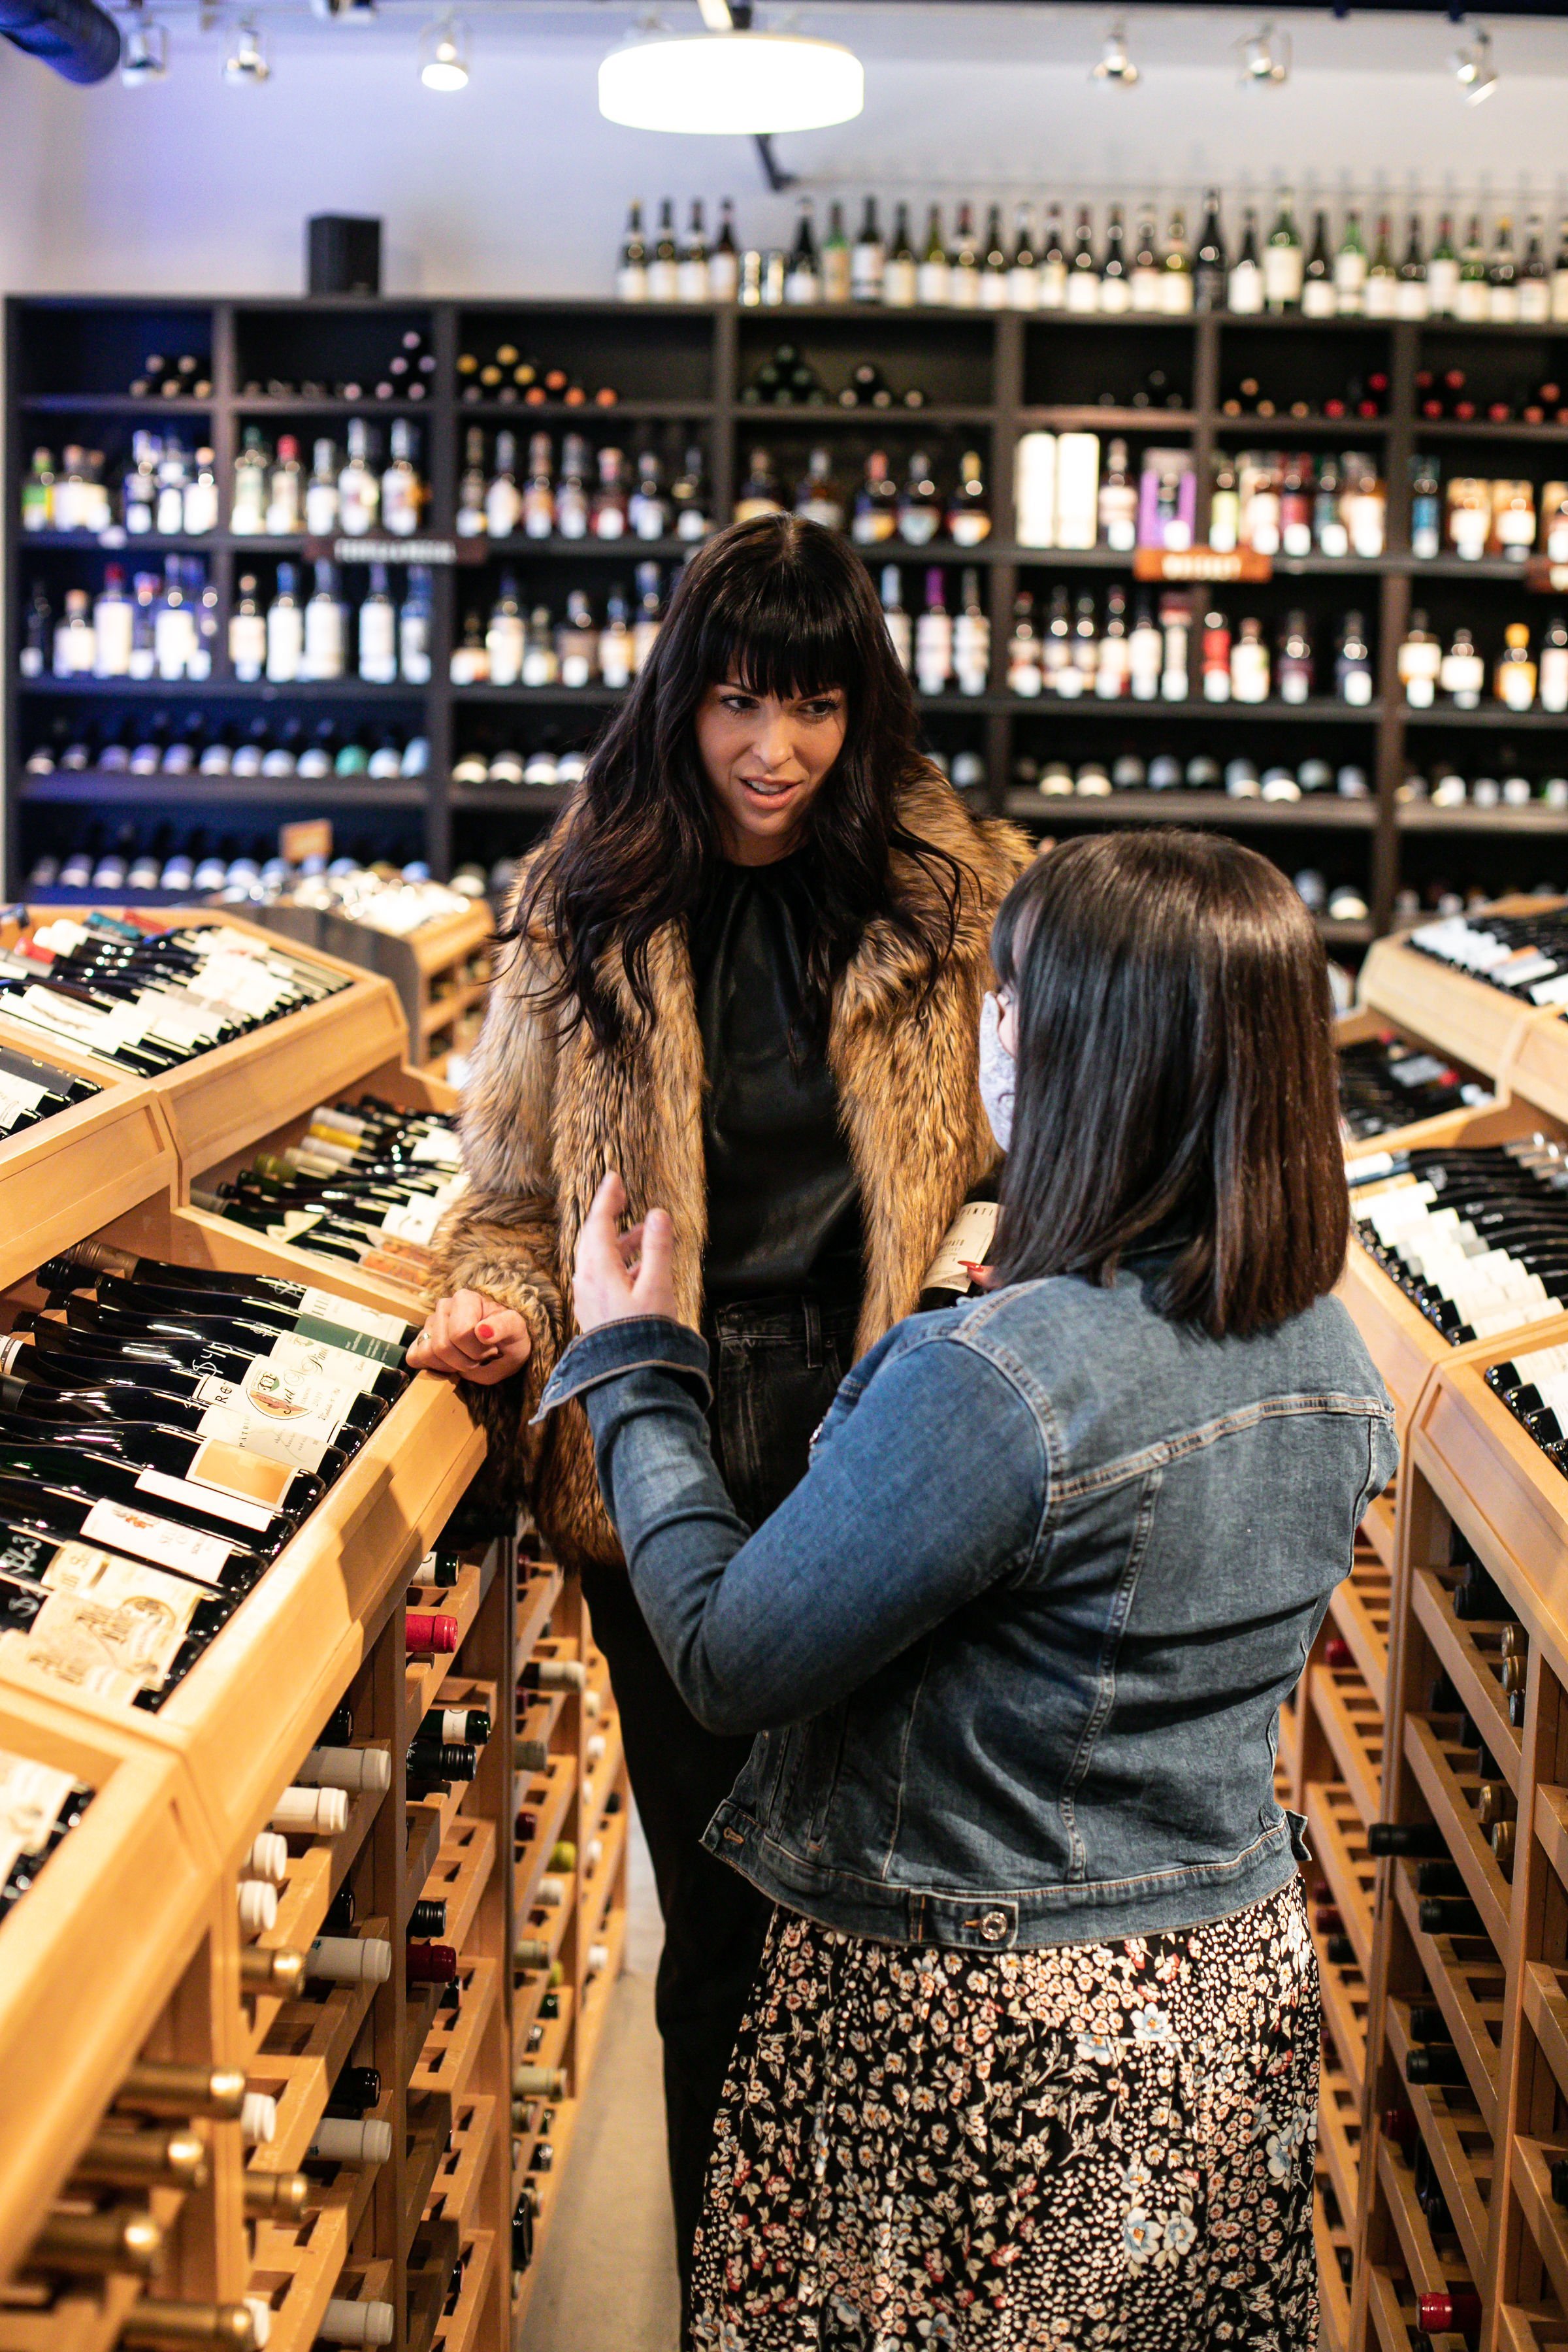

Food & Wine Pairing Essentials
Match the wine intensity to the food intensity. Not everyone is having a traditional line up of turkey, mashed potatoes and apple pie for their feast; so, whatever you’re doing, keep these basic tips in mind.
Understand these important interactions:
Salt - will reduce the palette’s perception of acidity in the wine. It will also intensify tannin (present in all red wines and is the astringency and bitterness that the palate senses).
Animal Fats - will reduce the palette’s perception of tannin in the wine. Conversely, the tannin will make meats and cheese feel less rich and fatty on the palate. “Fat loves Tannin and Tannin Loves Fat!”.
Sugar - sugar in food works best with sugar in wine. This is not just true for dessert; many dishes have sauces that contain sugar, especially at Thanksgiving!
Spicy Heat - works best with wines that are “off-dry”, slightly sweet or low in alcohol.
Christine’s 3 wine picks for her classic Thanksgiving Meal
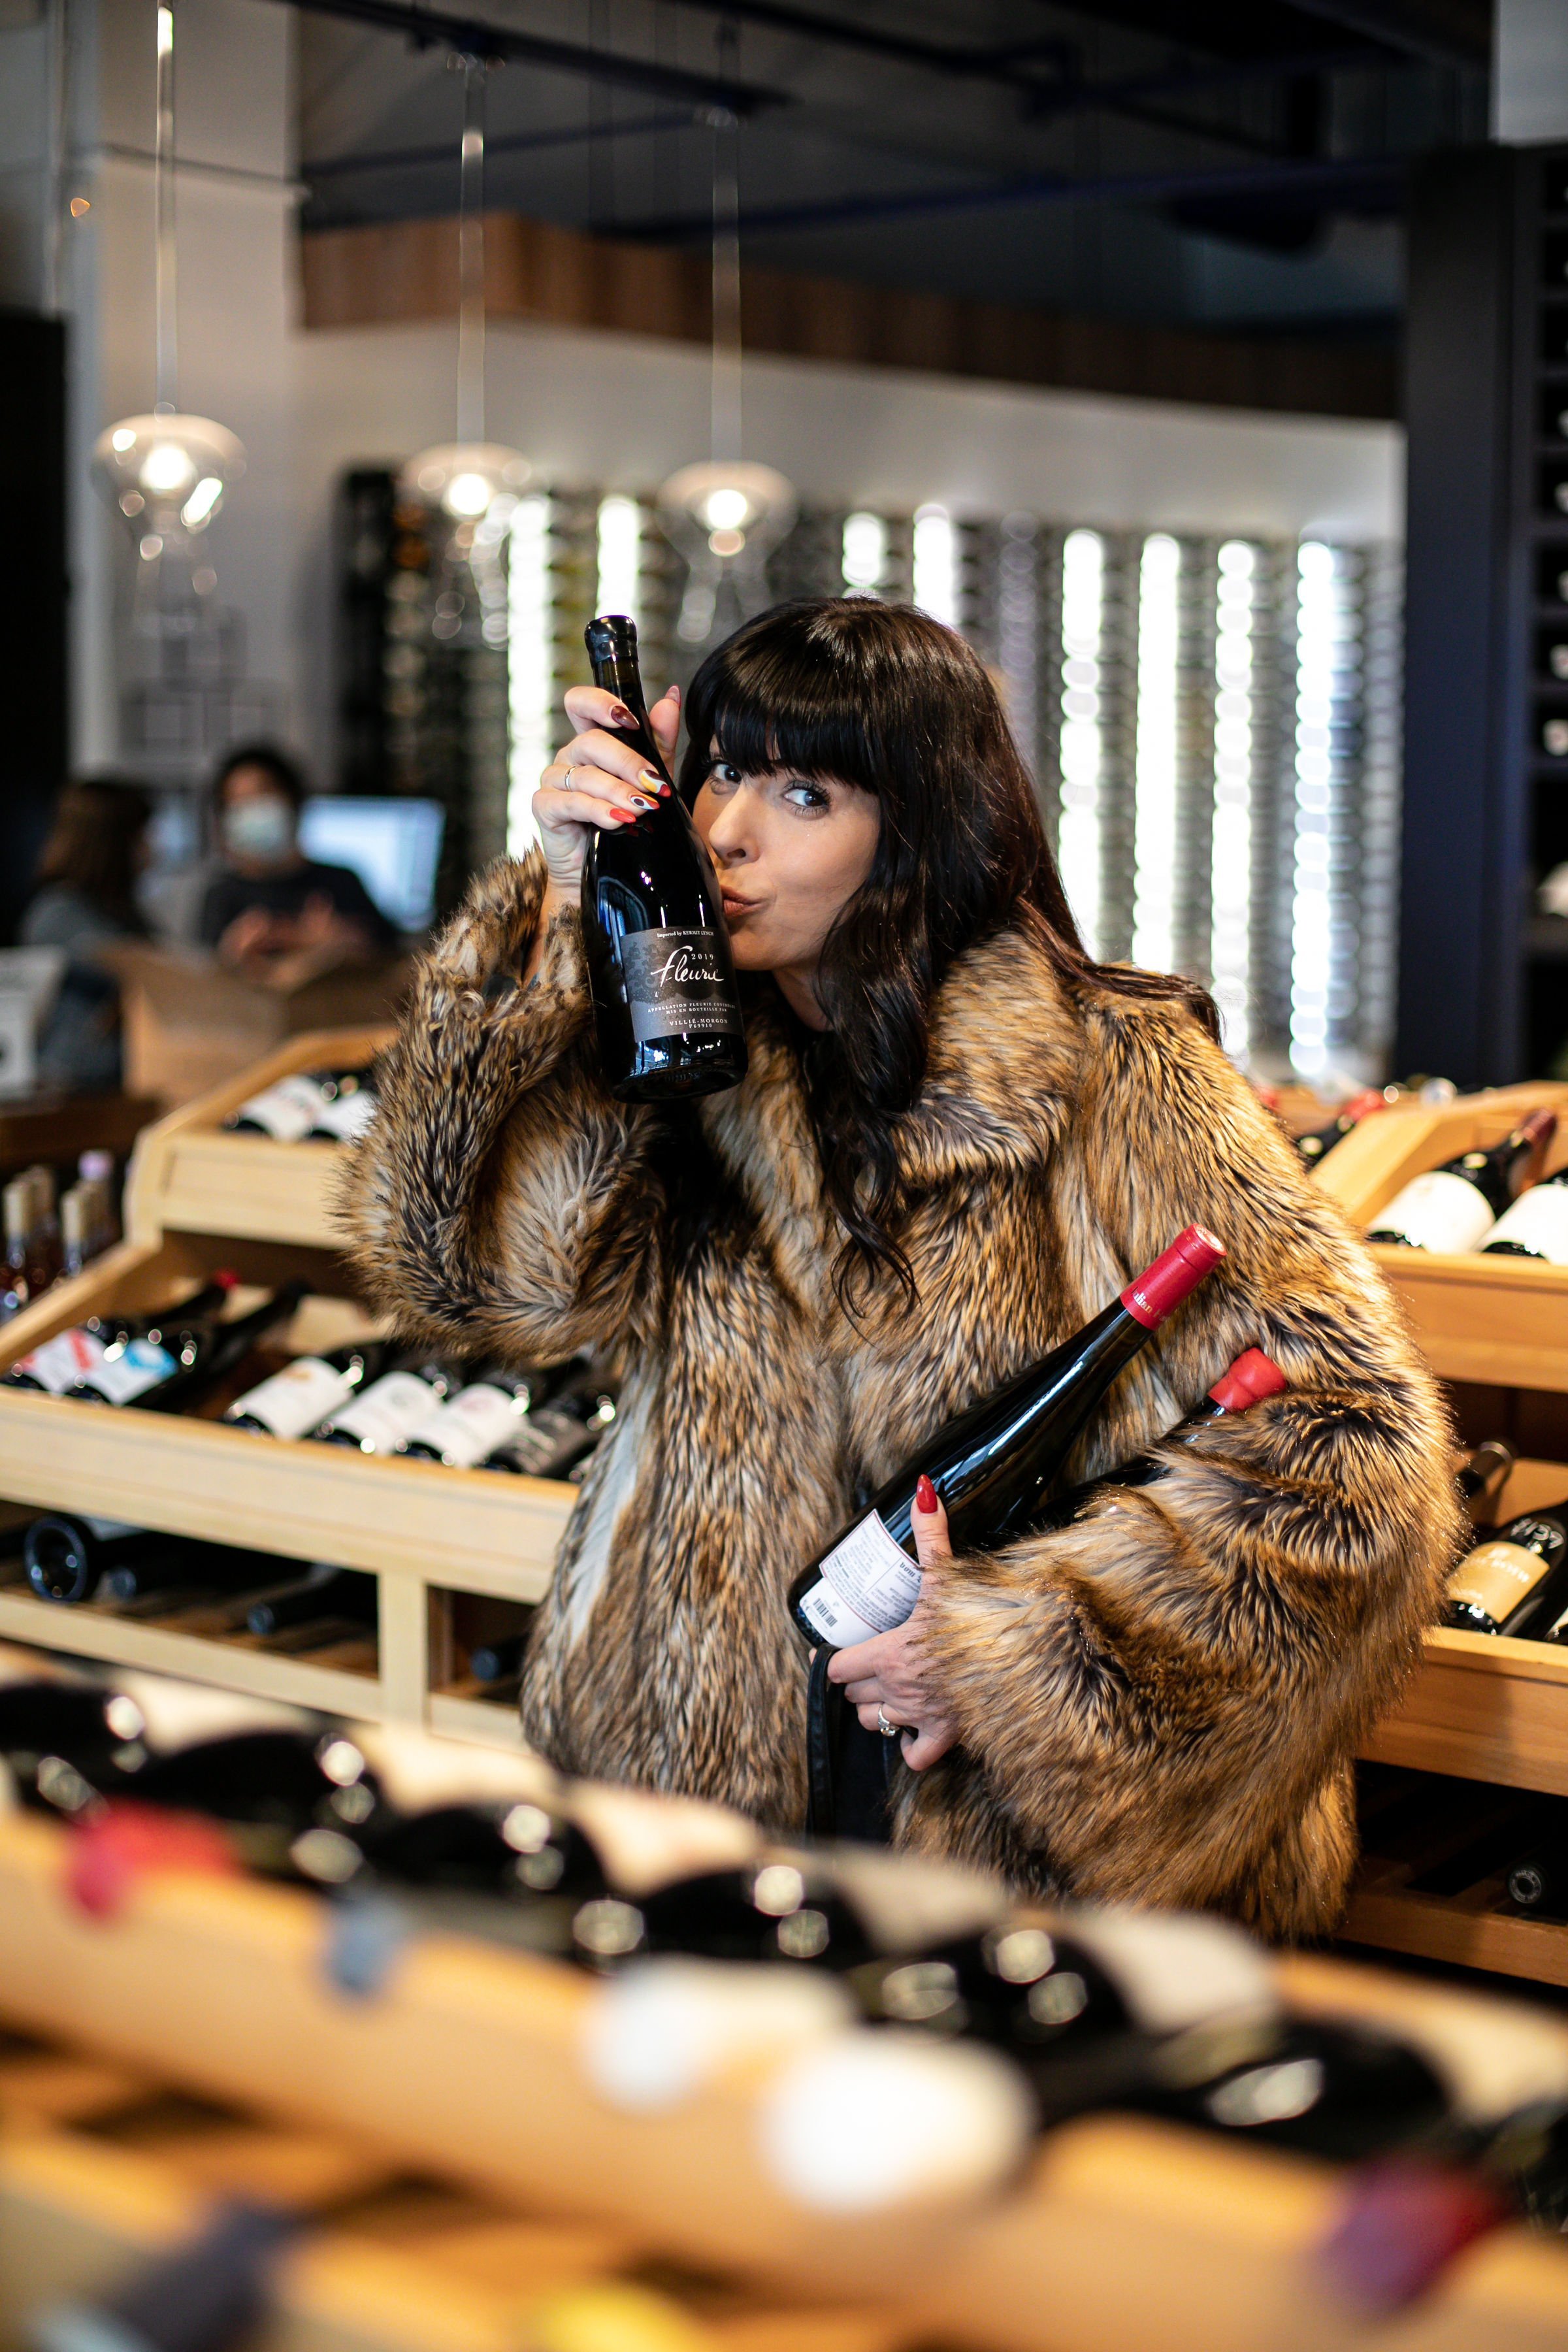
🍷 JEAN FOILLARD FLEURIE BEAUJOLAIS $64 - Beaujolais is a classic pairing with turkey and fresh, floral-driven wine is absolutely delightful. There are notes of ripe red berries, potting soil, and red flower petals balanced by bright acidity and well-integrated tannins. I can’t wait to pour this bottle into my Evolved Red Wine Glass Set and watch the magic unfold.
1. 🍷 OCCHIPINTI FRAPPATO TERRE SICILIANE IGT - This juicy, organic/biodynamic Frappato is loaded with flavors of cherries, ripe raspberries, crushed red flowers, and wet soil. And even better, it’s by Arrianna Occhipinti, one of my favorite female wine producers! The grape Frappato can only be found in Sicily, Italy where terroir is deeply influenced by volcanic soil. I think this wine’s mellow tannins and bright acidity will be glorious with my turkey and all the fixins’!
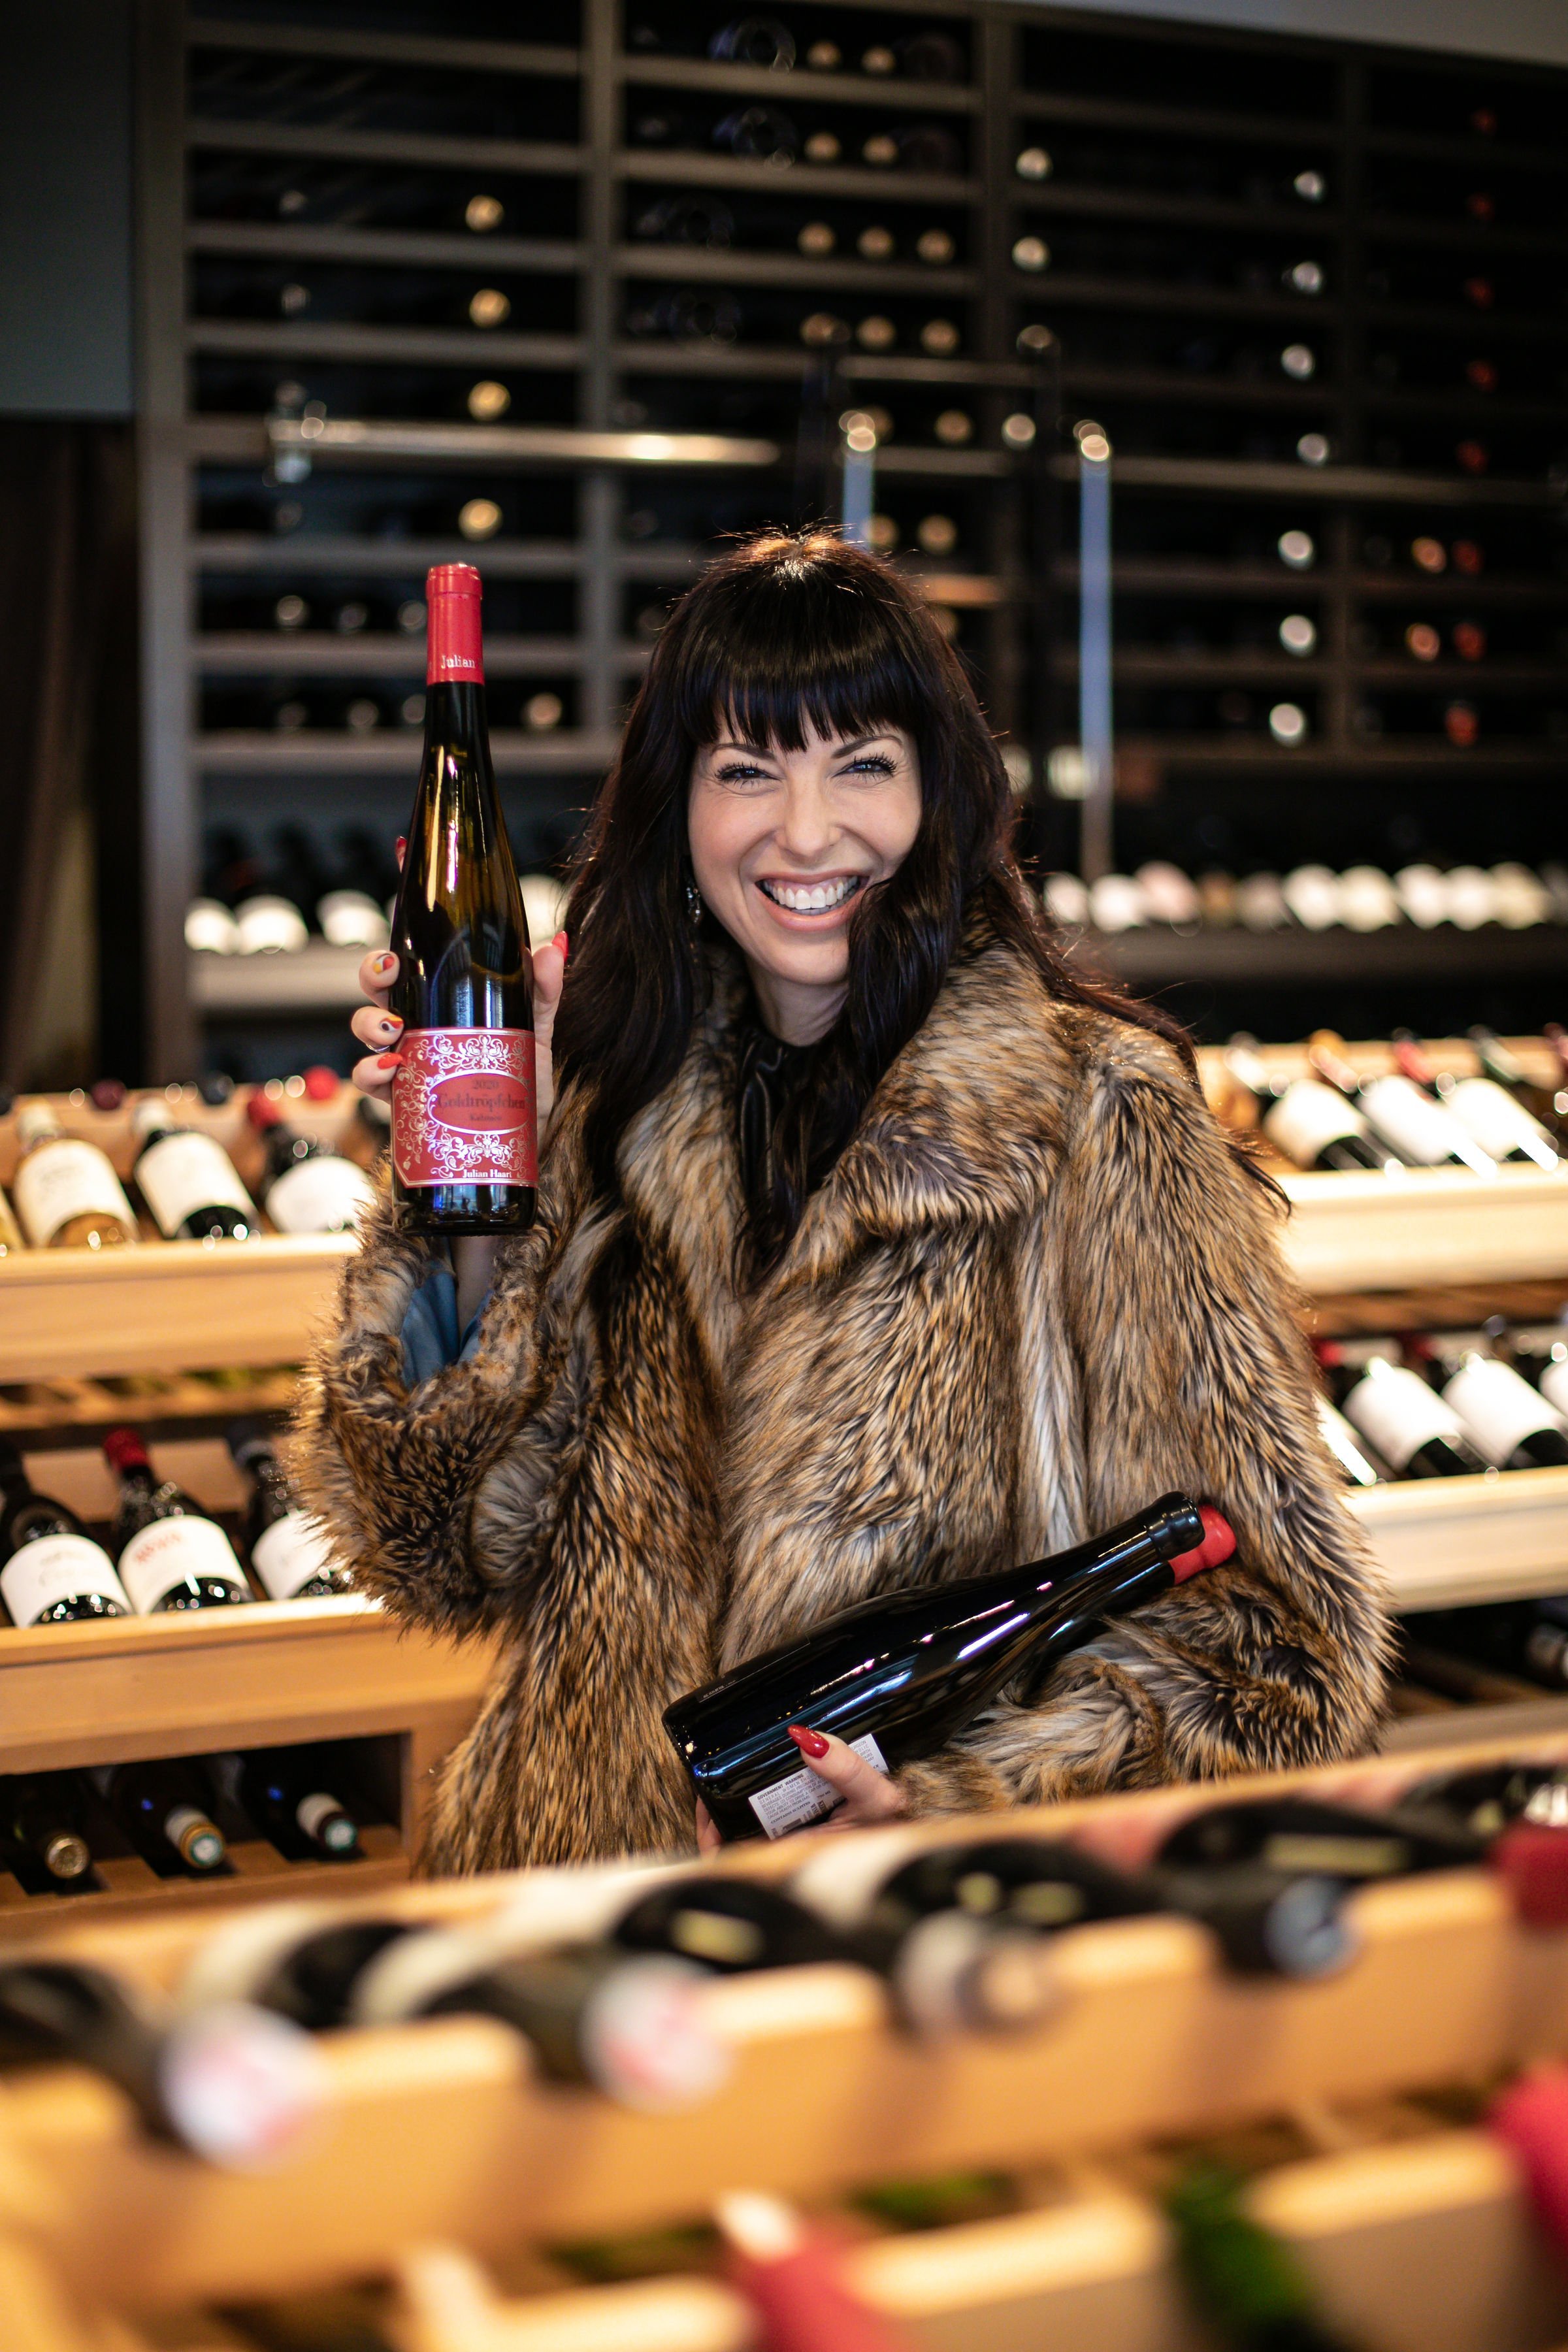
🥂 JULIAN HAART RIESLING 'GOLDTROPFCHEN' KABINETT MOSEL $49 - This is a light, aromatic and floral white wine from Mosel, Germany. I always have at least one female wine producer selection each Thanksgiving and Julian Haart is a winner this year! This low-alcohol wine will be a flaweless finish after a day of drinking and its “off-dry”, sweeter style will be amazing with my late cheese course and apple pie!
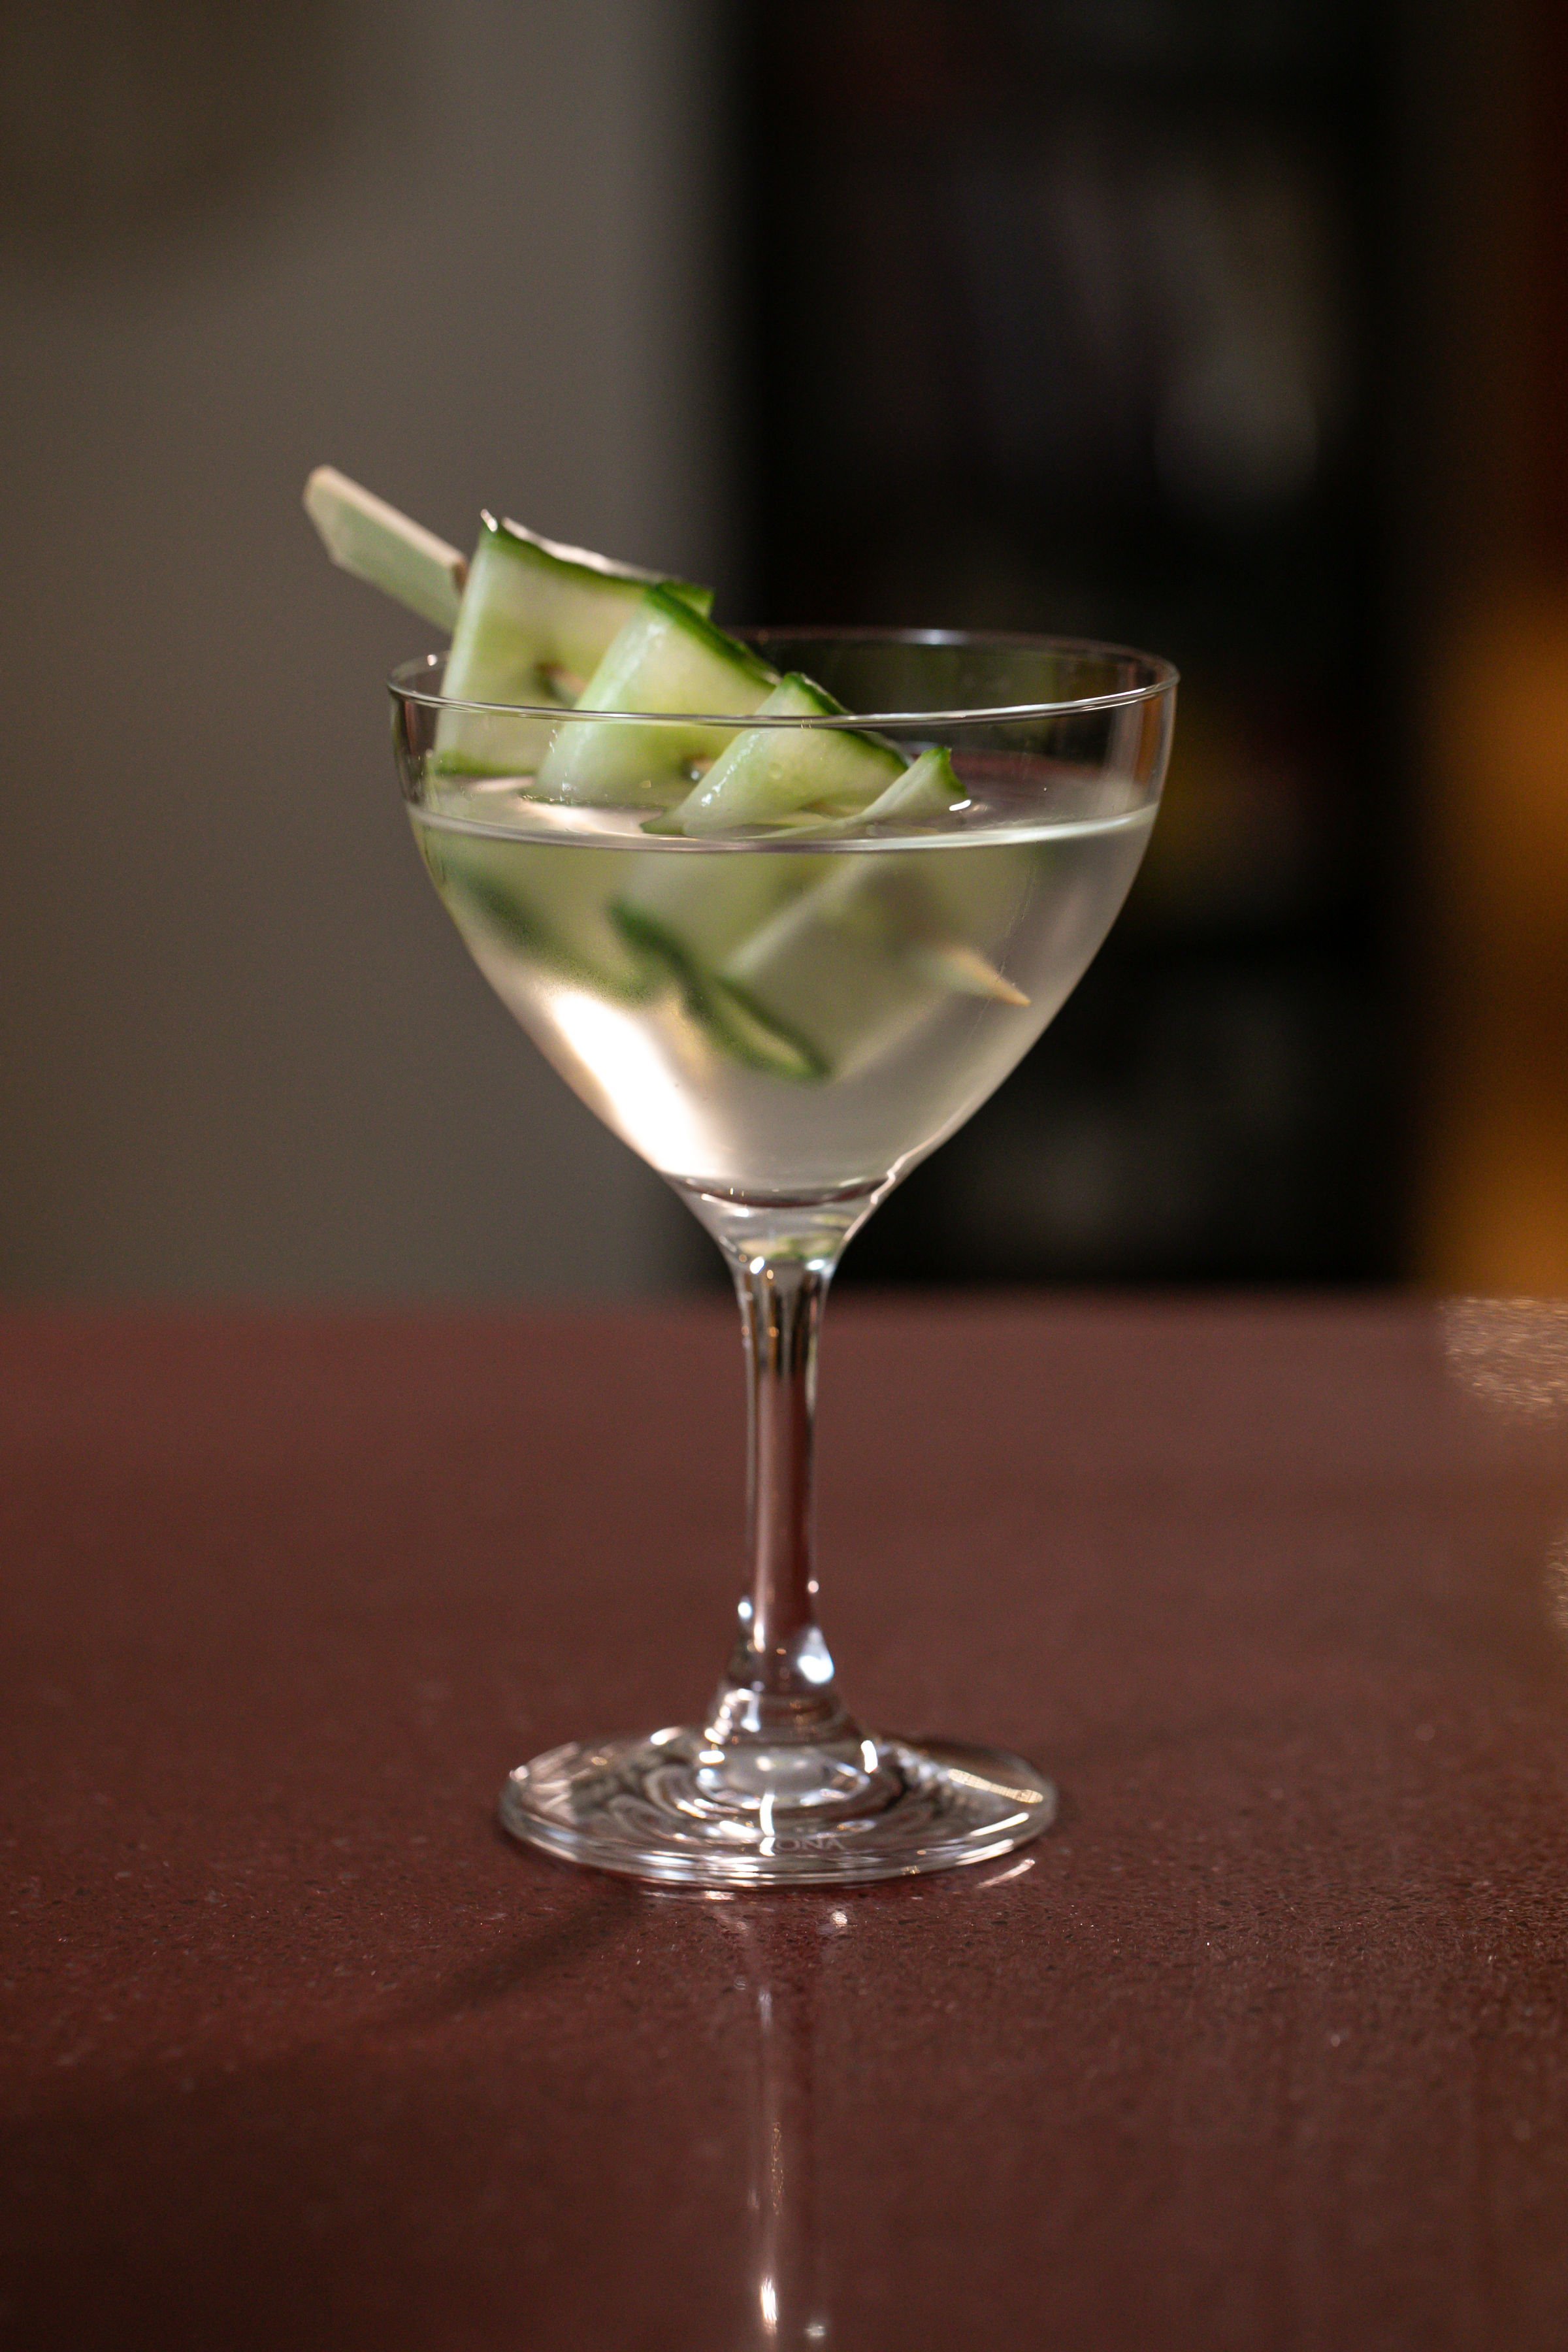

Dry Saketini Welcome Cocktail
When I'm hosting Thanksgiving dinner, I need to plan a welcome cocktail that I can make lickety-split! There's so much to preparing the big feast and the last thing I need to be doing before my guests arrive is squeezing limes! This year, I've decided on a Dry Saketini which will be delightful alongside the shrimp cocktail I'm making as an appetizer. I think my guests will appreciate a light Japanese starter before we “carb out”!
DRY SAKETINI:
INGREDIENTS
2 1/2 ounces dry sake
1 1/2 ounces gin (or vodka)
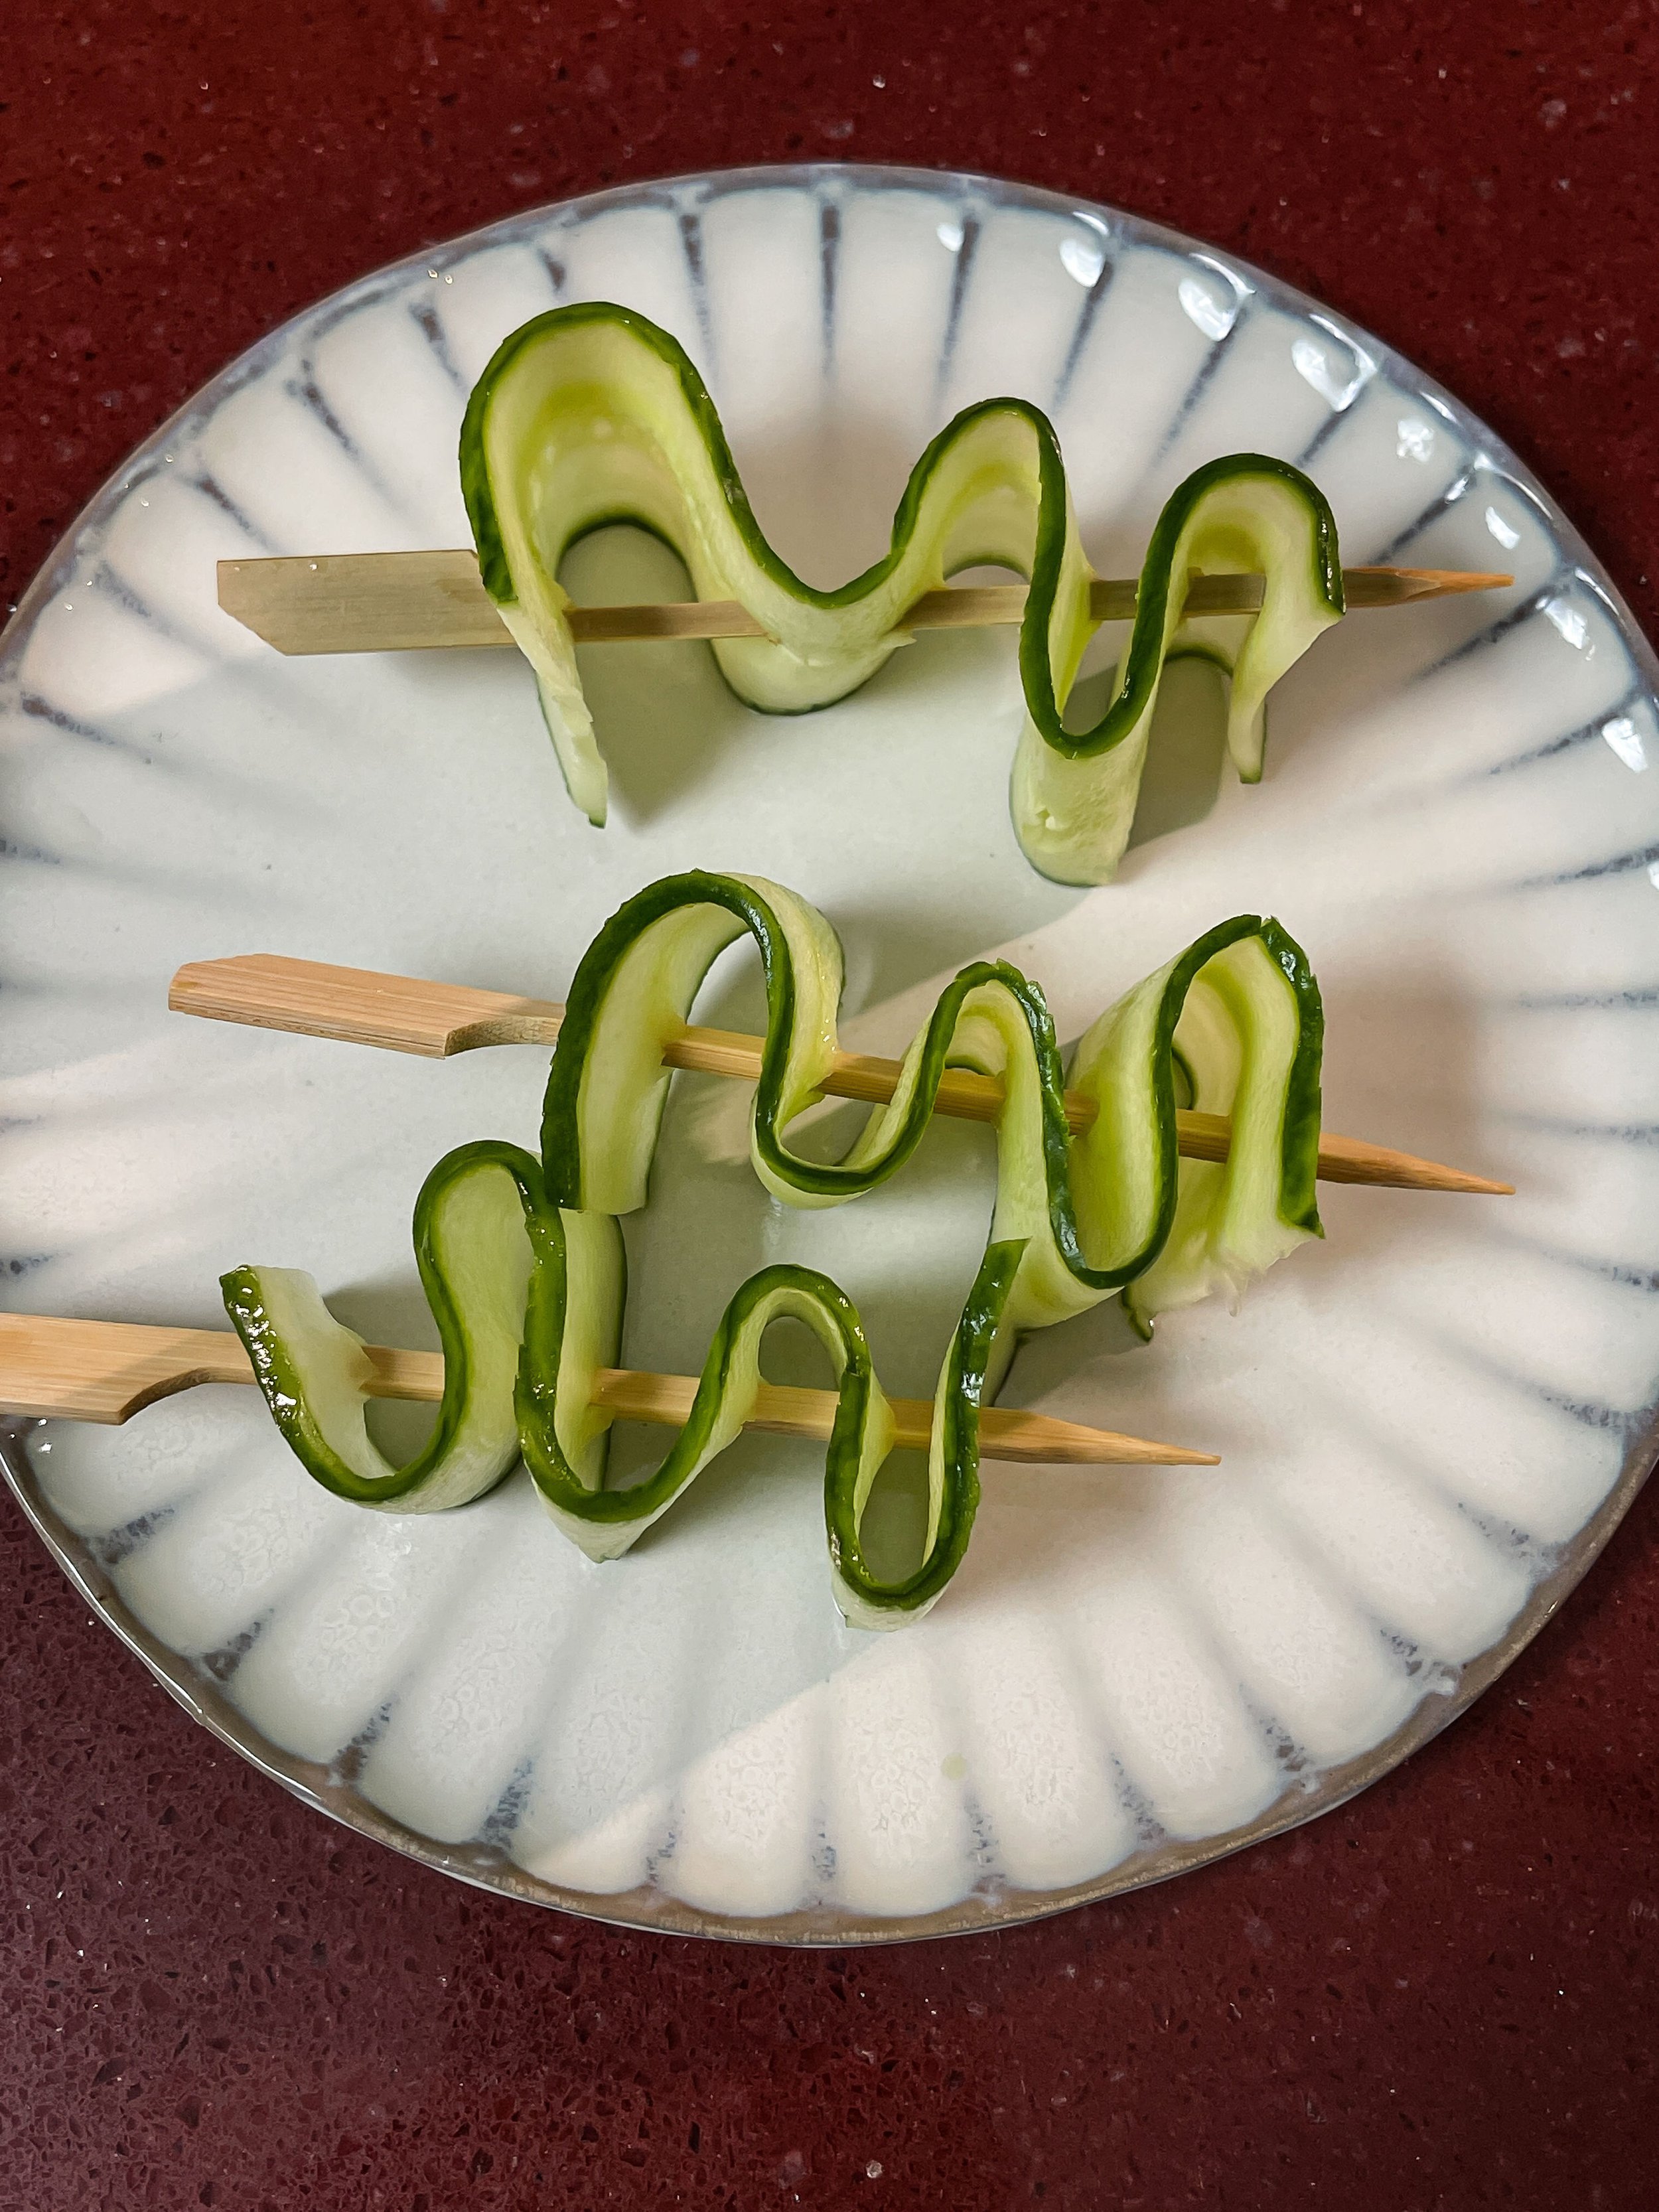
Garnish: Skewered ribbon of cucumber
METHOD
Pour sake and gin into a mixing glass.
Add ice and stir to chill and dilute the drink; about 1 minute.
Strain while pouring into a Flaweless martini glass.
Drop in a garnish of cucumber ribbon. I make my ribbons using a cheese slicer.
Cheers!!